
Each holiday season the sweet tooth in me starts to brainstorm a ton of ideas of some cute, easy and affordable seasonal treats that I can make and share along to family and friends. And after finding this cute idea online for these carrot patch cupcakes, I decided to give it a whirl and I promise you will not be disappointed as they are the perfect Easter treat! Using a packet mix and a few other simple ingredients (because hello, I like simplicity when I cook!) there is definitely no reason why you can’t attempt to make these for yourself at home!
Ingredients
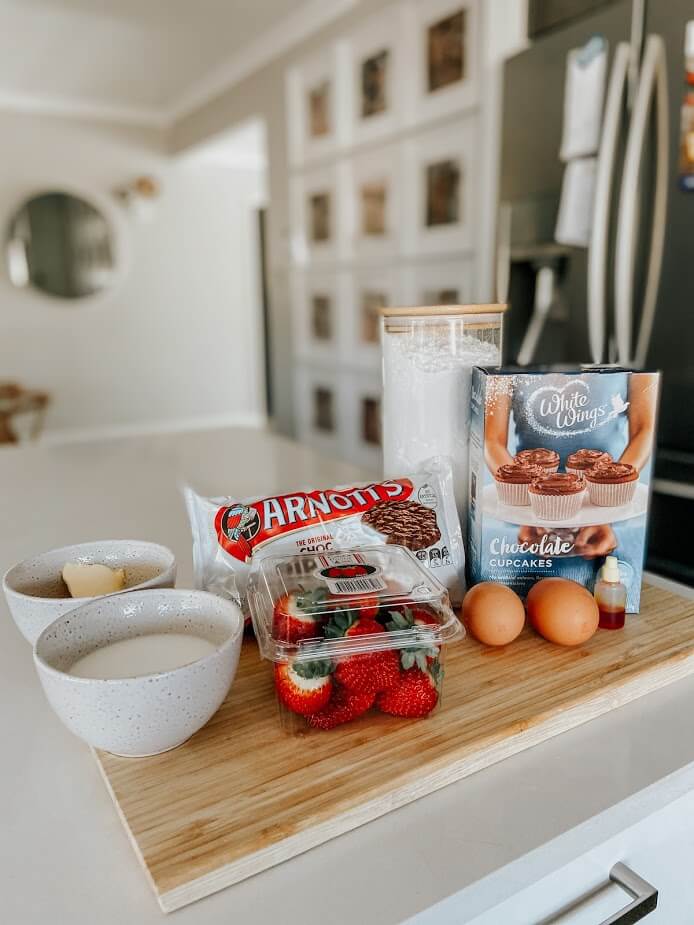
-White wings chocolate cupcake mix (choose any packet mix you like and don’t forget you’ll need to add eggs, butter and milk to most mixtures. Or make from scratch! I’m too lazy for that ha!)
-Orange food colouring (or yellow and red mixed together if you don’t have orange on its own)
-Small punnet of strawberries (if you are following a packet mixture and making 12 cupcakes you technically only need 12 strawberries but I would have some extra on hand just in case)
-Arnott’s choc ripple biscuits
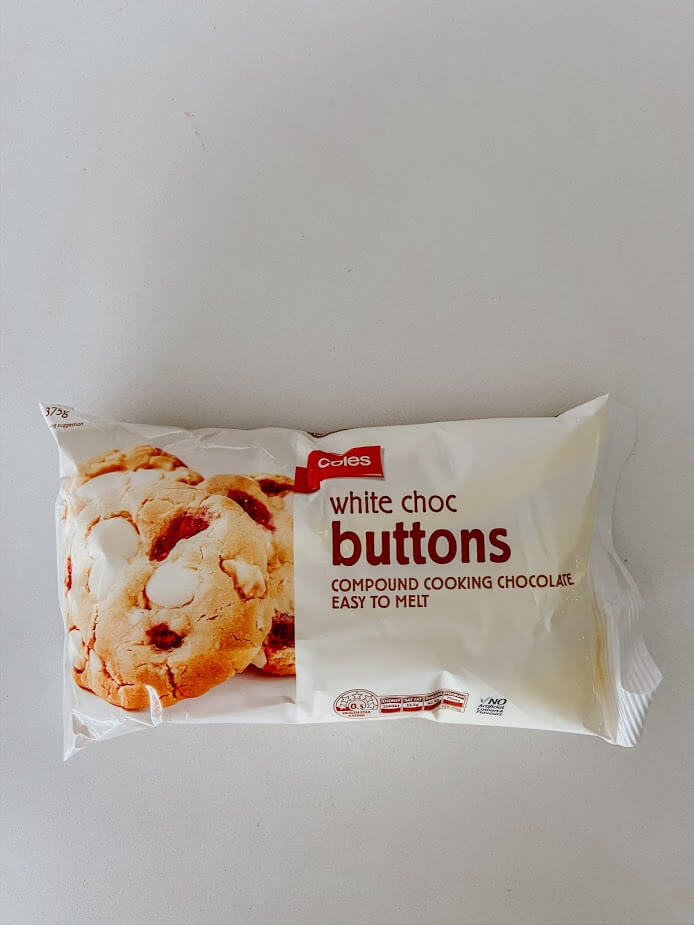
-White chocolate buttons (melting chocolate) x 1 packet. Any brand will be ok I used a packet of Coles brand melts
-Utensil’s needed are baking paper and tray, cupcake trays, mortar & pestle to crush choc biscuits (if you do not have one you can simply place biscuits in a sandwich bag and crush them on the counter or with a heavy object), skewer to make sure cupcakes are baked all the way through (optional), cupcake corer (optional)
-Icing sugar (optional if needed to make the icing on the cupcakes thicker)
Steps
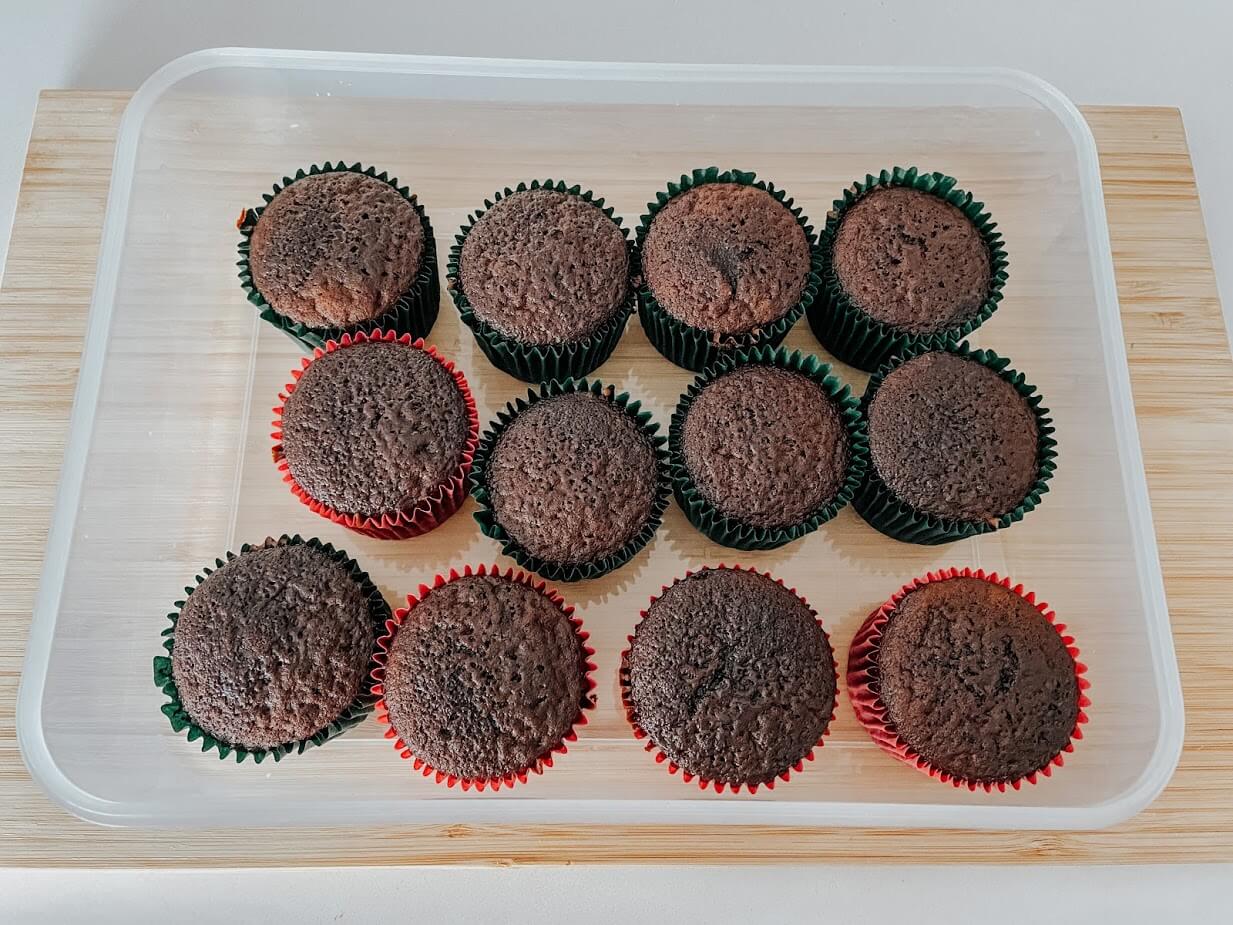
1.Start by making your cupcakes. They will need to have plenty of time to cool down before you start icing them and even if you don’t get around to putting the icing and decor on straight away, you can always put them in an airtight container and have them ready to decorate the next day
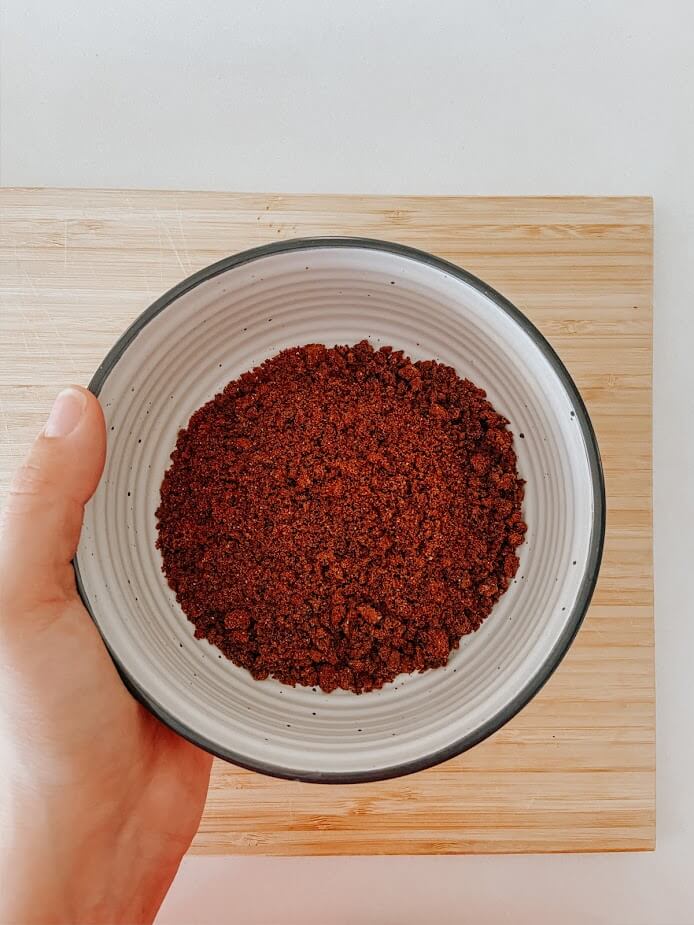
2.You can crush your biscuit’s next. This will be spread onto the top of your cupcakes. It’s best if you do this before you melt your chocolate as you won’t have a lot of time to spare as the chocolate starts to harden quickly. I already had a mortar & pestle at home so I used this to crush the biscuits in (I used approx 6 biscuits) however a sandwich bag filled with the biscuits and crushed with a heavy object on your bench will do the job just as fine

3.The strawberries were next on my list. I made a batch of 12 cupcakes so I only needed to decorate 12 of them. I wasn’t sure how much of the chocolate buttons I should melt so I used half of the packet which was way more than enough, so I would recommend on melting even less than this if you were only planning on decorating 12 cupcakes. You can easily melt the choc buttons in the microwave, just be sure to not leave them heating for too long and continue to stir until chocolate is fully melted

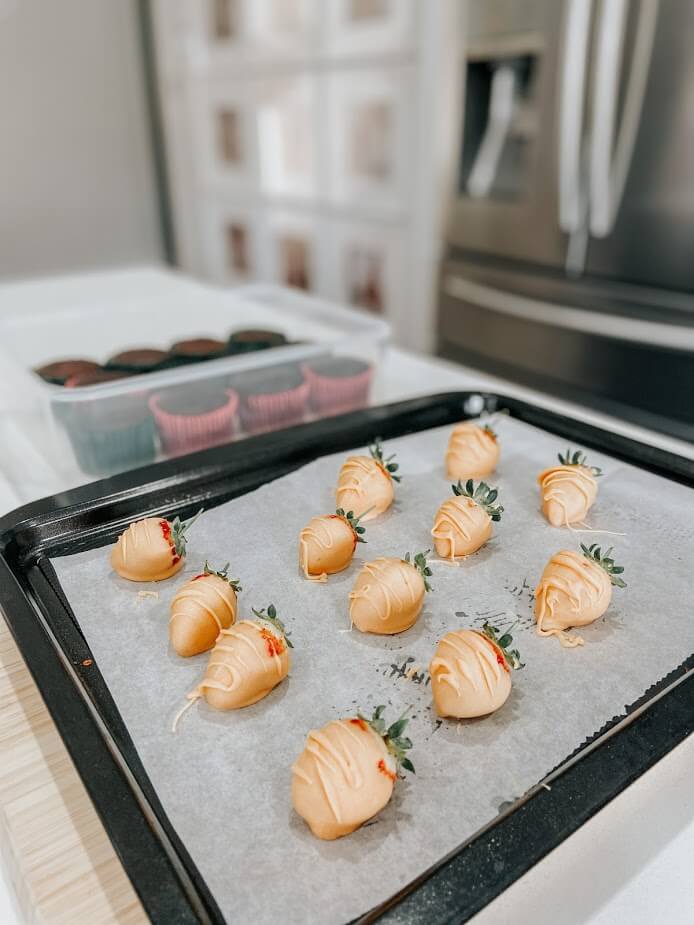
4.Next, line a cooking tray, plate or whatever flat tray item you have available with bake paper. When you have dipped your strawberries in the chocolate you will need to lay them onto the paper. This tray will need to go into the fridge to set. They will set at room temp however if you need them set quicker the fridge is your best option for that
5.You can add in the food colouring to the chocolate next once all the buttons are completely melted. It took me a few goes (and batches of chocolate!) before I figured out how to get a nice orange colour and by that time I had run out of yellow colouring so the mixture didn’t come out quite as orange as I would have liked. My own piece of advice as well would be to try not to stir the melted chocolate mixture too much as it starts to harden up after a while and becomes impossible to work with. Make sure you use a relatively deep bowl for the chocolate as you’ll need plenty of depth to be able to dunk the strawberries in. The whole strawberry can go into the mixture apart from the green leafy top. You can hold this part of the strawberry when you dunk it into the chocolate. I decorated them by drizzling chocolate over the tops once the first coat had completely set
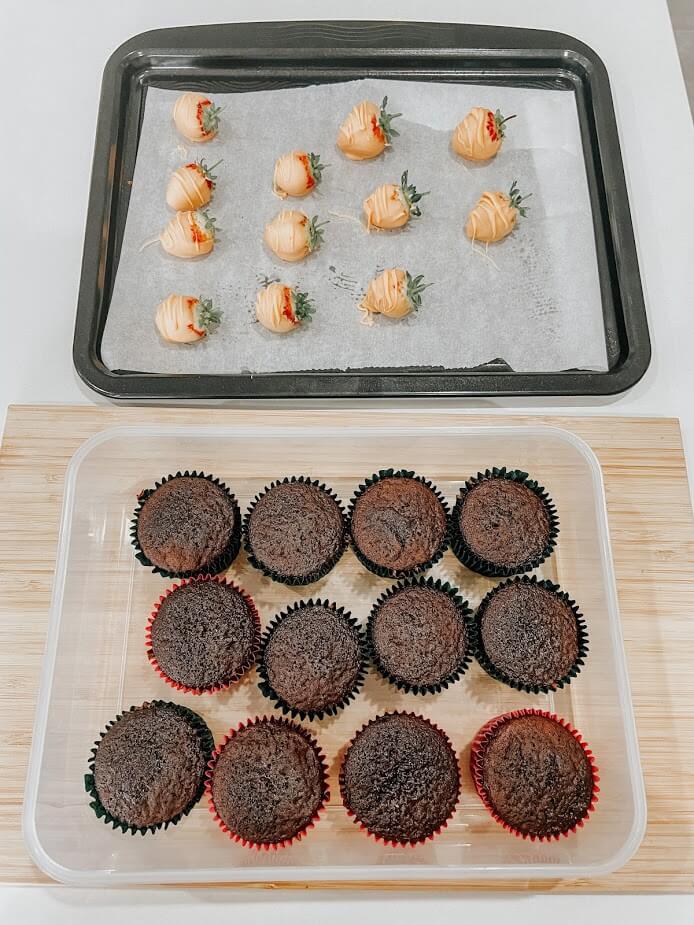
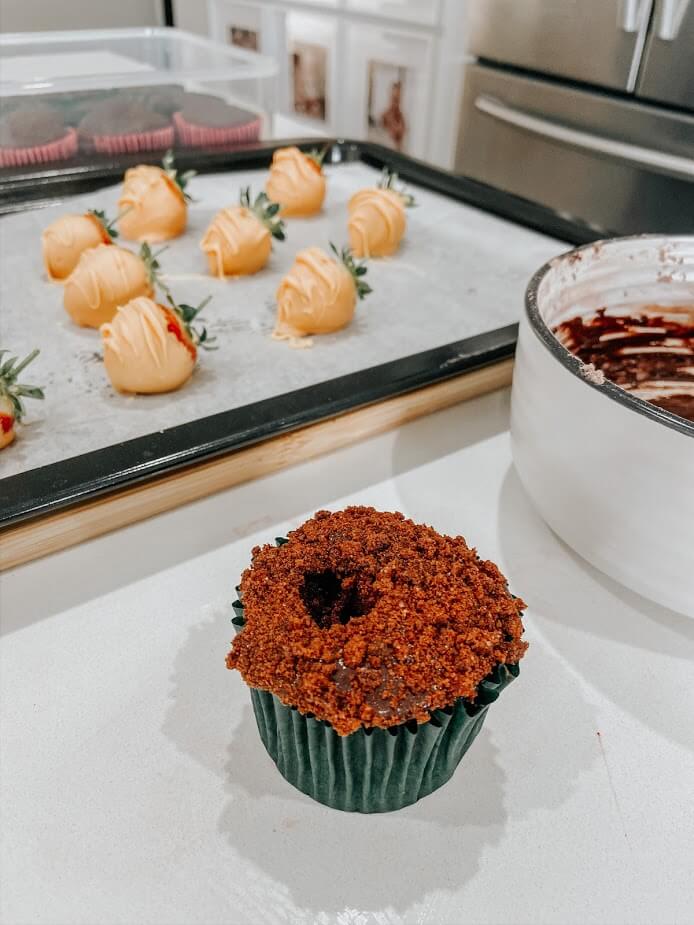
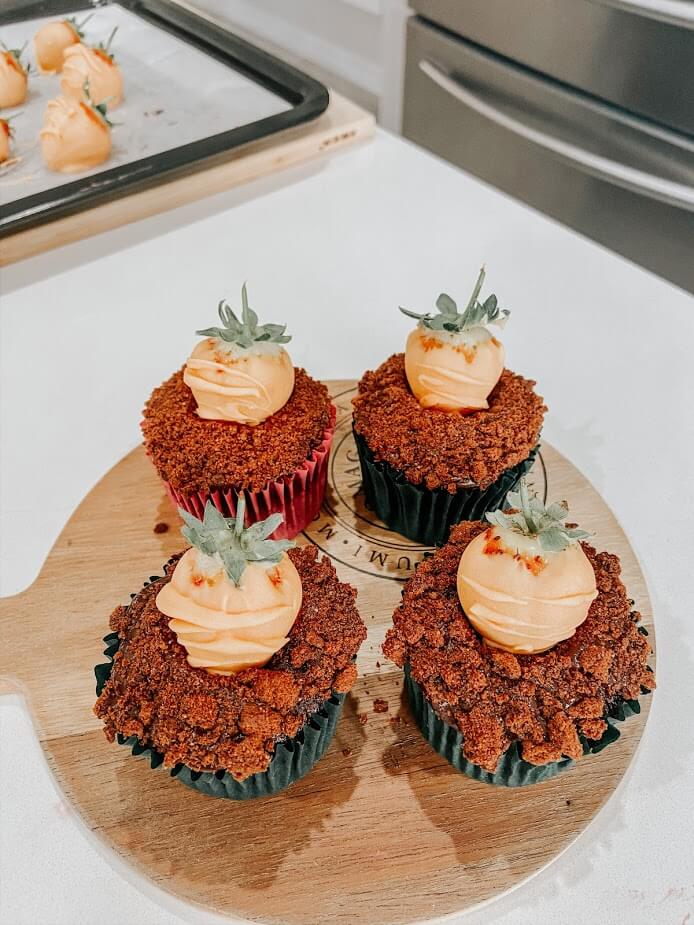
6.The strawberries won’t need long to set so you can start to ice your cupcakes next. I just used the icing that came in the cupcake box. You will need to cut out the centre of the cupcake before you ice them. You can use a cupcake corer for this, however I didn’t have one of those but found using a spoon did the trick just as well. Spread your icing around the top of the cupcake making sure not to get too much into the hole of the cupcake if possible. Once your cupcake is iced, this is where you’ll need your crushed up biscuit mix. I found it easier dipping the top of the cupcake straight into the biscuit mix. You can place your little strawberry carrot into the centre of your cupcake now and voila! The cutest little Easter treat! Your very own carrot patch cupcakes. Now next is the taste testing!