
So, I finally decided to hop aboard the crazy train movement oh so affectionately known as the “Kmart cubby hack club”!
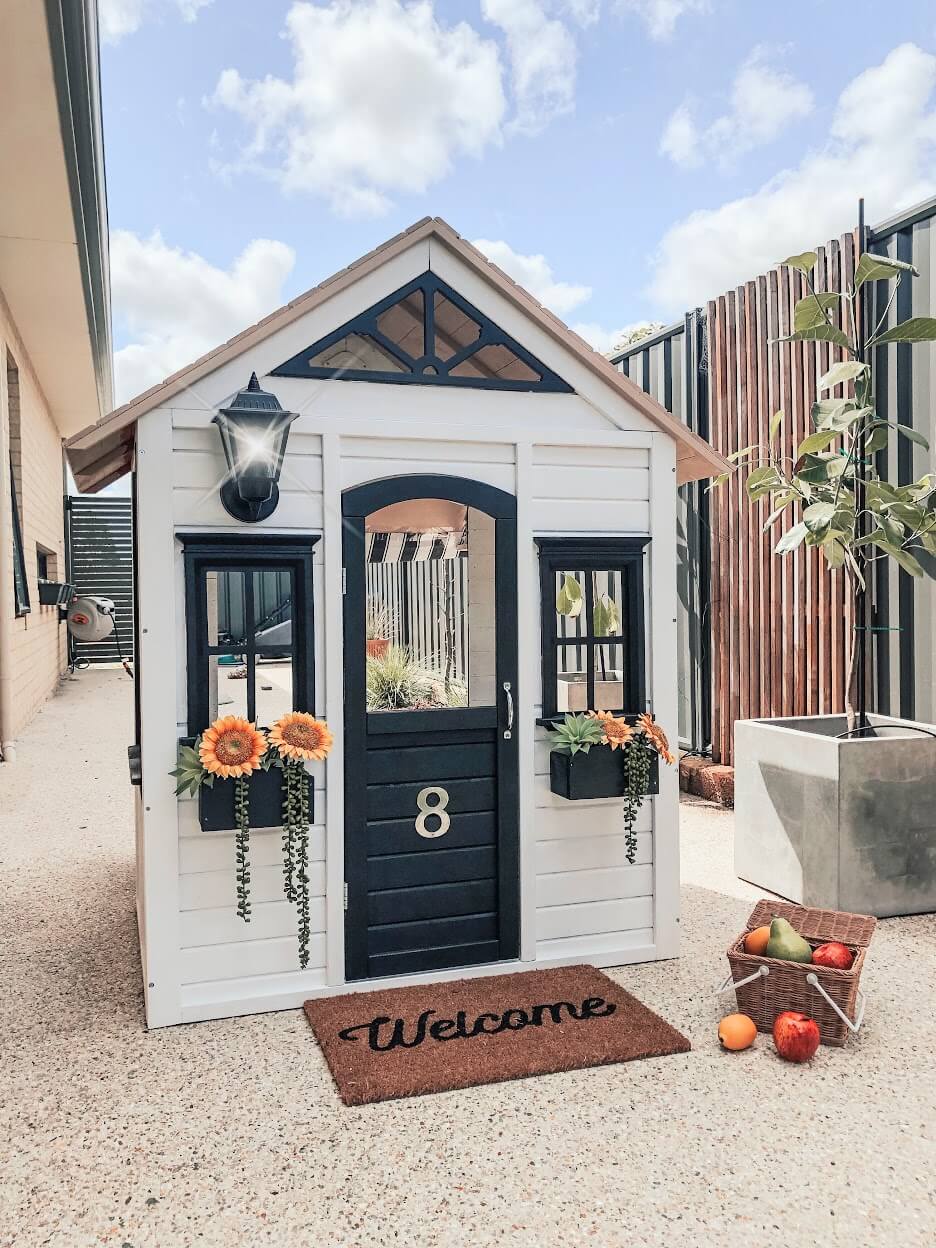
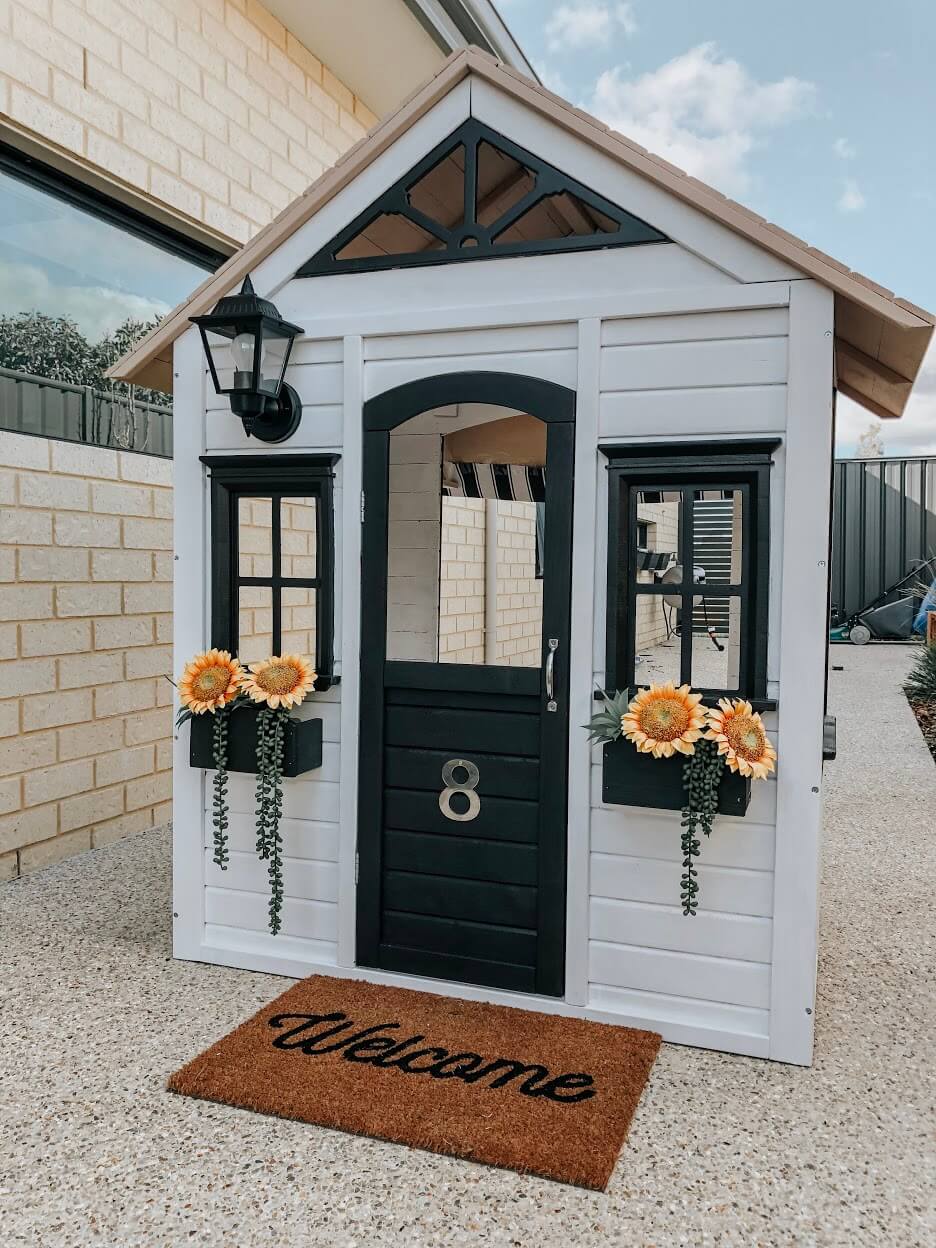
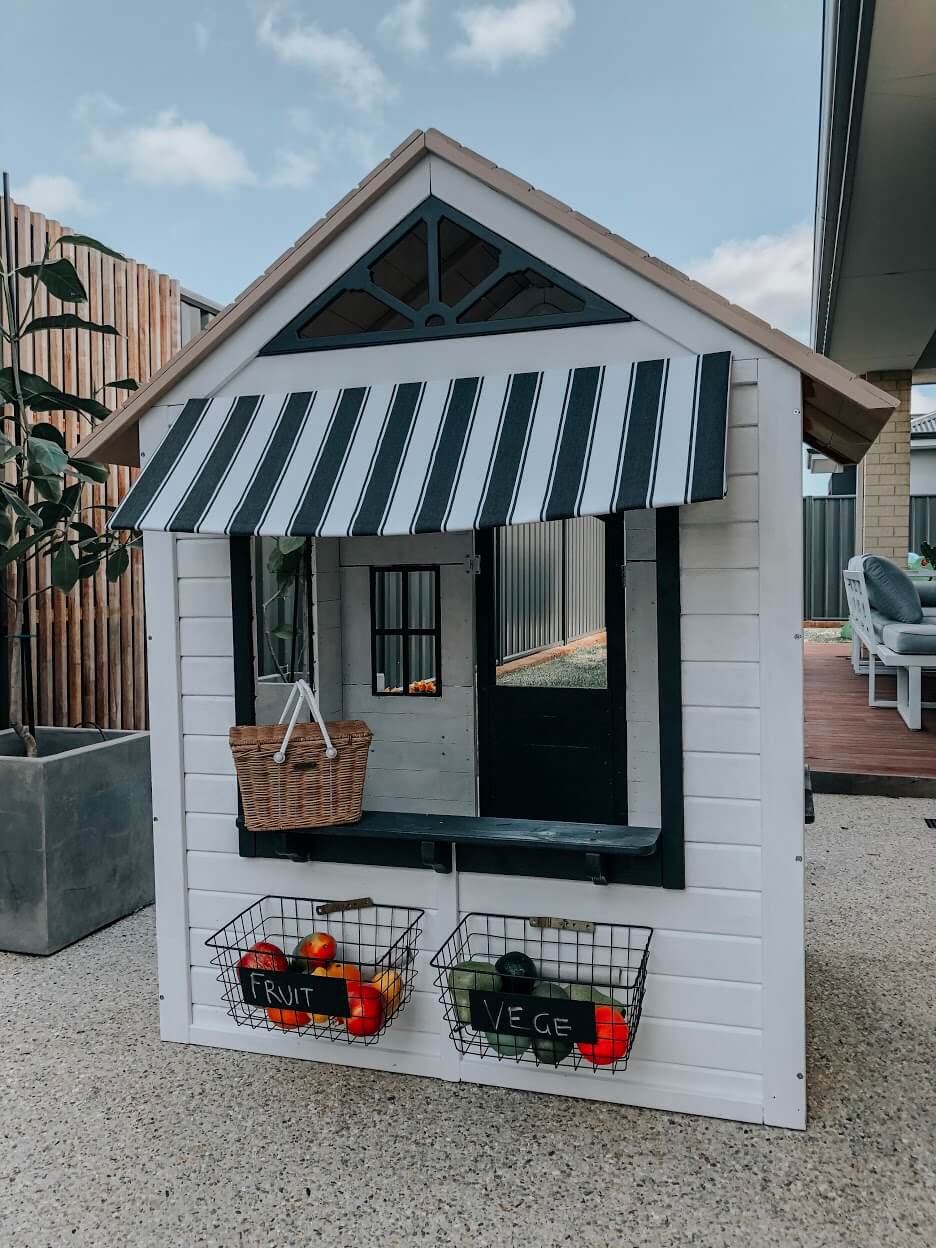
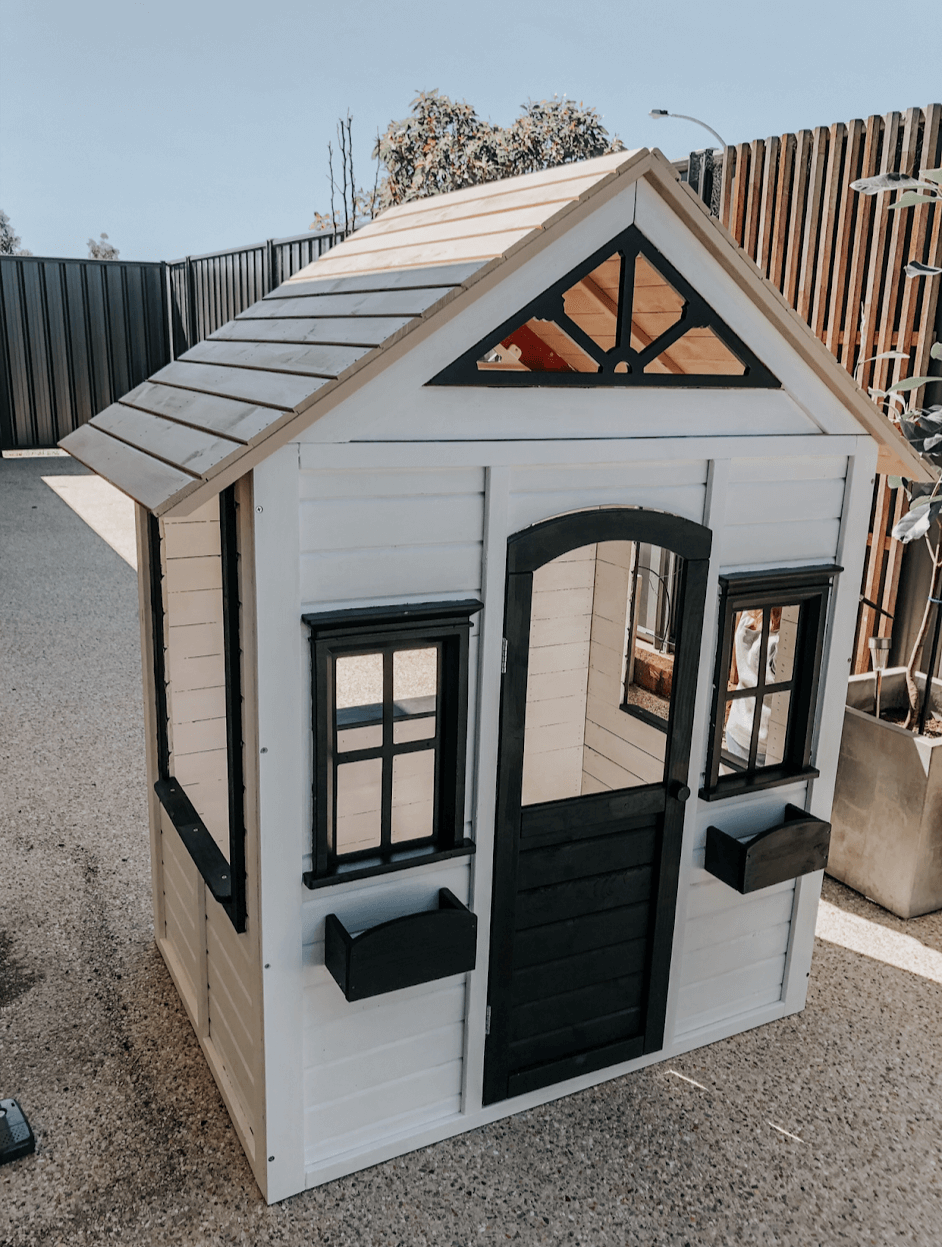
I have had this wooden cubby sitting unboxed in my garage for MONTHS, unable to decide on what colour scheme or theme I wanted it to be, and trolling Pinterest on the daily like a mad woman trying to get as much inspo as possible. Ultimately, I kept getting drawn to a picture I came across on Pinterest where a child’s bed had been built to look like a large cubby but in an old school farm house style theme (think white, black shutters and door and a beautiful chocolate roof). This had obviously been custom built and looked phenomenal so I was unsure if I would be able to recreate the same style on a lot lesser budget, but in all honesty I am absolutely beyond thrilled with how everything turned out!
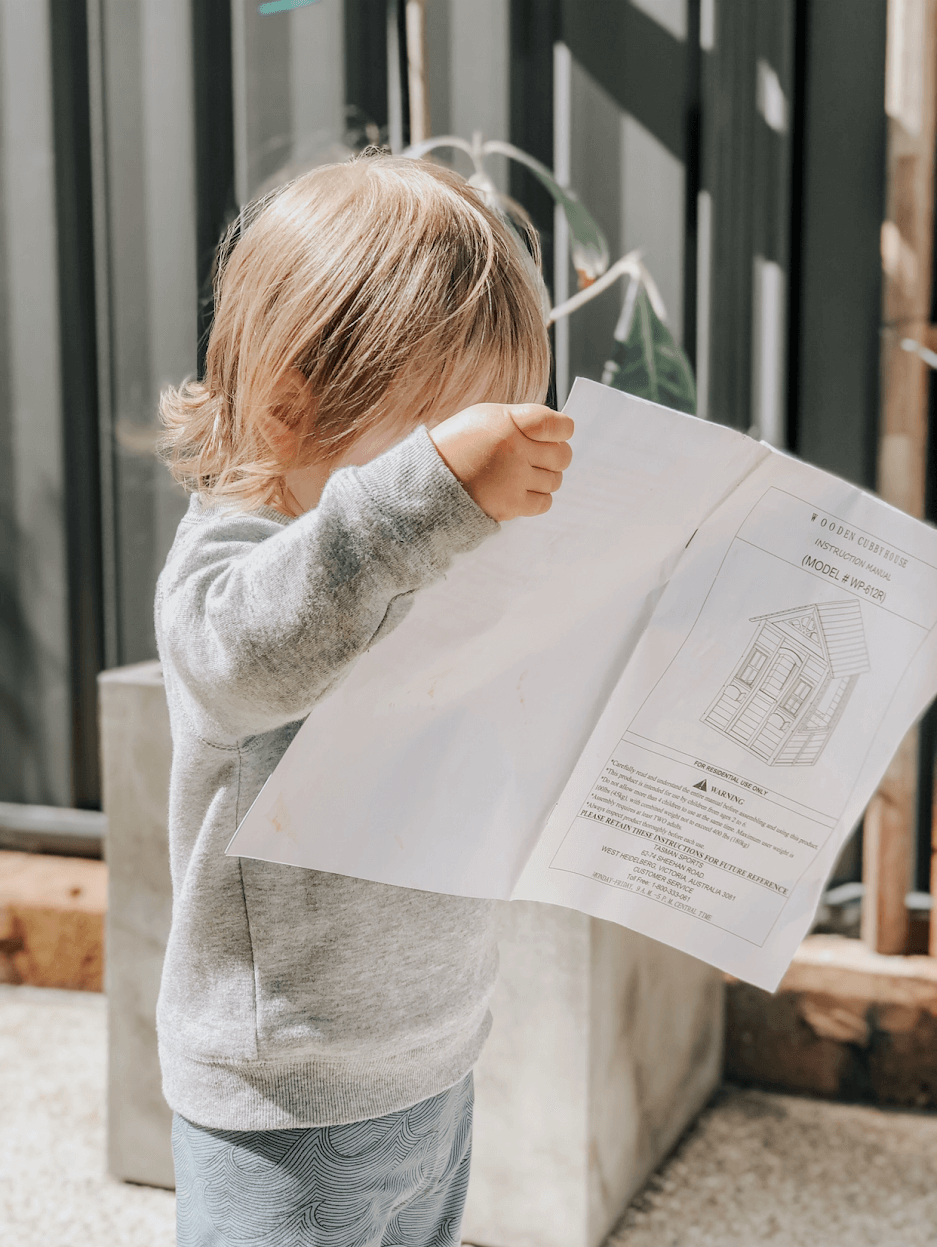
KMART WOODEN CUBBY
$199
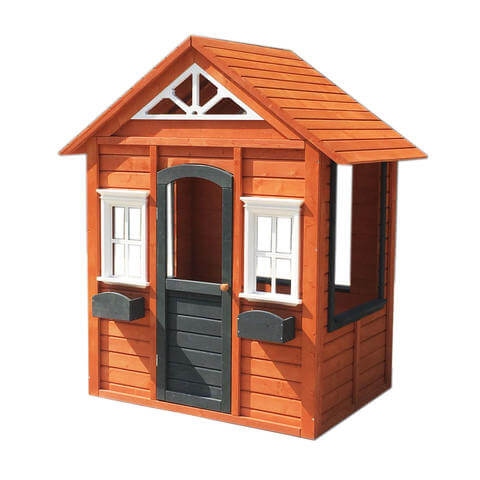
These Kmart cubby’s sell out really quickly and I had been on the hunt for one for agggggges. Every store that was in a close proximity to me had seemed to have either sold out or weren’t getting them back in stock. I ended up going to my local Kmart and even though I had previously checked online and saw they were out of stock, I asked a sales person on the shop floor if they had any and ta da, they told me they had plenty out the back! Always always ask! Even if they don’t have any on the shop floor or show any available online
Painting the cubby
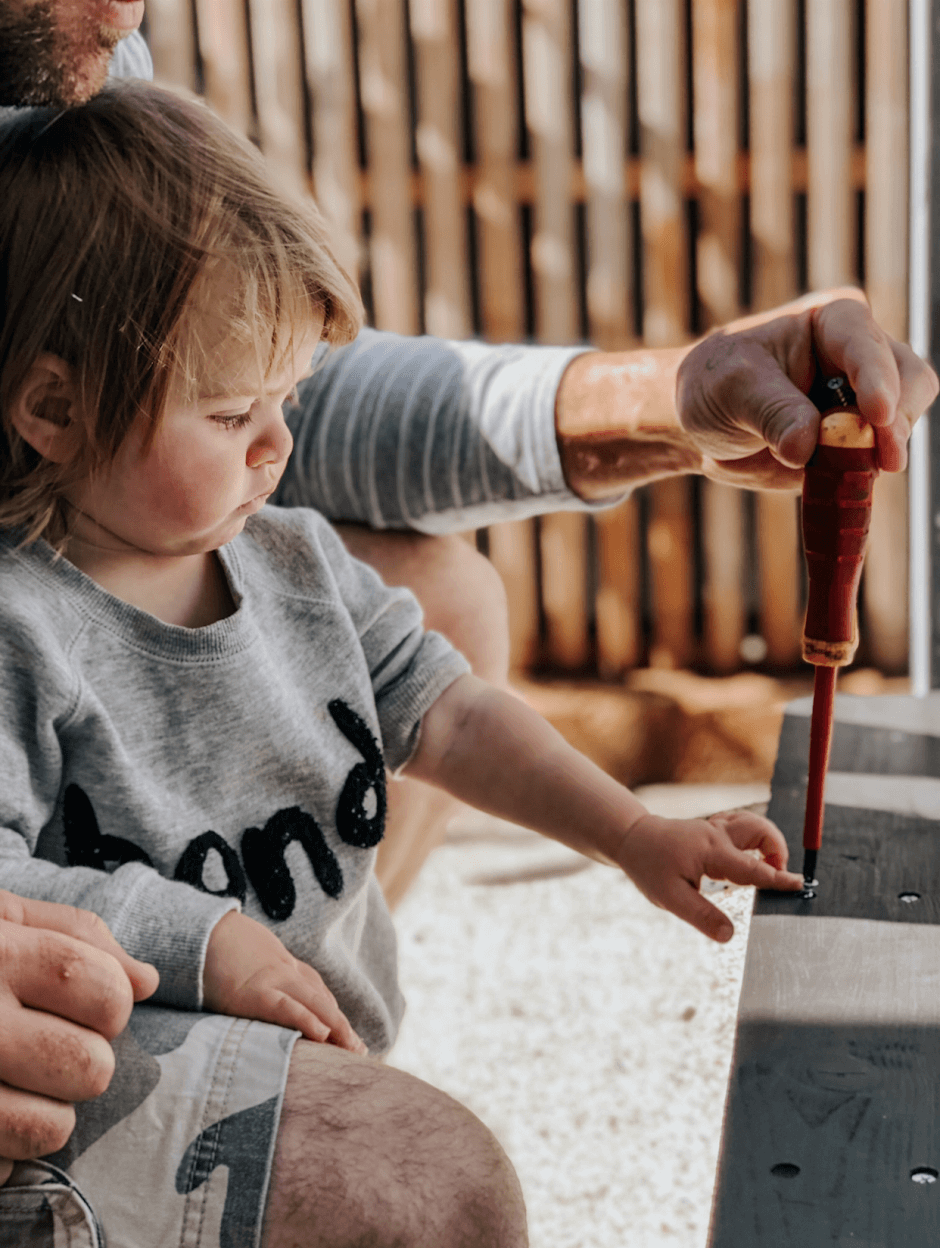
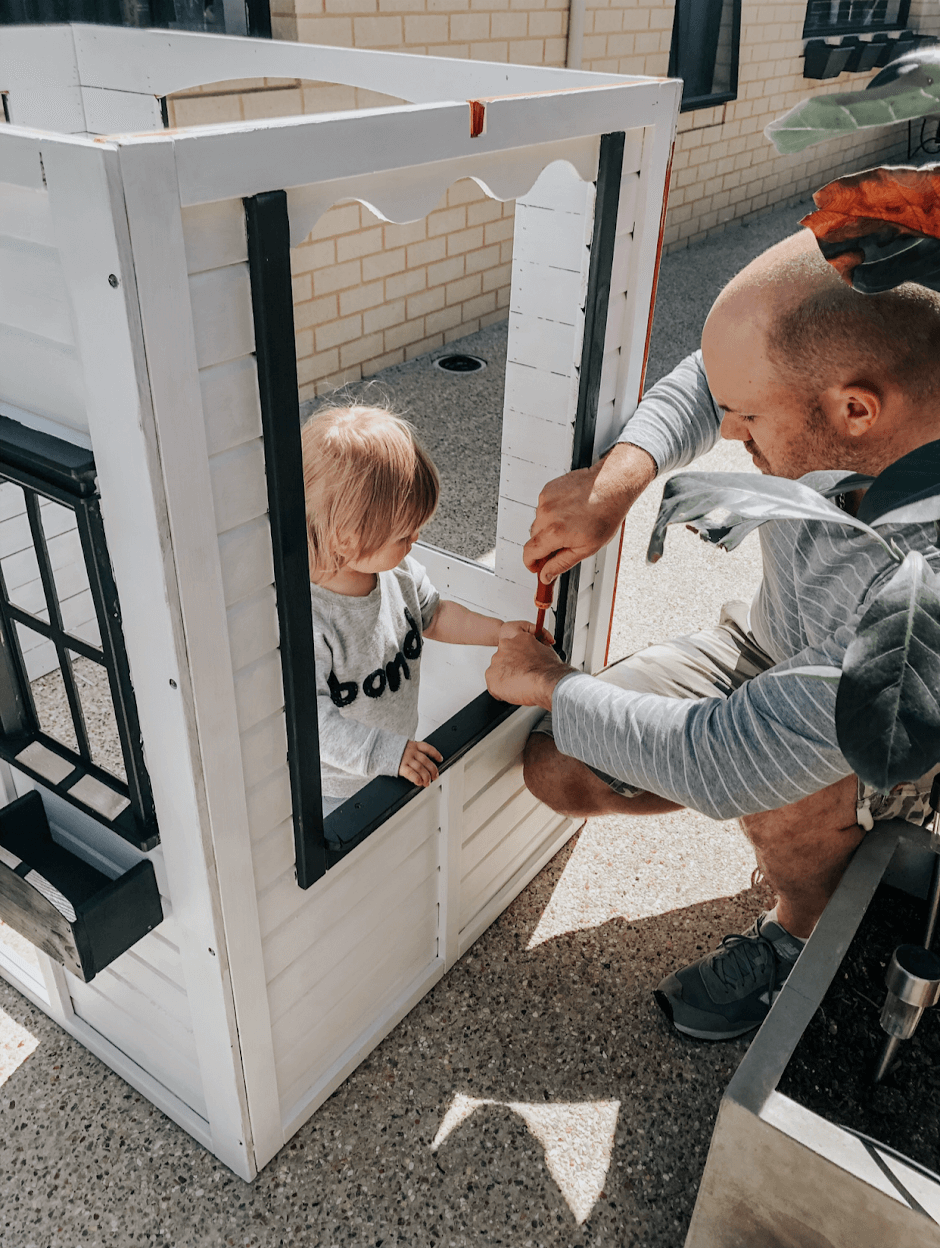
1.If you are going to hack your Kmart cubby and paint it instead of leaving it as it is, I would highly suggest you paint everything separately before you put it all together, it is so much easier this way. I painted it all by hand using a paintbrush. It was very tedious and took a lot of hours to do, and the walls and roof needed multiple coats of paint as I didn’t prime it beforehand. I would suggest if you are not wanting to go down this route, make sure you prime!
2.Painters tape is your friend! There are a lot of fiddly bits on the cubby, especially around the windows and door and you don’t want your paint running into each other. Painters tape was a godsend as it meant I could stick it on and feel assured my paint wasn’t going to run into places I didn’t want it to go and it also wasn’t going to lift the paint off in certain areas once I had to peel it off. You can pick this up at any hardware store
3.If your able to, set yourself and the separate pieces of the cubby up on a nice big open space and lay all the pieces out separately on newspaper or perhaps a folded out moving box if you have one. I painted everything in our garage (the garage door was always open for ventilation). I tried to paint every piece one at a time and in the same order, so then I knew which pieces were finished or needed more coats and I wasn’t getting mixed up
4.If you would rather not paint everything by hand I would suggest using/hiring a spray gun. Honestly, I didn’t want to spend the money to buy one as it would never be used again and would just take up space in our garage. Obviously it would have saved me a lot of time, and would have probably made the finishings of the cubby a lot neater (especially painting the larger areas) but in the end I didn’t mind as it was quite cathartic painting everything by hand
5.If your painting by hand, make sure you have a few different selections of paintbrushes. I bought a cheap pack of slimline brushes from Kmart for the smaller areas, and made sure I had a few larger brushes (from Bunnings) for the bigger areas so it would cut off a lot of painting time
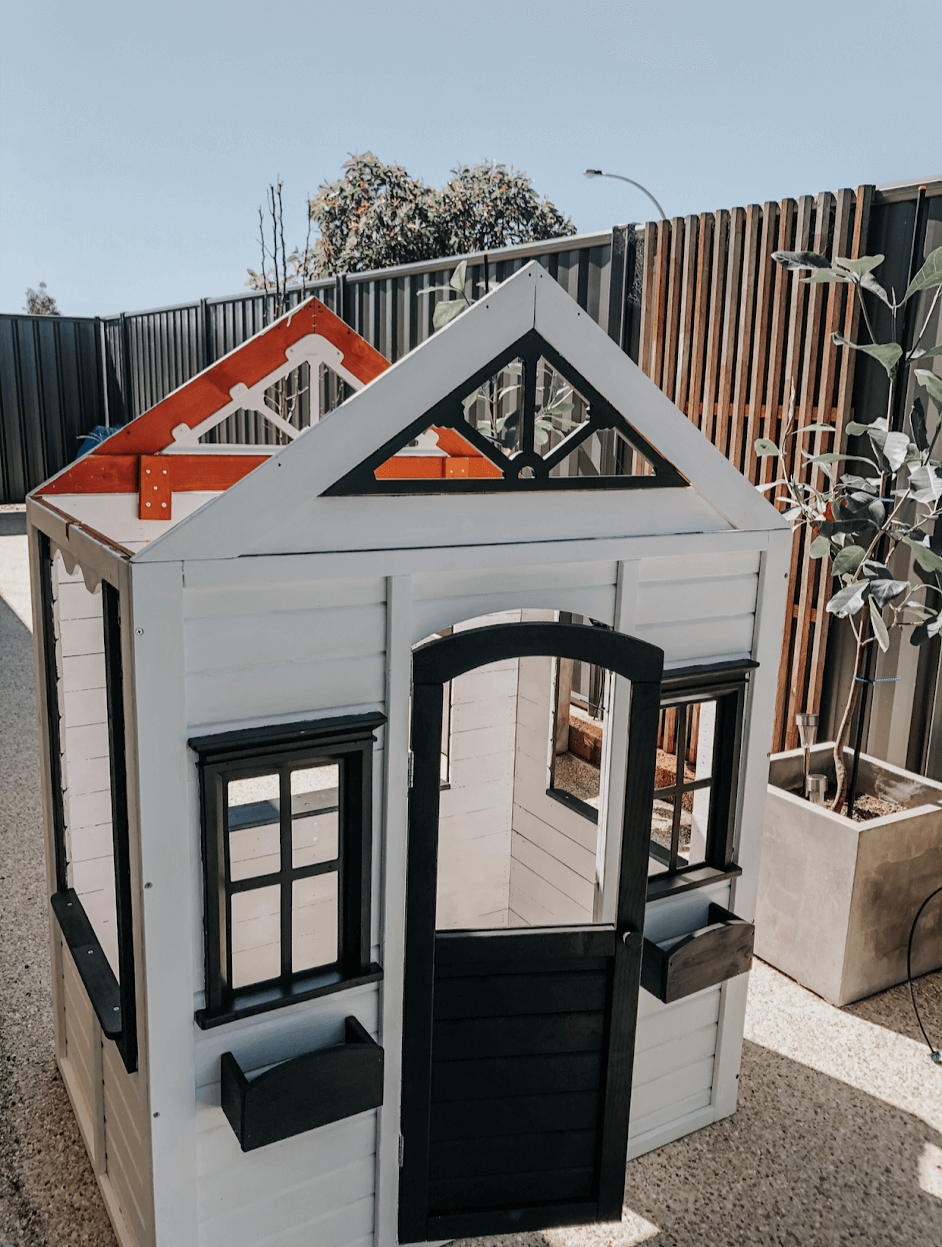
*Note* In some of the pictures it shows some sections of the cubby unpainted, I went back afterwards and touched these sections up so the whole cubby has now been painted

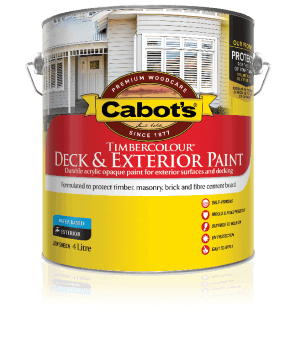
PAINT–
All Taubmans outdoor exterior paint
TOTAL COST – $58.40
Roof- SWASHBUCKLE – See colour here (1 tin $14.60)
Door/Windows and window edging- BILLIARD BALL – See colour here (1 tin $14.60)
Walls- CRISP WHITE – See colour here (2x 500ml tins were used at $14.60 per tin OR 1 2L tin $49.90)
*Note- Obviously these paint colours are very different in person to what is shown on the computer screen
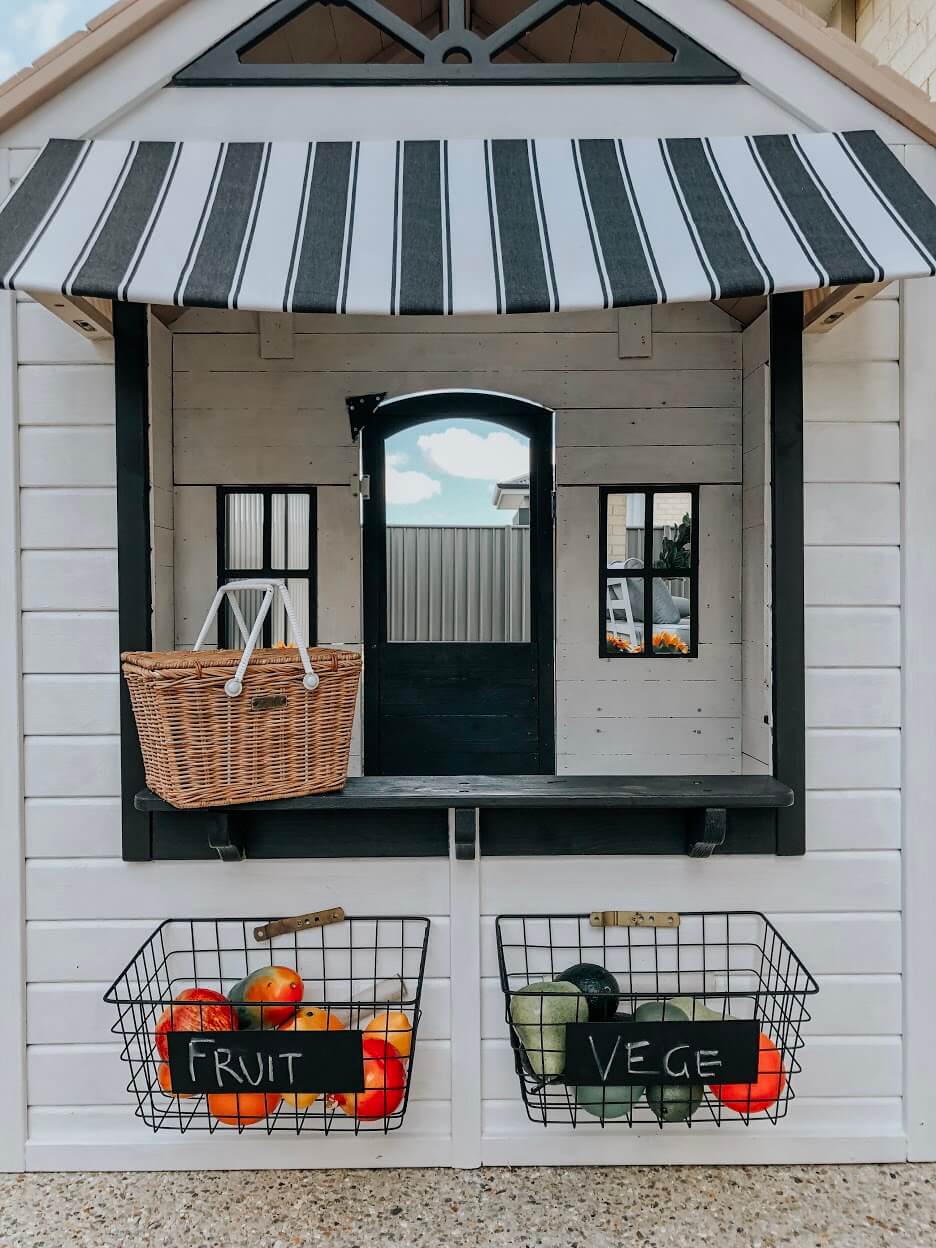
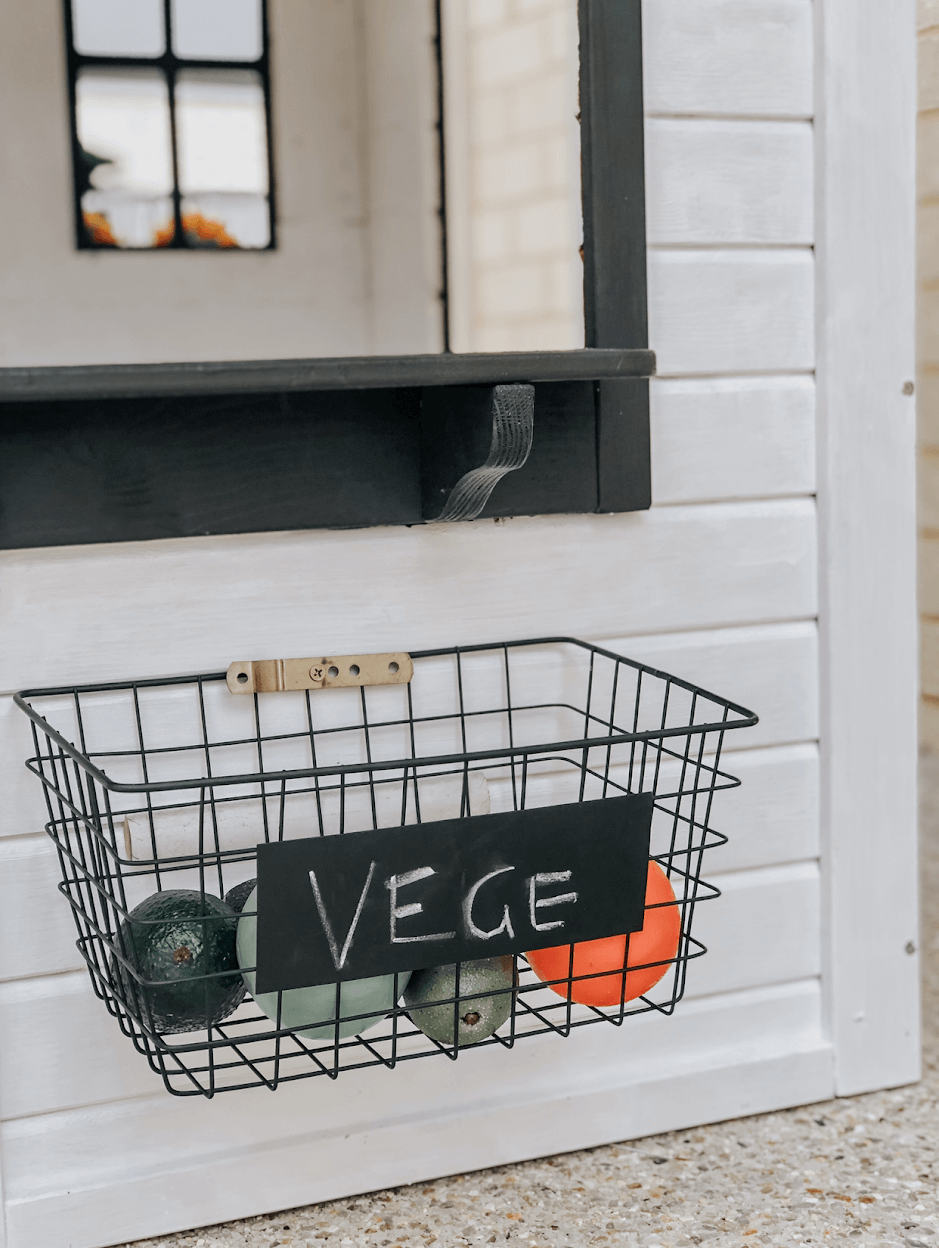
Fruit stand section
This was a very last minute decision to add this onto the cubby. Once we had finished putting the cubby together I still felt as if it looked quite plain and needed that little something ”extra”. I had also seen a few pictures floating around online of fruit stands added to the back of cubby’s so I thought it would be a great idea to add this in, and why not make it look like a little cafe shop to keep in with the theme of the farmhouse style! We also only had one day to get this part done as Brad was leaving for work the following day. The fruit baskets need to be secured to the cubby better but as we ran out of time we will finish it properly once Brad gets back home. To make the black and white striped awning, we bought two wooden brackets from Bunnings (which I have linked below) and drilled them onto either side of the window at the back of the cubby. Width wise for your awning is your personal preference. We also bought a cheap piece of semi flexible wooden board from Bunnings to lay on top of the brackets. This will be the base for where your fabric will sit. This section was a little tricky as you are having to nail down the piece of board onto almost an angle. We then wrapped the check material around the piece of board. We haven’t secured it into place that well, only just using sticky tape so I will look into possibly super gluing it down to make sure it doesn’t come undone at all in the future. This section certainly wasn’t hard at all to make or put together, we made it using very basic materials and it maybe only took us 30 minutes (if that) to secure the wire baskets and awning to the cubby
Accessories for the cubby
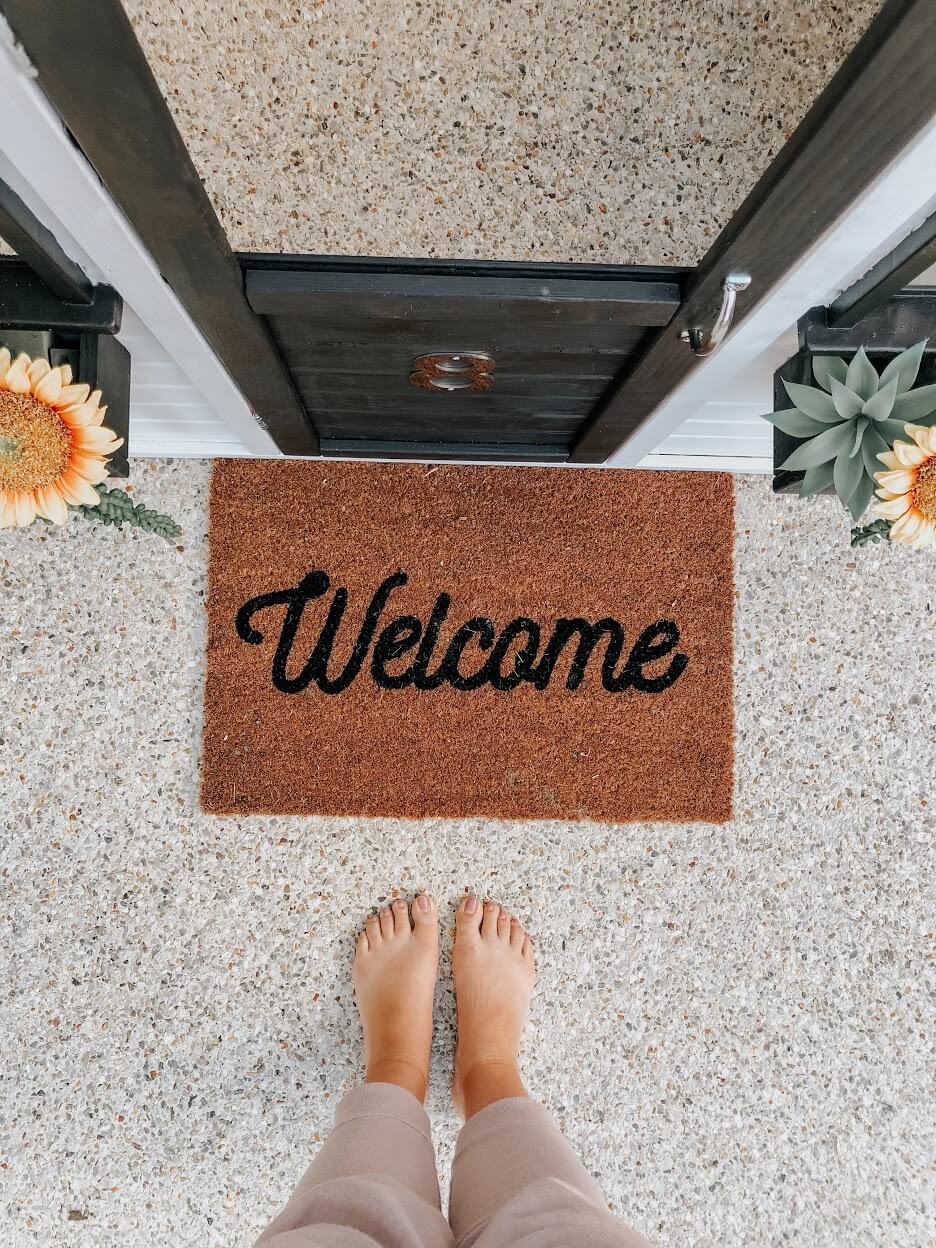
1.Welcome mat SHOP HERE
2.Door handle SHOP SIMILAR HERE
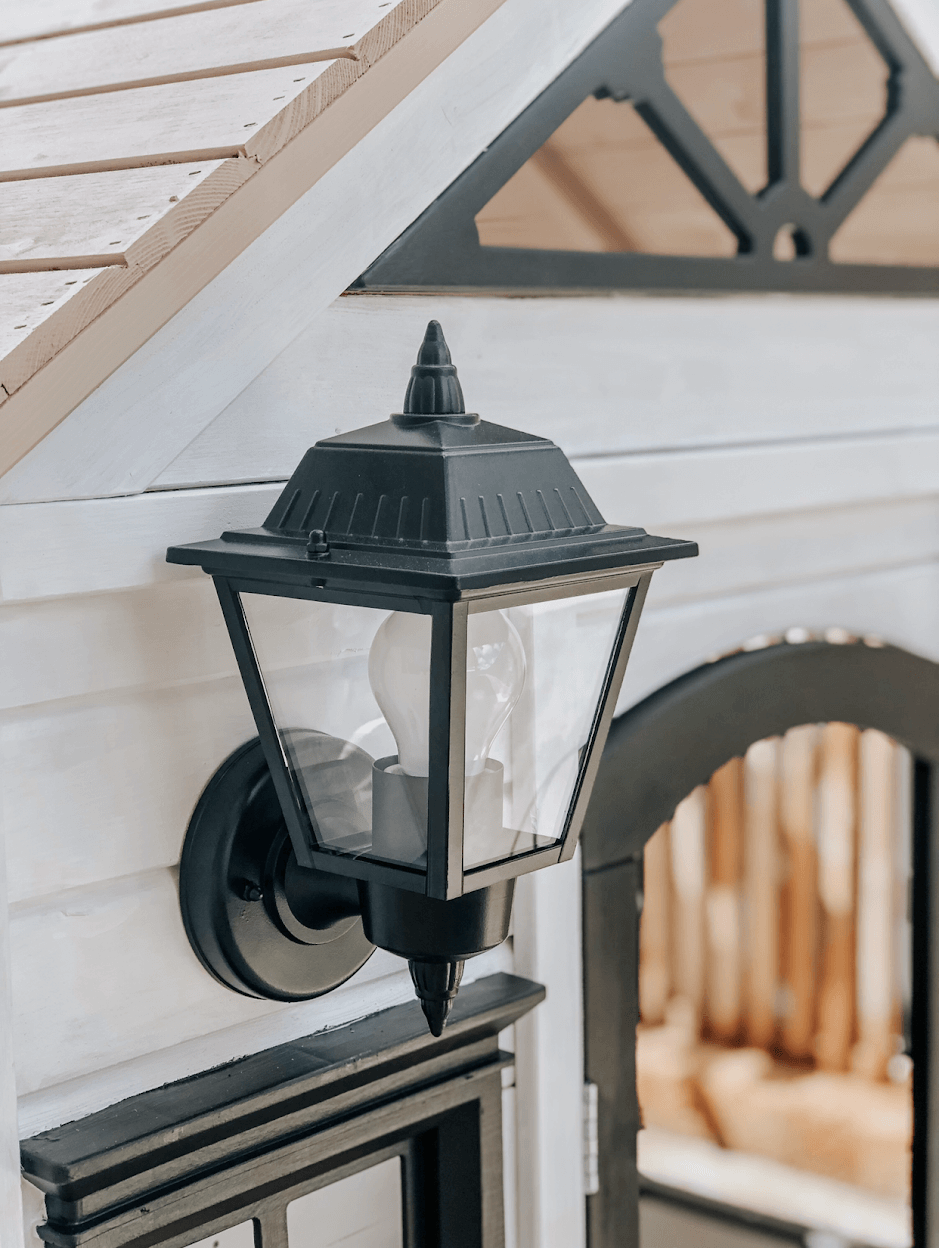
3.Exterior Light SHOP HERE
4.Gingham black and white material SHOP SIMILAR HERE
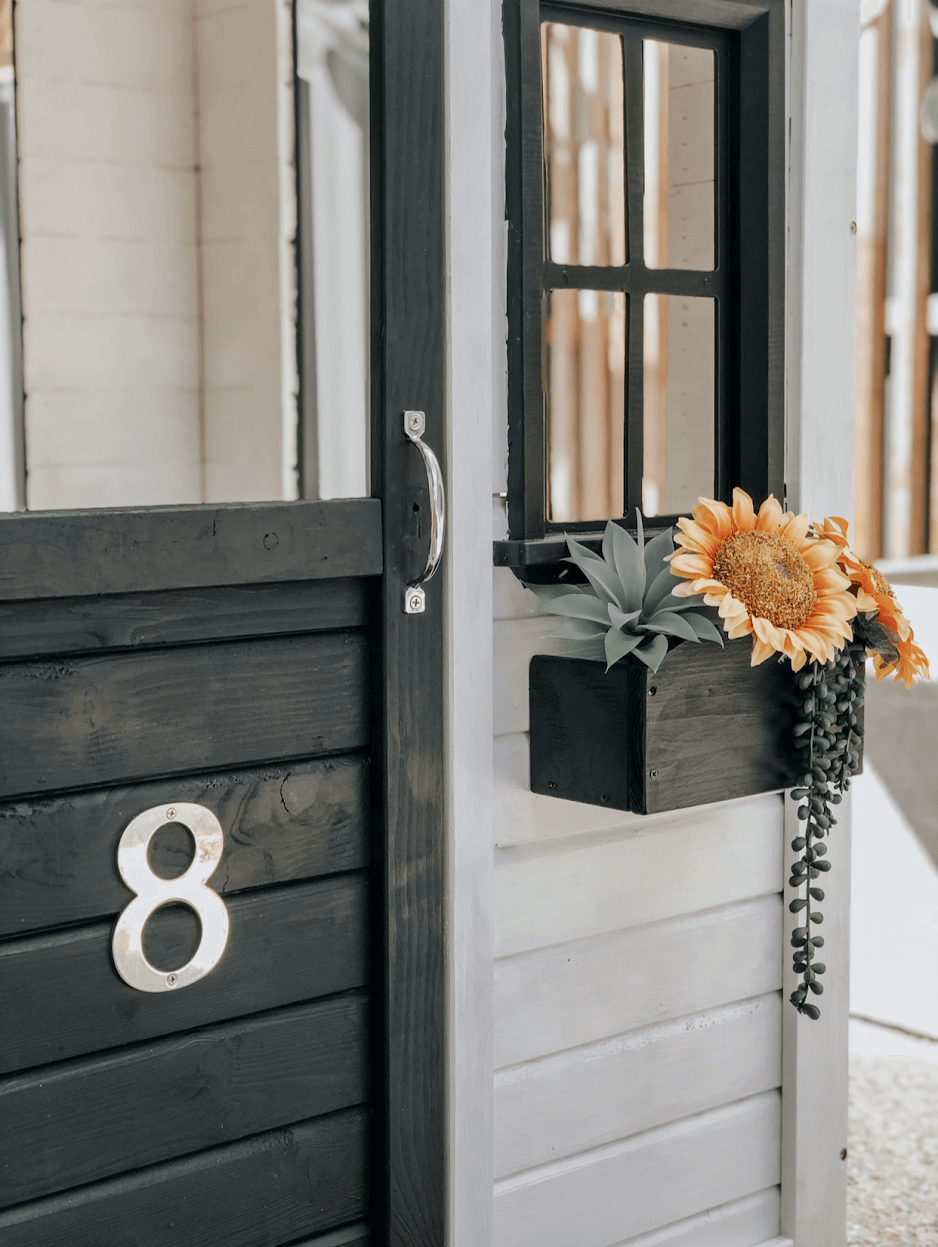
5.Assorted flowers SHOP HERE
6.Number 8 SHOP HERE
7.Black wire baskets SHOP HERE
8.Brackets SHOP HERE
9.Assorted plastic fruit SHOP HERE
10.Olli Ella Piki basket SHOP HERE
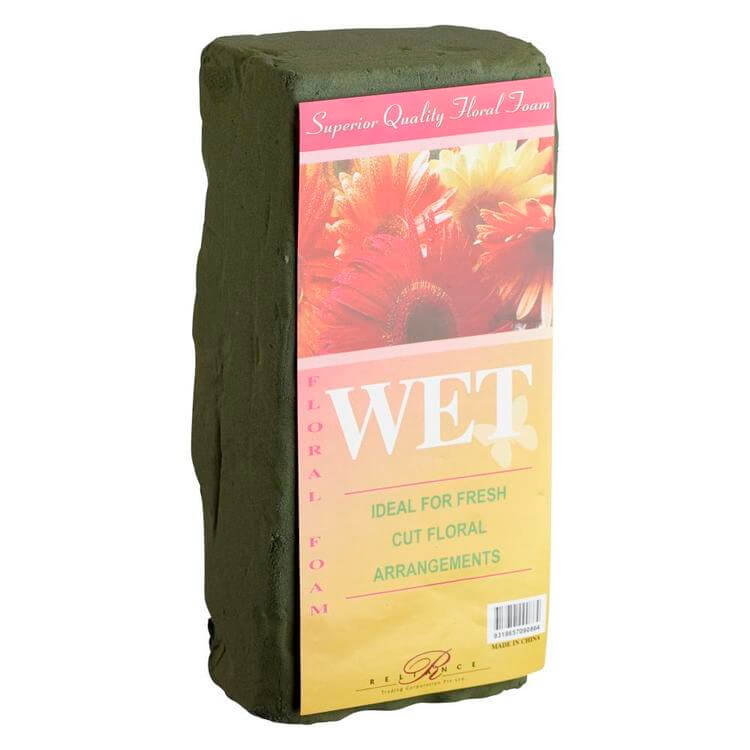
11.Floral foam wet brick SHOP HERE
12.Paintbrushes SHOP SIMLAR HERE
13.Magnetic cabinet catch SHOP HERE


TIPS
-If you are adding floral decor into the front baskets attached to the cubby, I would highly suggest you buy some floral foam to stick into the boxes beforehand as it will help keep your flowers in place and prevent them from moving around too much
-Is your cubby going to be on a hard or soft surface? If you will be placing it on a harder surface, have a think about purchasing a thick mat/little mattress for the inside of your cubby to help keep your littles feet happy while they are playing inside. We will be purchasing one of these for the inside of Noah’s cubby
-We found the door to our cubby wasn’t closing completely so Brad installed a magnetic cabinet catch to the inside of the door so then it would open and close properly like a real door. You should be able to loosen or tighten this product depending on how easy you want your child to be able to open and close the door