
Whenever I make these marble cookies I am always asked how it is that I go about making the colourful marble icing. Truth be told it really isn’t that hard so I thought it was about time I shared a proper step by step guide on how to achieve the marble effect! And look guys I am in no way a professional by any means (LOL!) but I do feel extremely confident making these cookies myself due to it being so super easy and whats even better, for a fraction of the price!
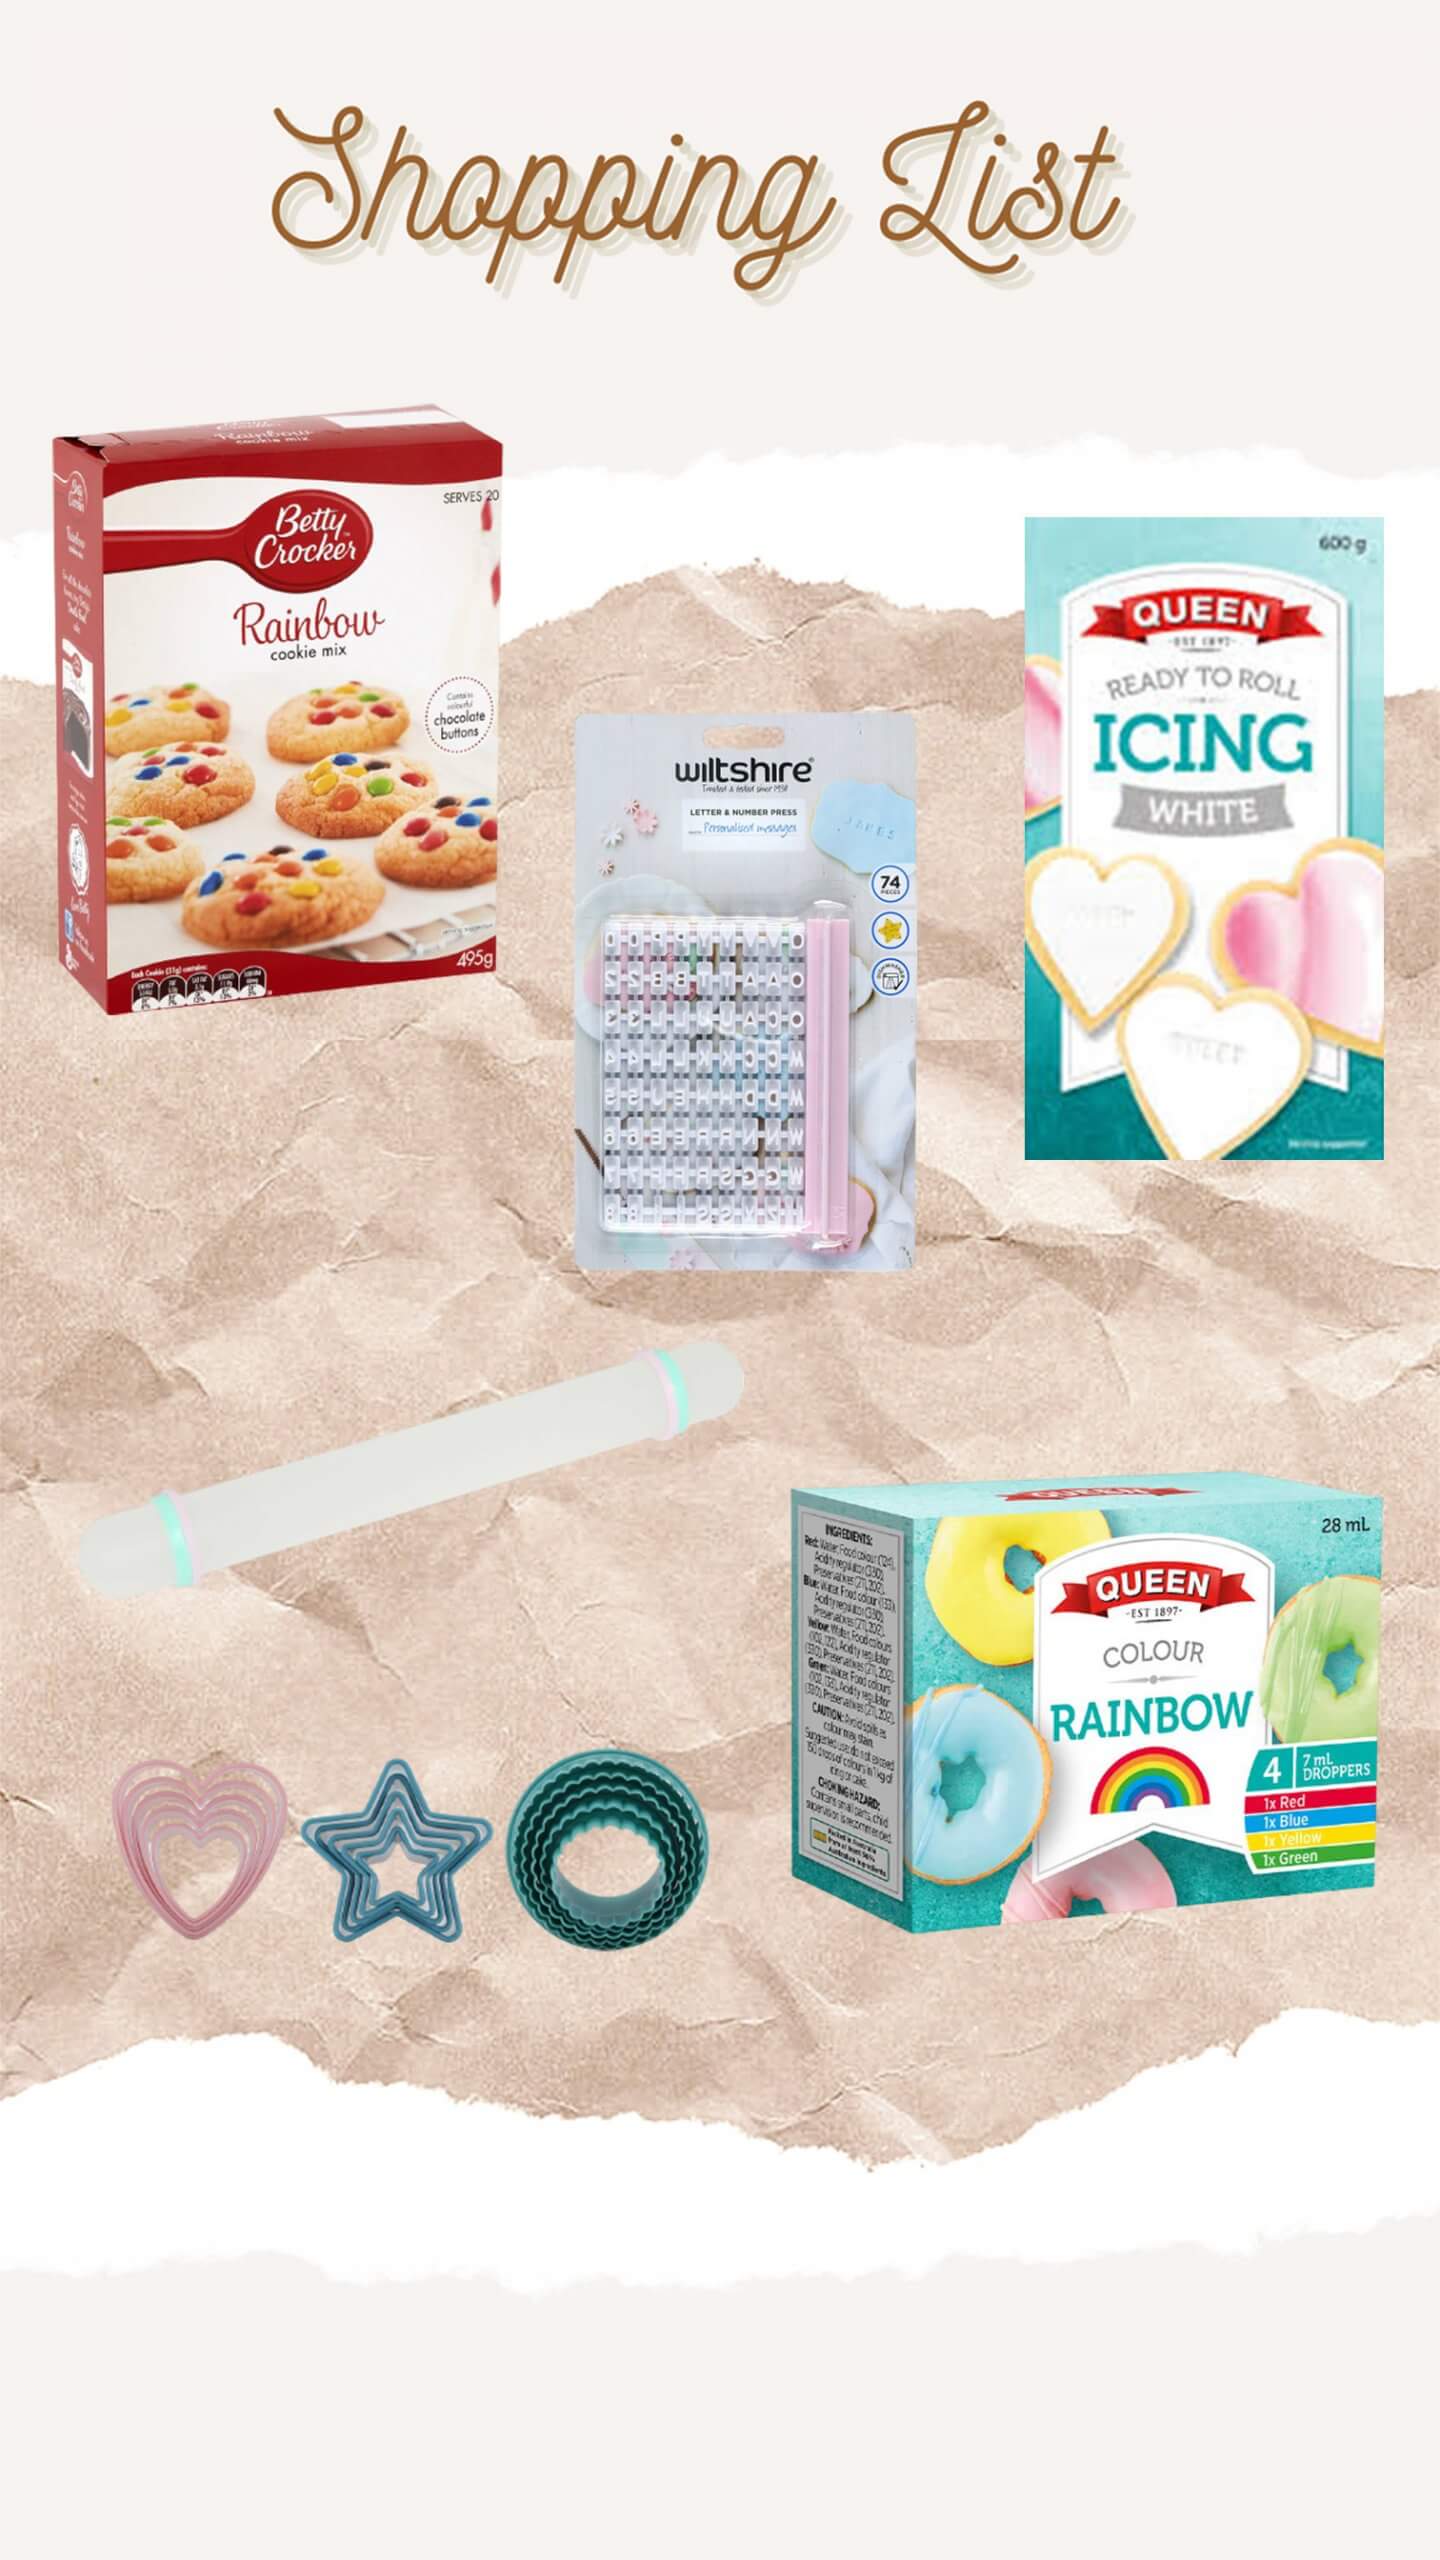
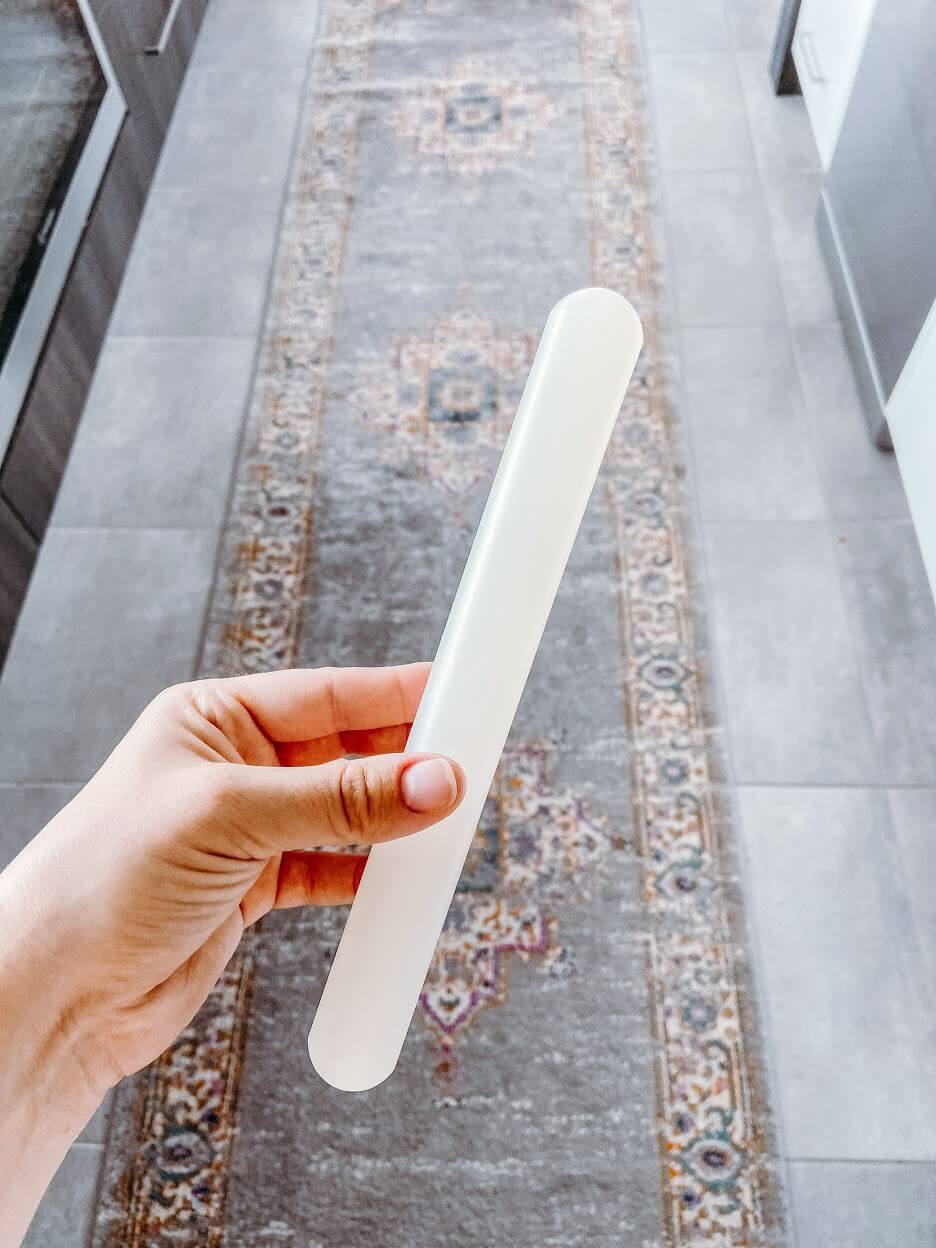
✰ Fondant roller | SHOP HERE
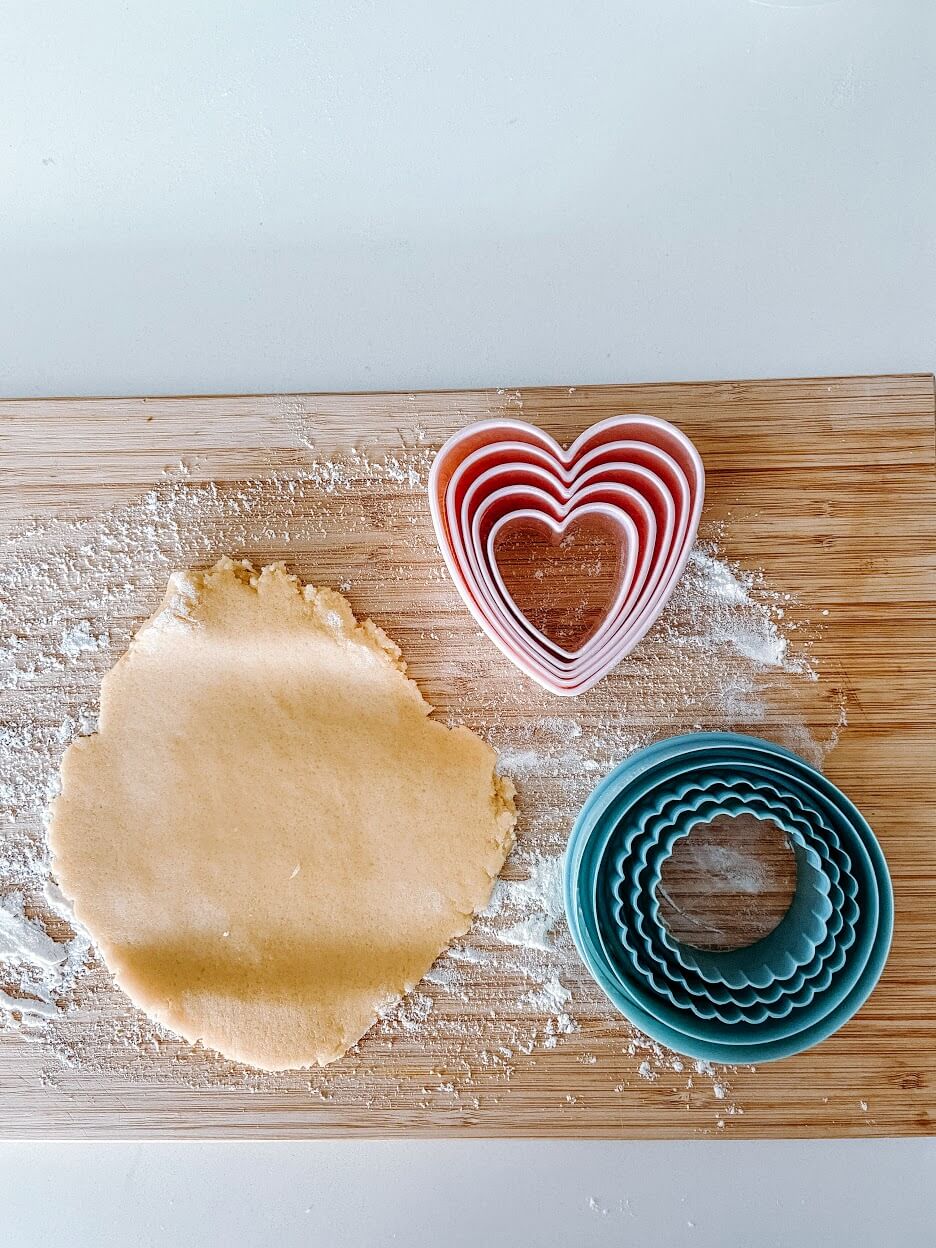
✰ Cookie cutters | SHOP HERE
✰ Letter + number press | SHOP HERE
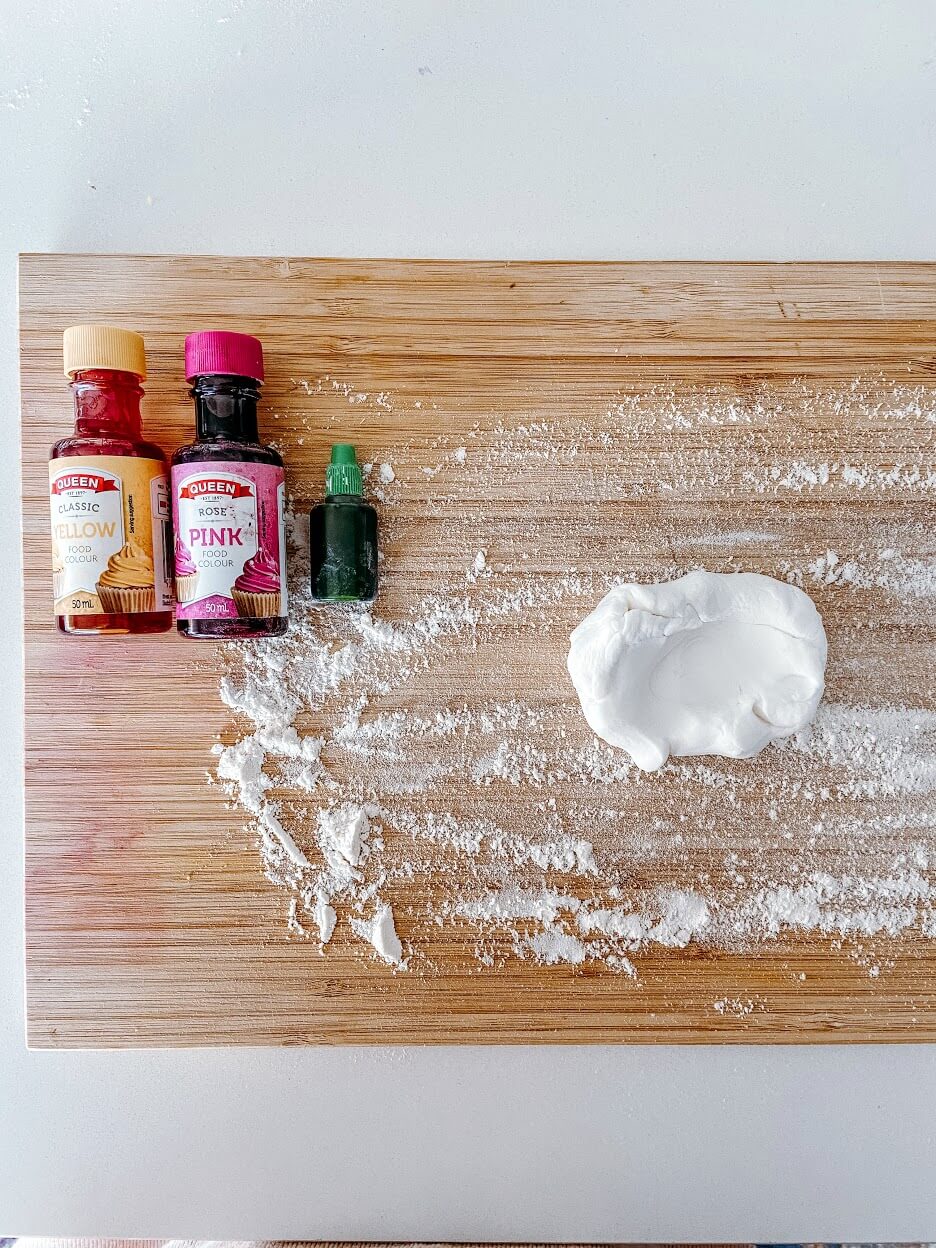
✰ Cookie mix, ready to roll icing and food colouring all purchased from Woolworth’s
STEPS
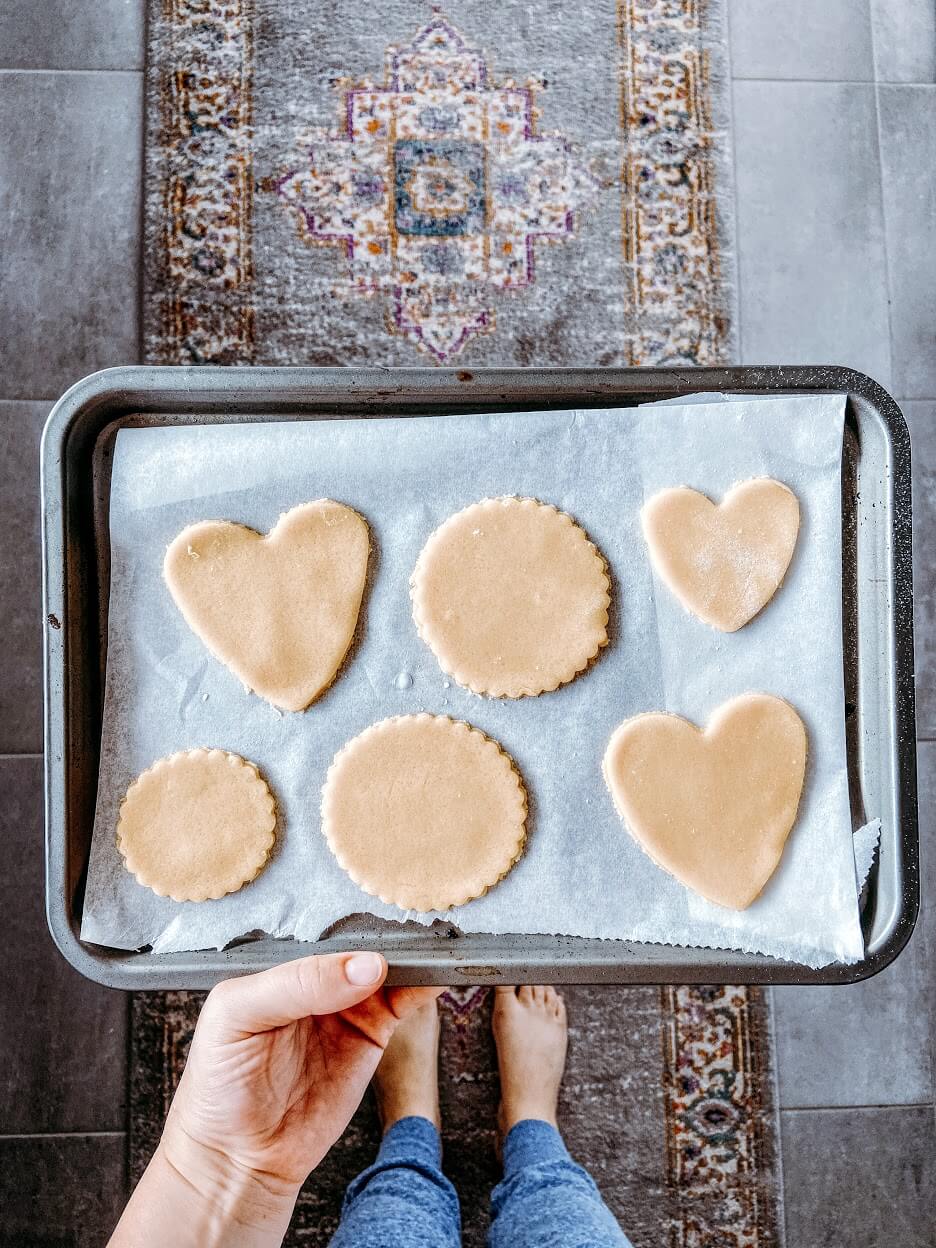
 ✰ You will obviously need to bake your cookies first and have them completely cooled before you put the icing onto them. I always make my cookies using the Betty Crocker rainbow cookie mix. As it comes with separate chocolate rainbow buttons, I just don’t add these into the mix. Then my cookie mixture is just plain vanilla. Keep in mind that this particular mixture does expand a lot so you may want to size down in what cookie cutter you use. I have never been stuck with what size cutter to use for the icing after as you can always roll the icing out once its laid onto the cookie to make it fit better. I will show you this further on. Feel free to use whatever cookie mix you like or make them by scratch as well. If I wasn’t so lazy I would probably do this option ha!

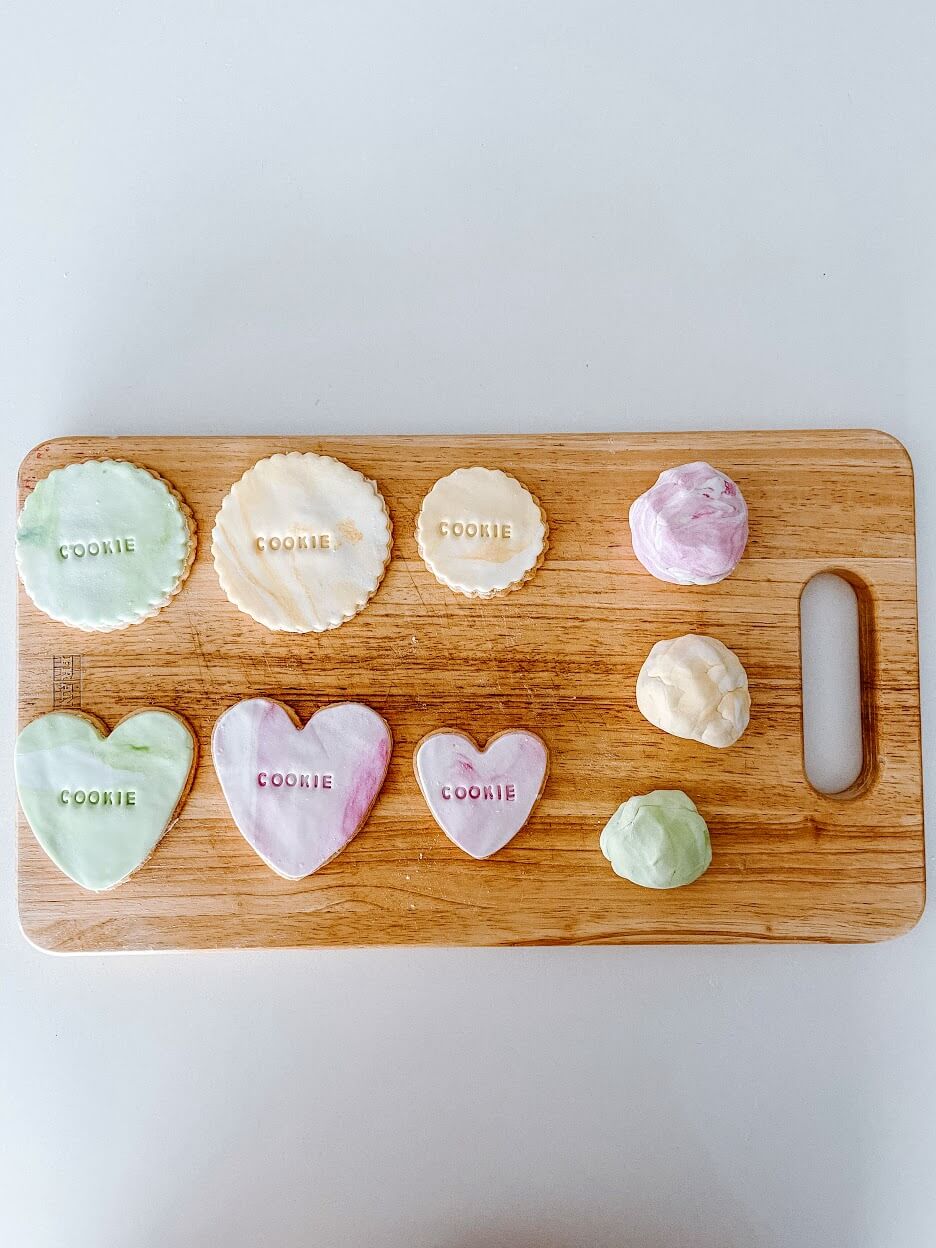
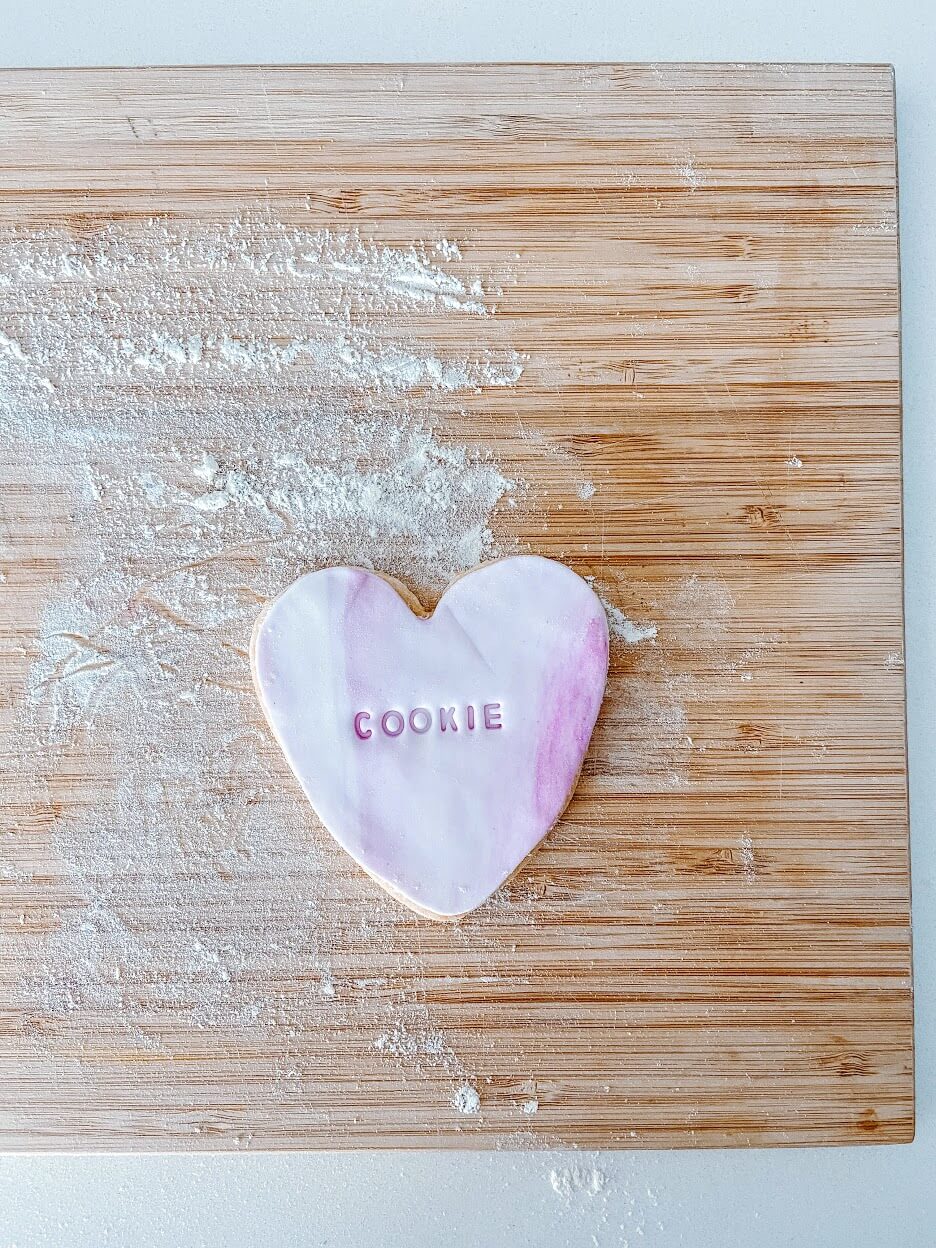
✰ Once your cookies have completely cooled down you can start on the icing. It would probably be preferable if you used a plastic/ proper icing board for rolling the icing out onto, however I just use a wooden chopping board and make sure to keep it coated in plain flour to stop the mixture from sticking and I haven’t had any issues yet. I did go out and buy a proper fondant roller though. It wasn’t expensive and I find it a whole lot easier to use than a wooden rolling pin. Now onto the fun stuff! Firstly make sure to keep whatever icing you aren’t using well covered as it does dry out quite quickly. If you are going to be creating a few different coloured cookies start off by just working with a small ball of icing. You can keep adding new icing and food colouring to your ball, and this means you aren’t over using anymore mixture than you have to. When I made the cookies for my sisters birthday I used a whole pack of 600g icing mixture and then approx an extra 200g and that made the icing for roughly 62 cookies.
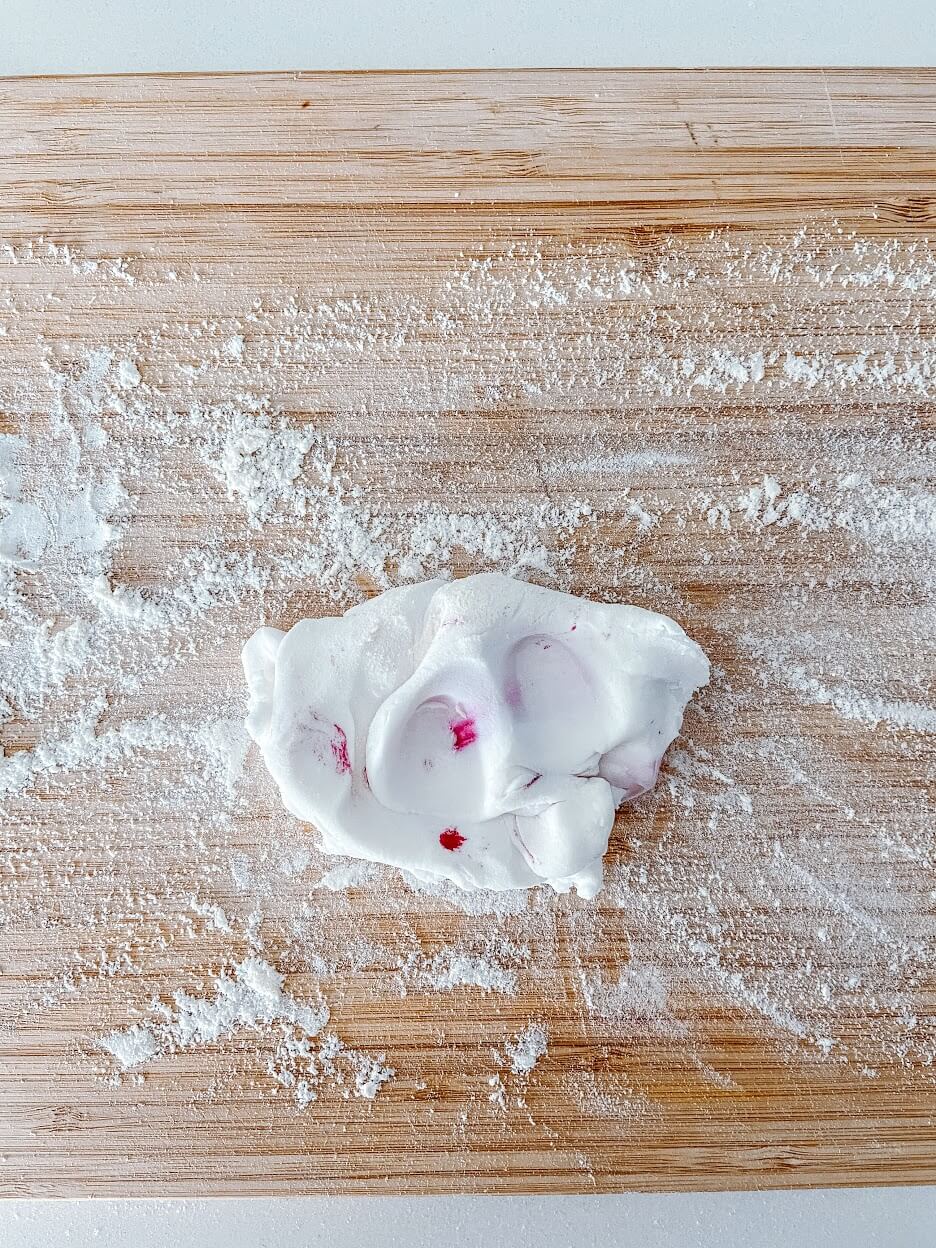
You’ll see that I took a tiny ball of icing and made a small well in the centre. Drop a tiny amount of food colouring into the centre and what your going to do next is roll the mixture into itself. Continue to do this a few times and then your going to need to start rolling it out with your fondant roller. You will notice the marble effect start to come through. If you are not happy with the colour you can always start over. Roll your icing back up and add more colouring and repeat the steps again. If your marble pattern is a tad too dilated now, just add some new white icing into the mixture and this should even it out


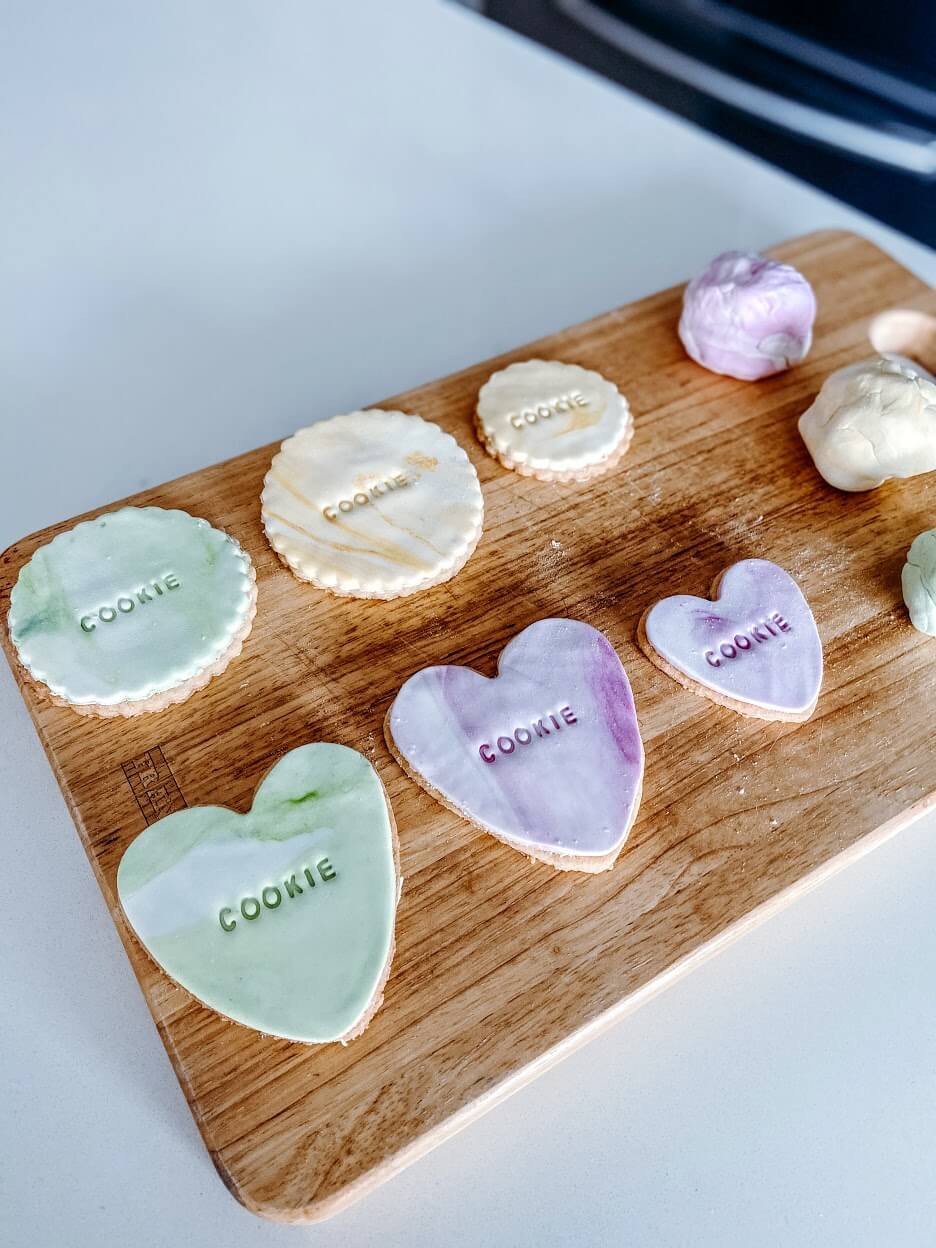
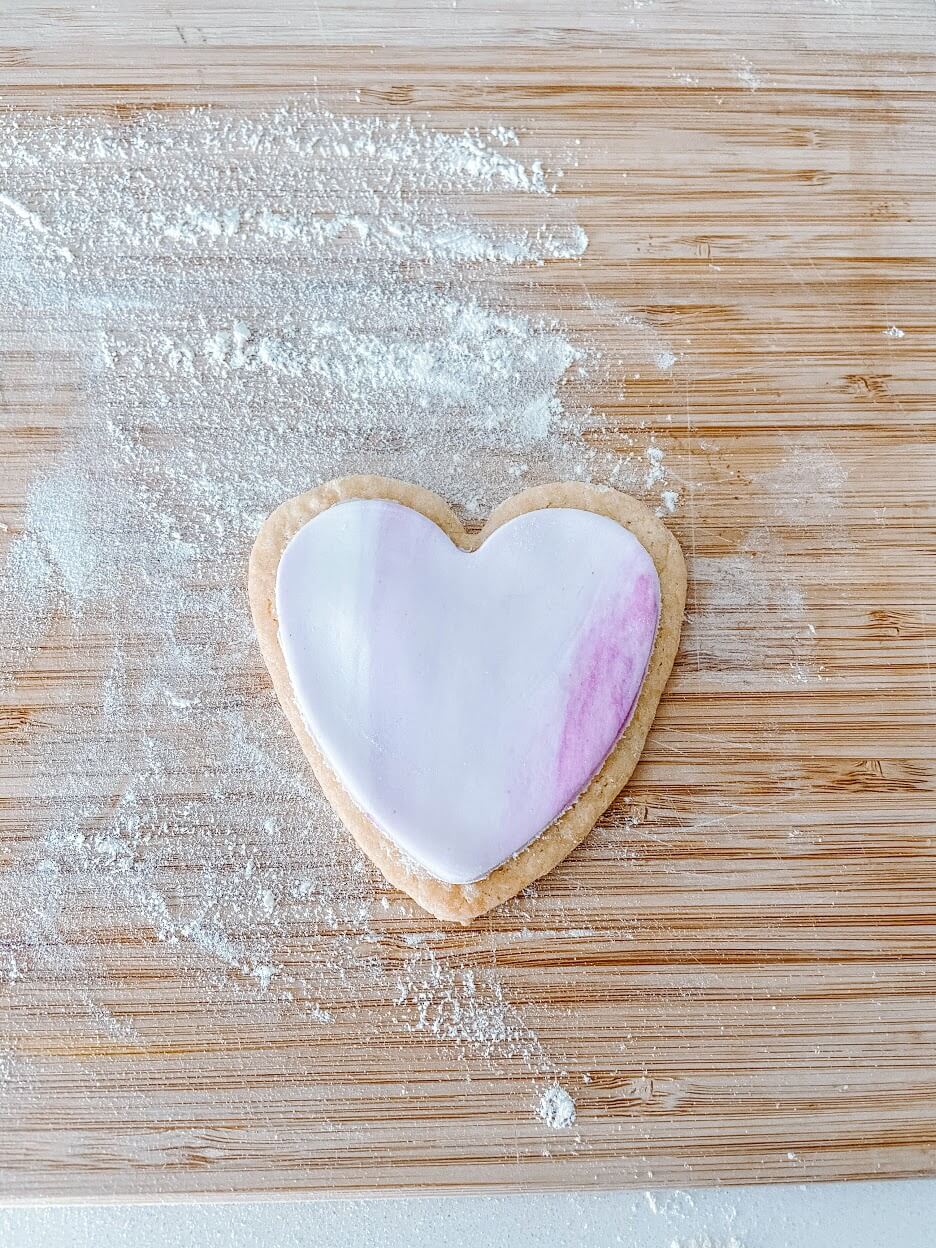
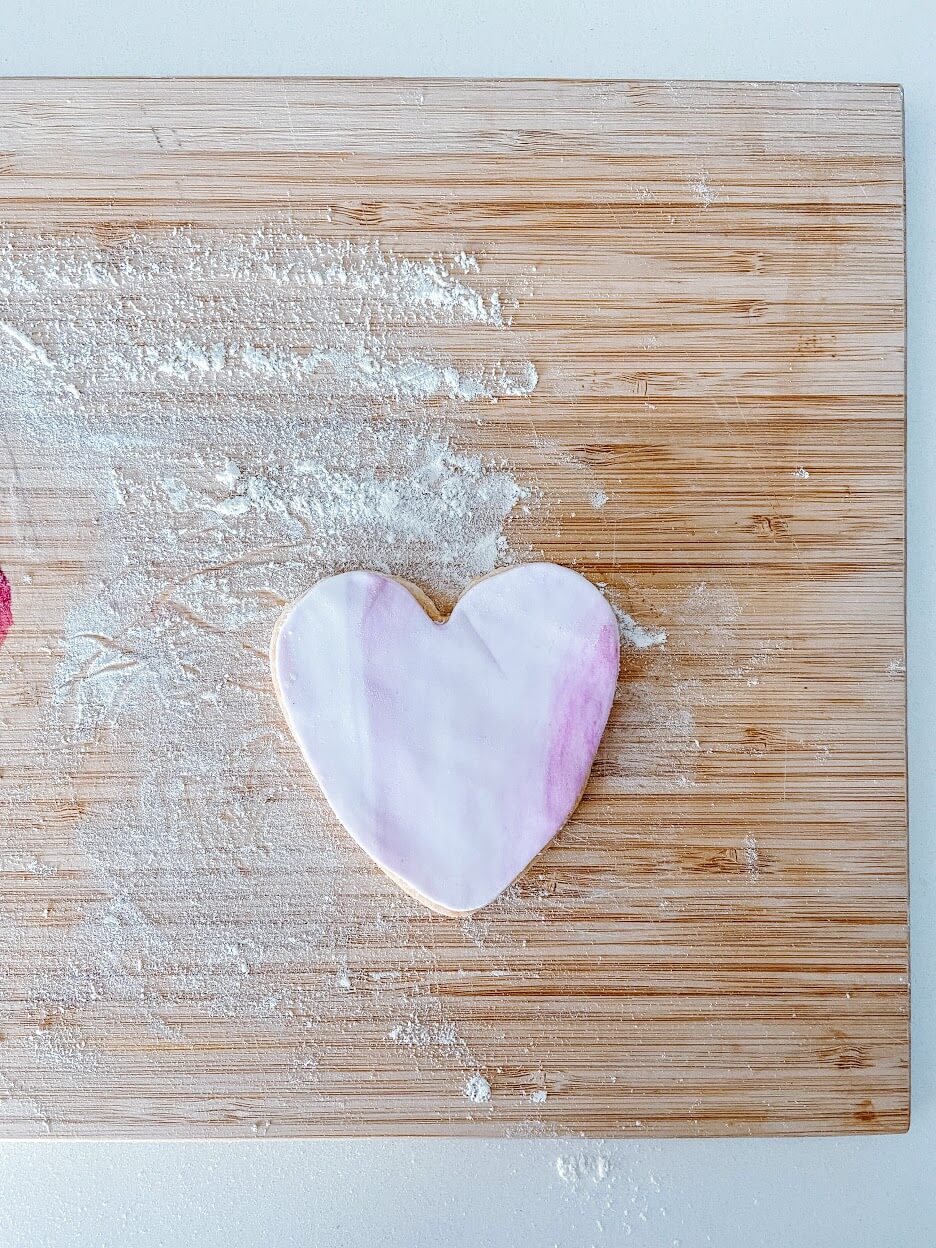
✰ Once you’ve rolled out your icing and are happy with the pattern, you can now use your cookie cutter to cut out your shape. There are two options you can do as well. If your baked cookie is not quite the same size as one of your cutters, you can use a size smaller shaped cutter and simply place the icing onto your cookie, then use your fondant roller to gently roll it out to fit on the whole of your cookie. In the picture below you’ll be able to see I did this for one of my cookies and gently rolled the mixture out until it came to the edges of the cookie
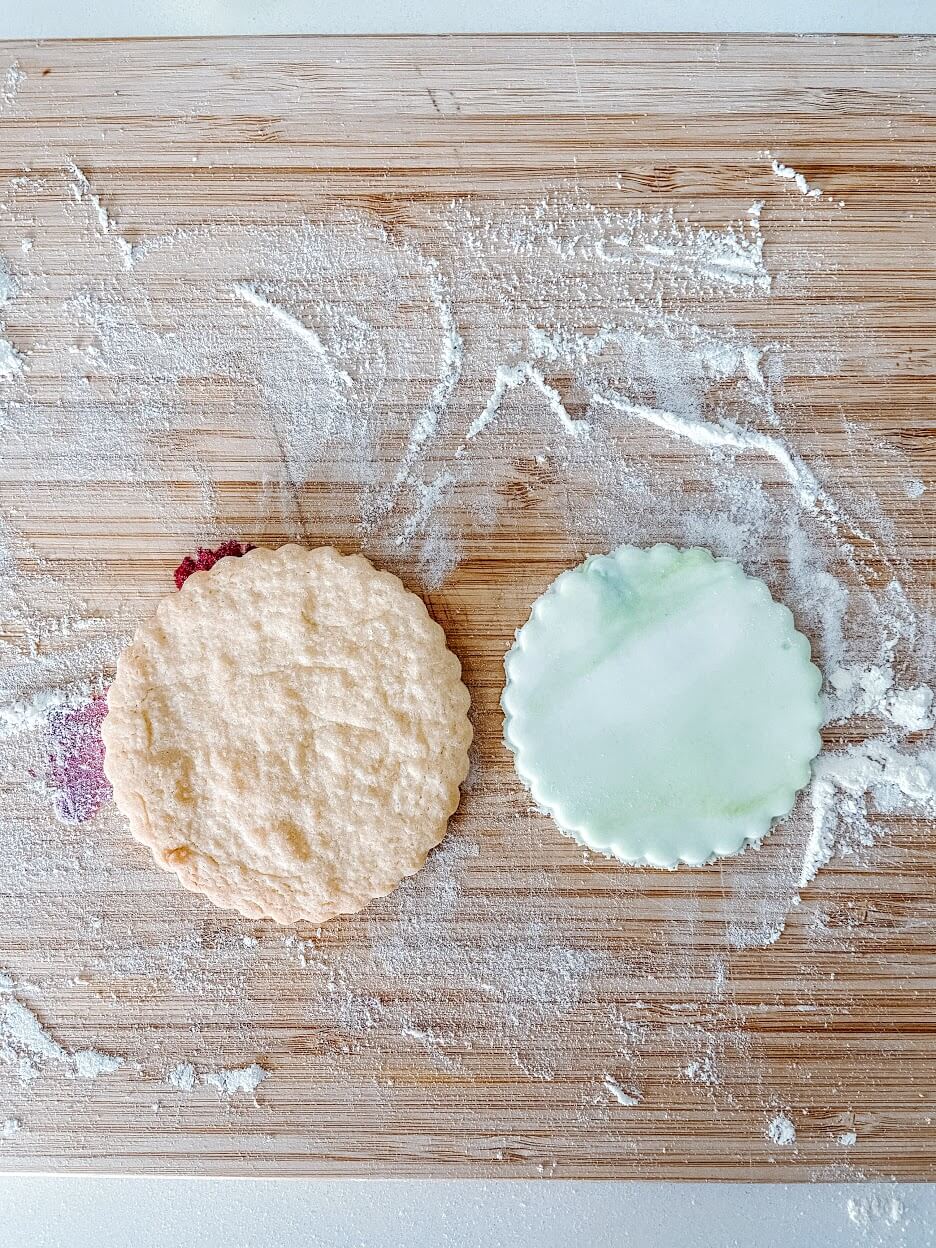
If you have one of your cookie cutter shapes that fits the exact size of the cookie by all means use this. It will be a lot easier as all you will be needing to do is cut out your shape from your icing and place it straight onto your cookie. Just a small tip as well, as the icing is not exactly too sticky I find adding a touch of water onto the top of your cookie then placing the icing on top helps to join them together better
 ✰ Now to the letter press part! This part can be very time consuming, just in terms of having to take each individual letter in and out of the little press. My suggestion would be to press the same word onto as many cookies at a time as you can, then once you’ve done this you can start on your next word. This will save having to continue to change the letters around each and every time. Eg If you are writing “Happy Birthday Betty” onto all your cookies, press the word HAPPY onto as many as you can before starting on the word BIRTHDAY. Trust me, I learnt this the hard way the first time I attempted at making these cookies. You live and you learn right ! You also might need a bit of practice with letter placement in the press. A few too many times I had some letters backwards and didn’t realise before I pressed them into my icing. I suggest pressing your letter press wording into some of your spare icing to make sure the lettering is 100% correct before you attempt it on your cookie
And another hot tip! Do your best to try not to press down too hard onto your icing as you can leave a mark from the outer sides of the letter press

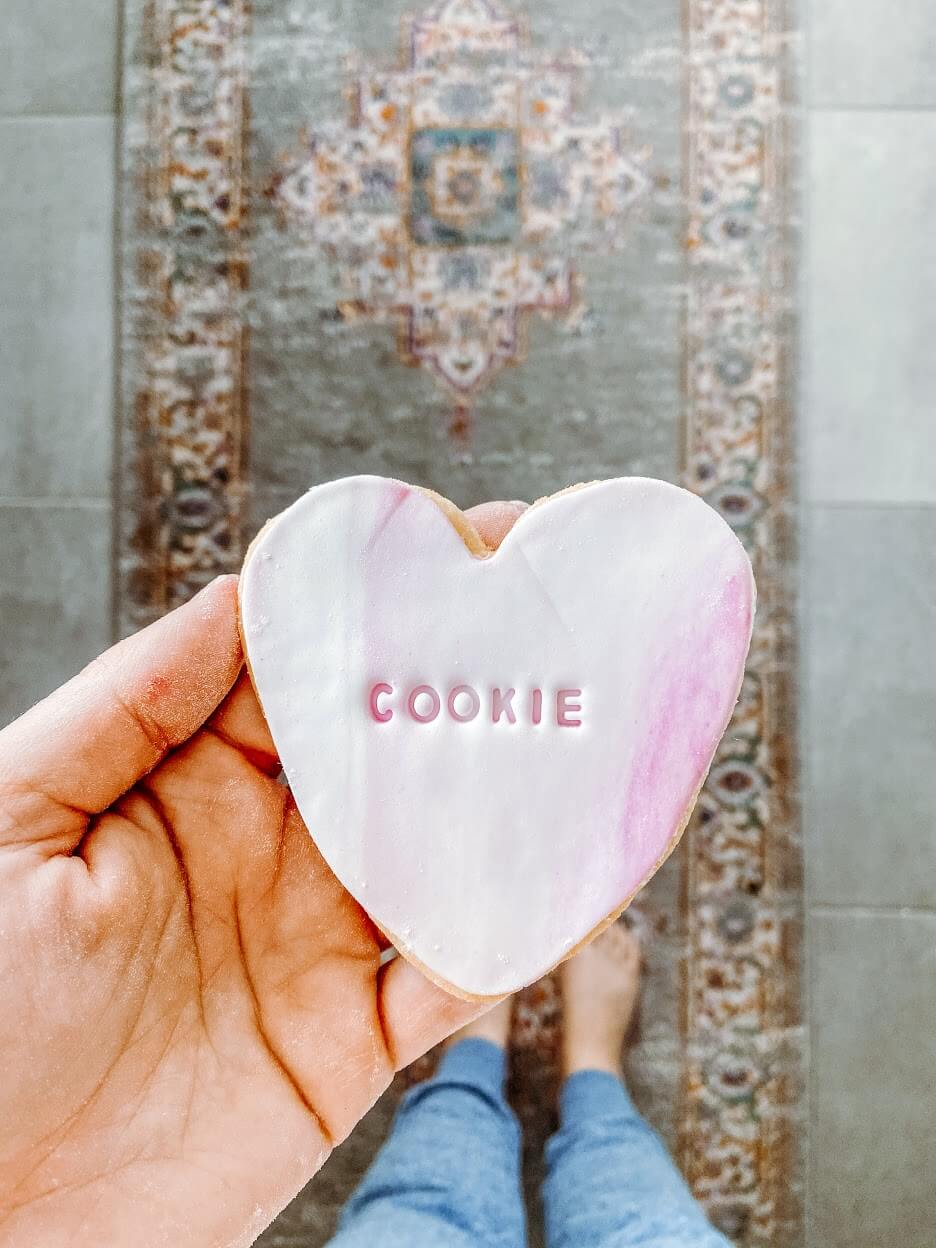


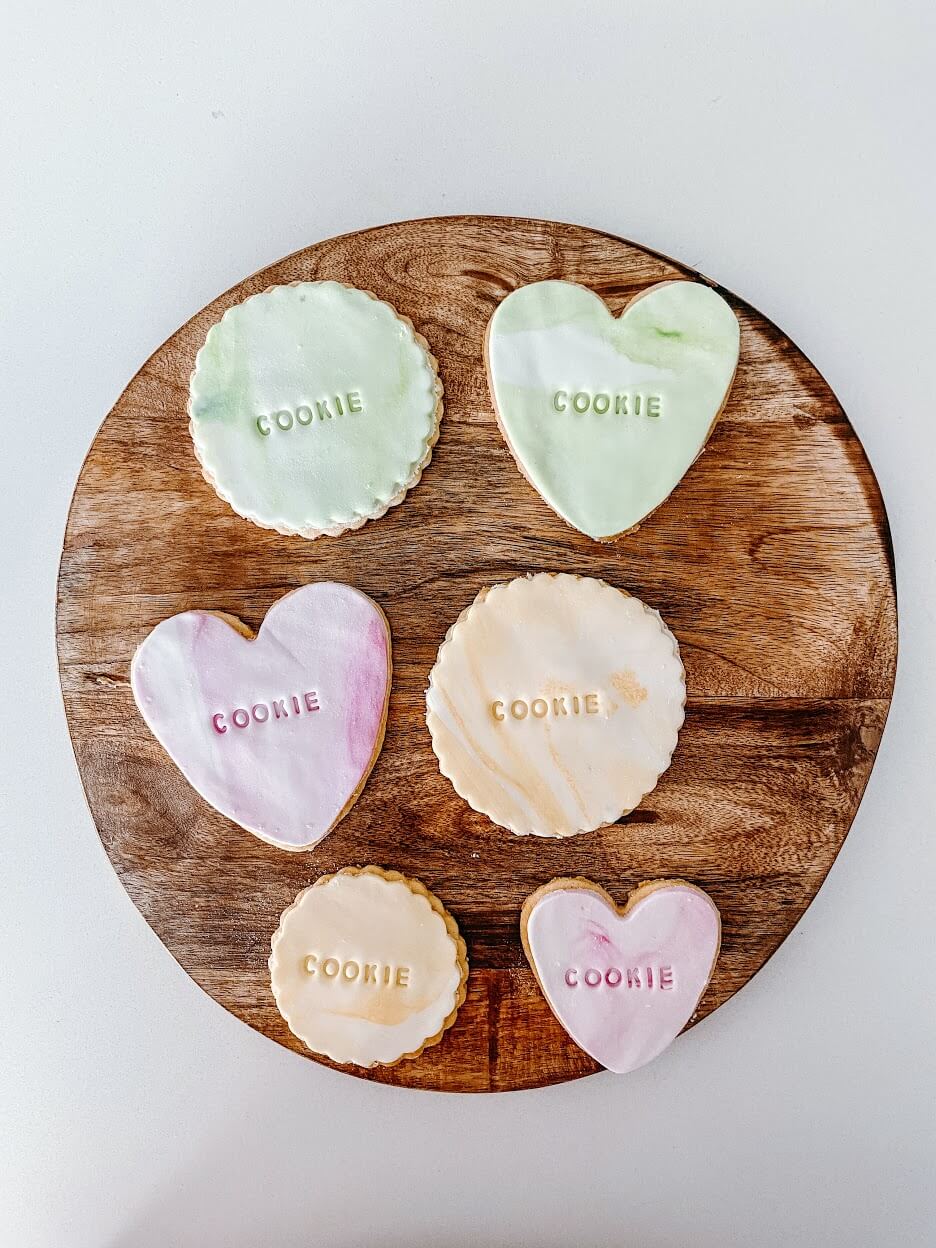
✰ And voila! Your cookies are done! Super easy, a little time consuming but very inexpensive if you are after something cute and simple for a birthday party or type of occasion. I had all the utensils already so buying the icing and cookie mixture usually comes to under $15. To make 60+ cookies (depending on how thick you make your icing as well) my total came to about $30 as I had to buy 2x packets of ready to roll icing and 4x packets of cookie mix. Feel free to decorate these even more if you wish and use other colours as well! I have seen different decorations in the baking section in Coles and Woolworth’s, even at your local home goods store. All up I am so super happy with these cookies, they make a very inexpensive and fun treat to add to any event