
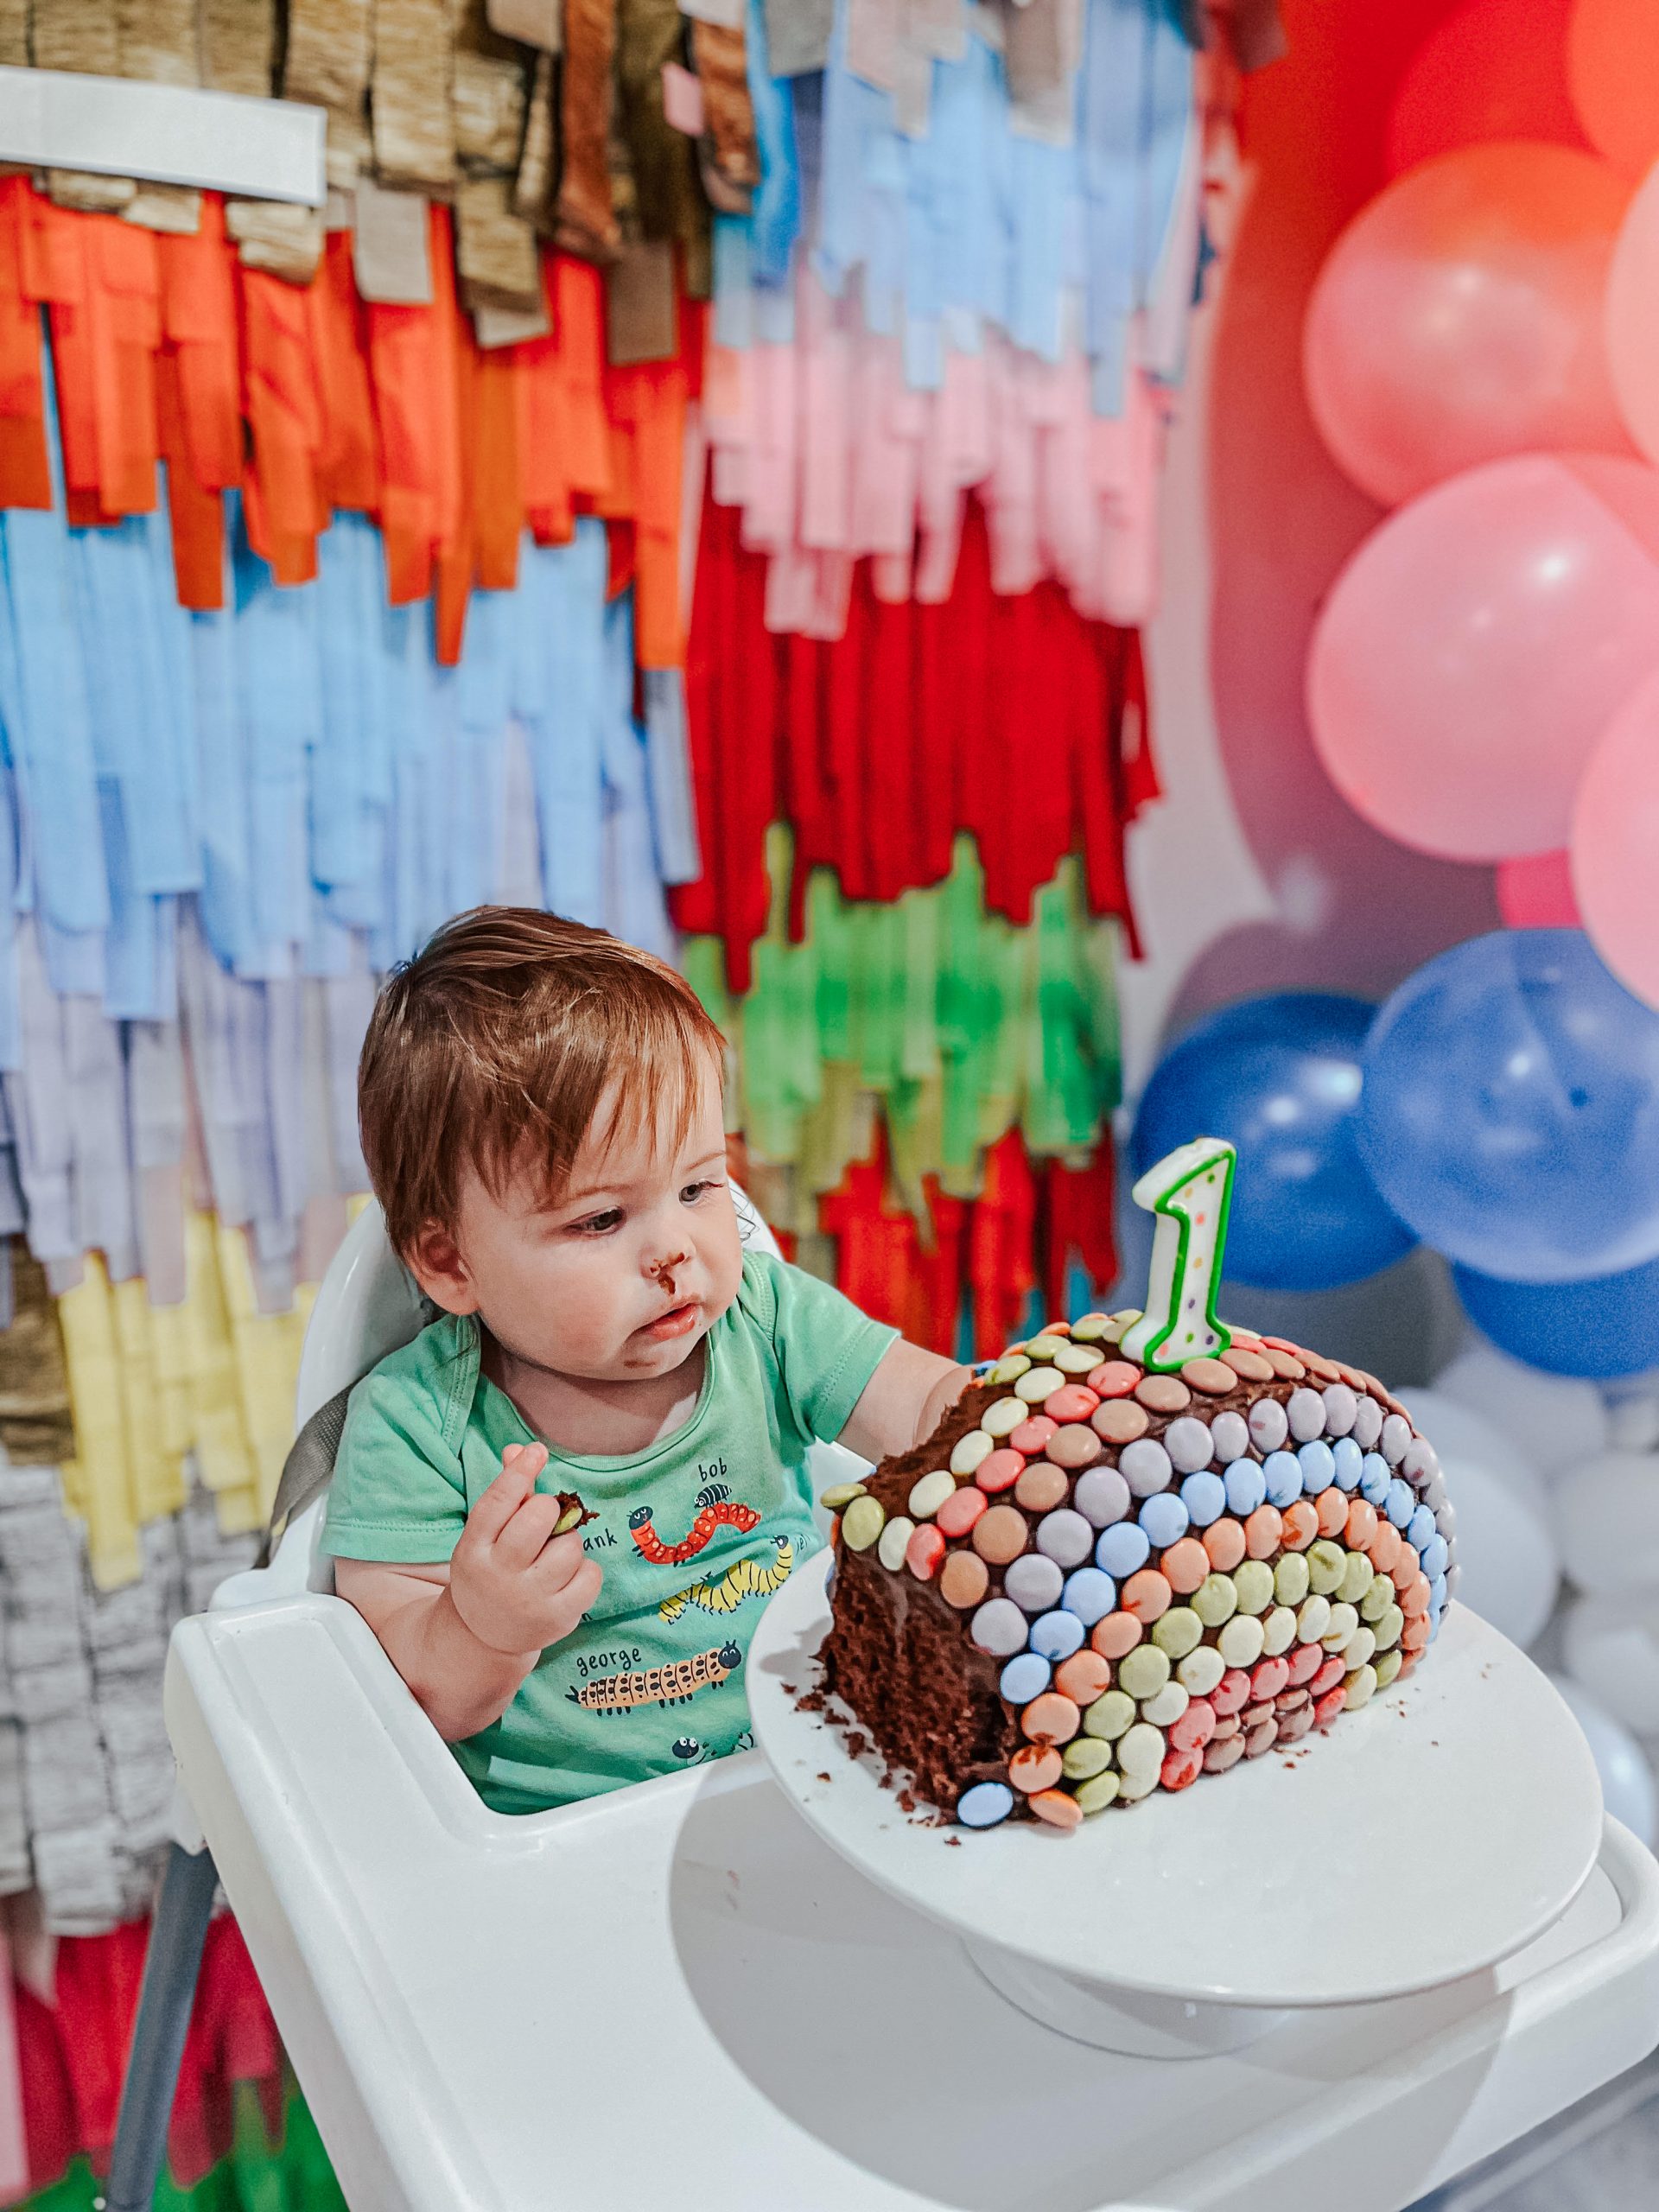
A big Happy Birthday to our little boy Max who turned 1 on the 4th of January 2022! We decided to celebrate him with a party at our house. And with it being January we are usually up for some stinking hot days, but luckily for us the weather was absolutely perfect and not hot at all! I did a little bit of Pinterest-ing a few months before his birthday to try and figure out what theme/style I’d like to run with, and I loved seeing all these bright and colourful birthday parties so that’s the direction that I decided to go! I set up and made everything myself which I love to do. It’s a huge passion of mine and I truly love being creative and seeing what things I can come up with for the boys’ birthday’s
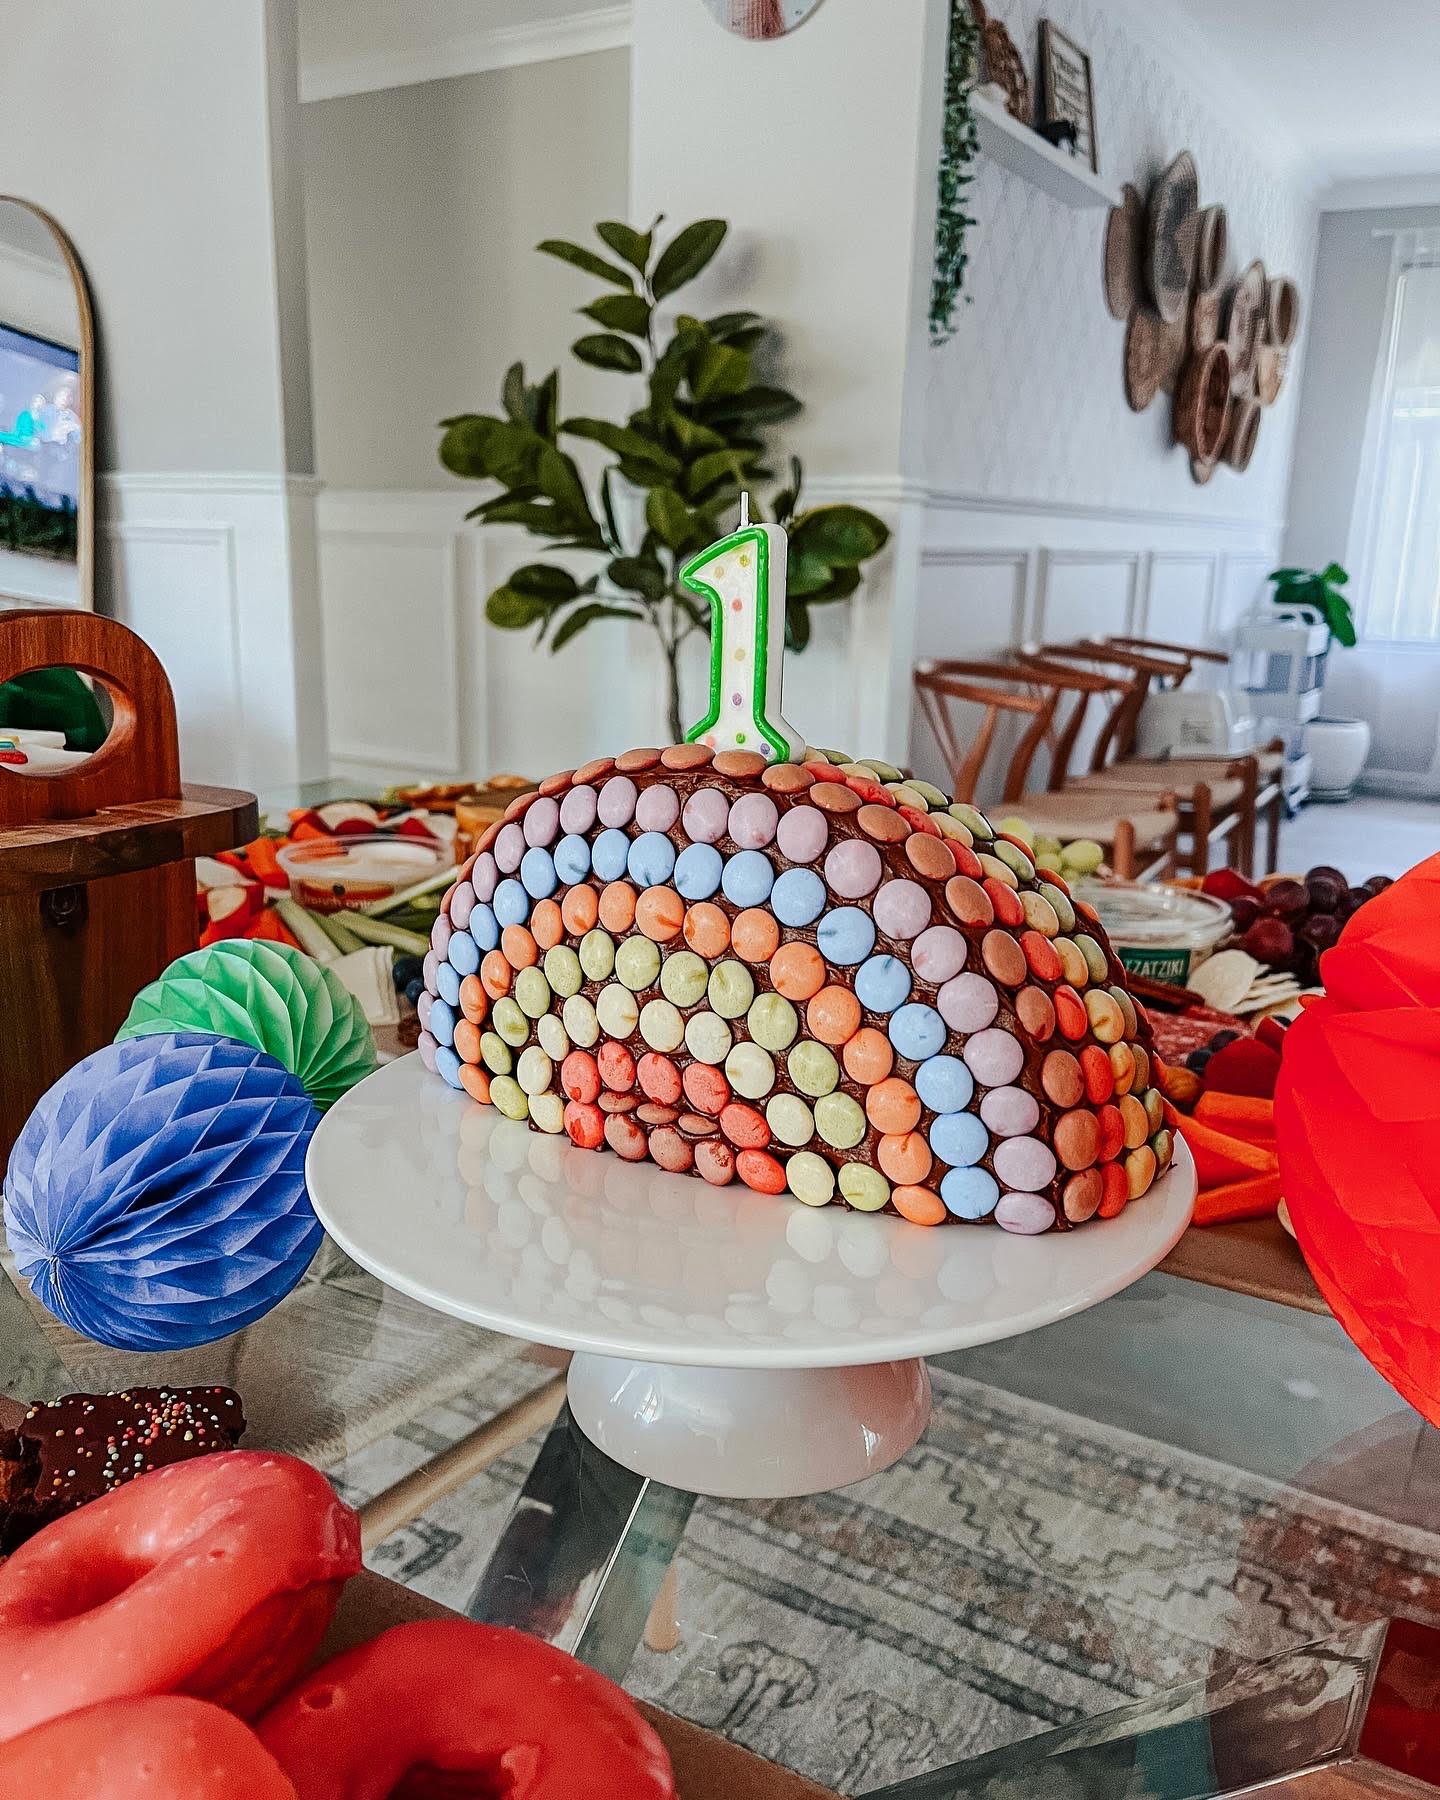
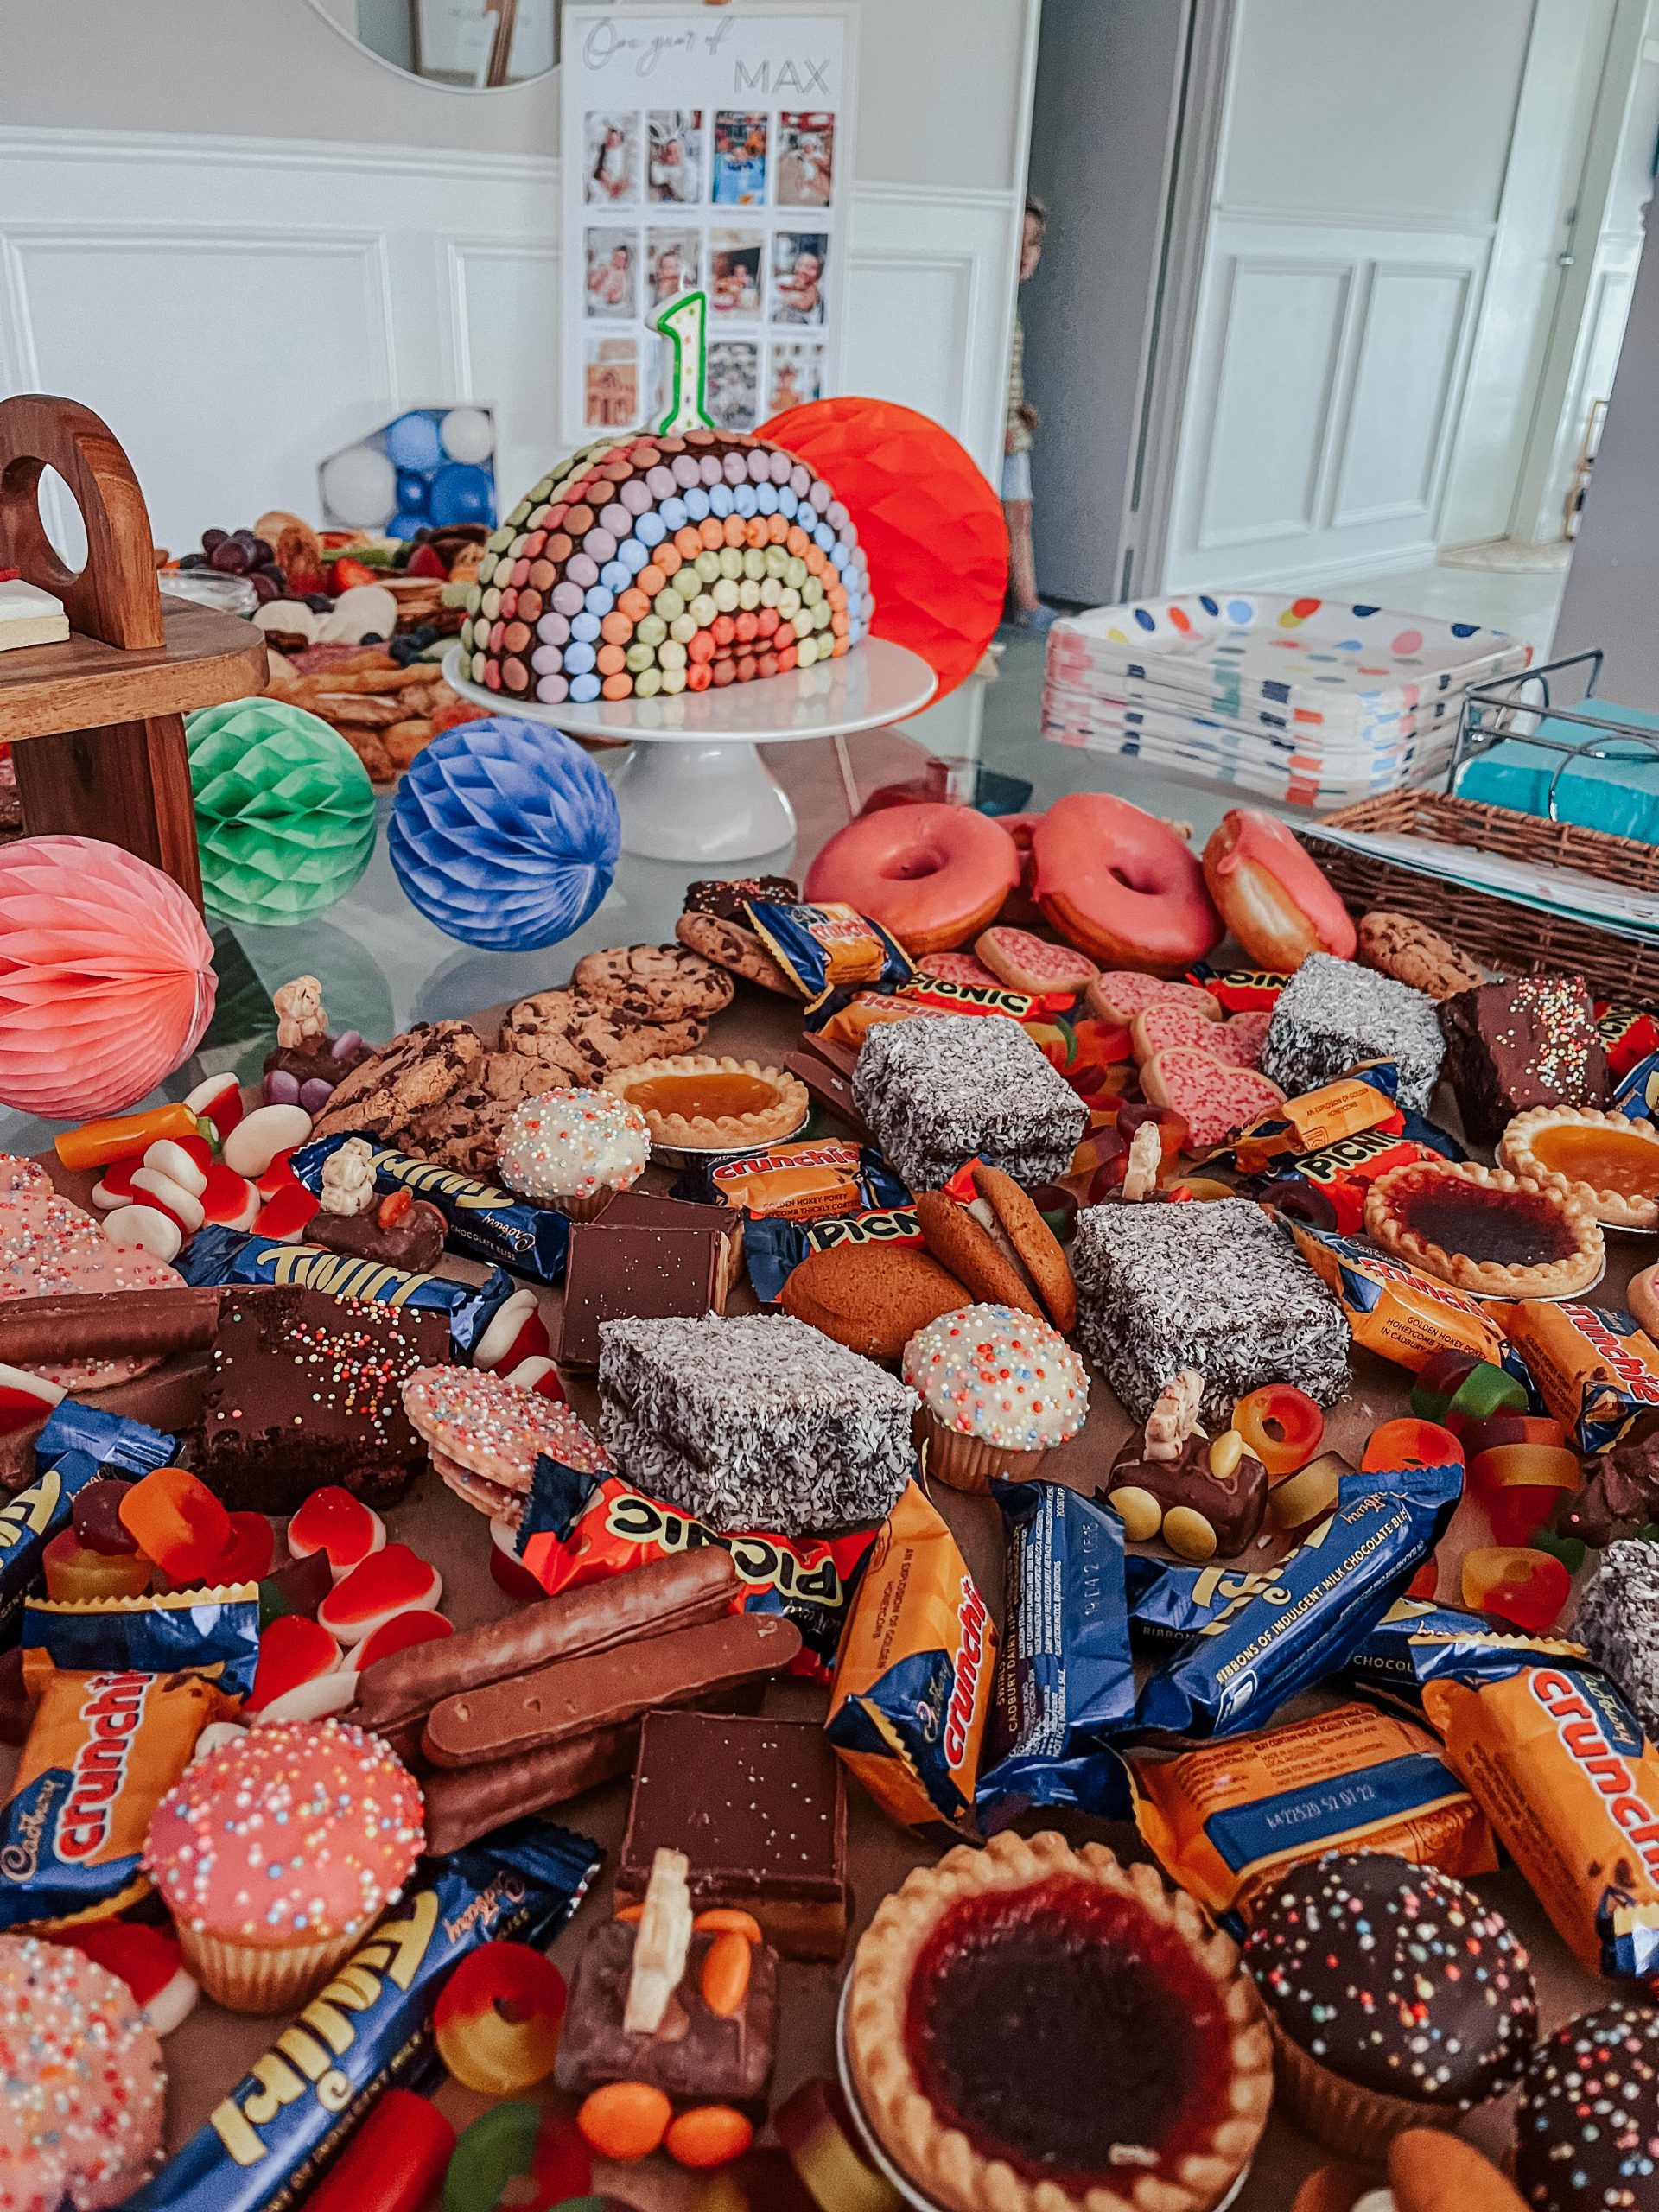
The rainbow cake 🌈
What better cake to have at a colourful themed 1st birthday than a rainbow cake! And I’m telling you this one was a super easy one to make as well!
⋆ You’ll need a springform cake tin. Size doesn’t matter too much but your standard 22.5-24cm tin will work great
⋆ Make your cake (any cake mix to your liking) and once it has completely cooled down you’ll need to cut it in half
⋆ Next will be the icing of the cake. I used a pre made buttercream icing from Woolworths (I also recommend to place your cake on whatever surface you would like to serve it on straight away as once it is iced and decorated it will be extremely hard for you to move)
⋆ Start by icing the middle sections of your cake. Ice one side and then stick them both together so they form the shape of a rainbow (I found it best to ice the rest of the cake in sections so that the icing doesn’t set too much before you start decorating with smarties)
⋆ Line the smarties over the whole cake (but again work in sections first ie. the front, back and top of the cake) I found it best to start at the top of the cake and work my way inwards
⋆ If you are also having a cake topper, place that in first so then you can line your smarties around it
*Number 1 cake topper purchased from Red Dot*
Rainbow banner cookies
I spotted a very similar design for the cookies that I made for Max over at Pinterest quite a few months ago so I instantly locked that picture away in my mind and knew I just had to try and recreate them for his birthday. You’ll need an easy sugar cookie recipe to make these so I will link the one I use for all my cookies below
⋆ White/coloured fondant icing was purchased at Woolworths
⋆ You will need to purchase edible glue (from a kitchen store/spotlight/baking store etc) as this will bond your fondant to your cookies
⋆ Coloured banner fondant was cut out using a knife. I’m sure there are definitely more technical and better ways at doing it, I just found using a knife worked just as well for the shapes I needed
⋆ I made the cookies Thursday and stored them in the fridge in an air tight container till Saturday
⋆ ‘One’ cookie letter cut out I already had from Noah’s first birthday. I think I may have purchased it off Etsy
*Sugar Cookie recipe* HERE

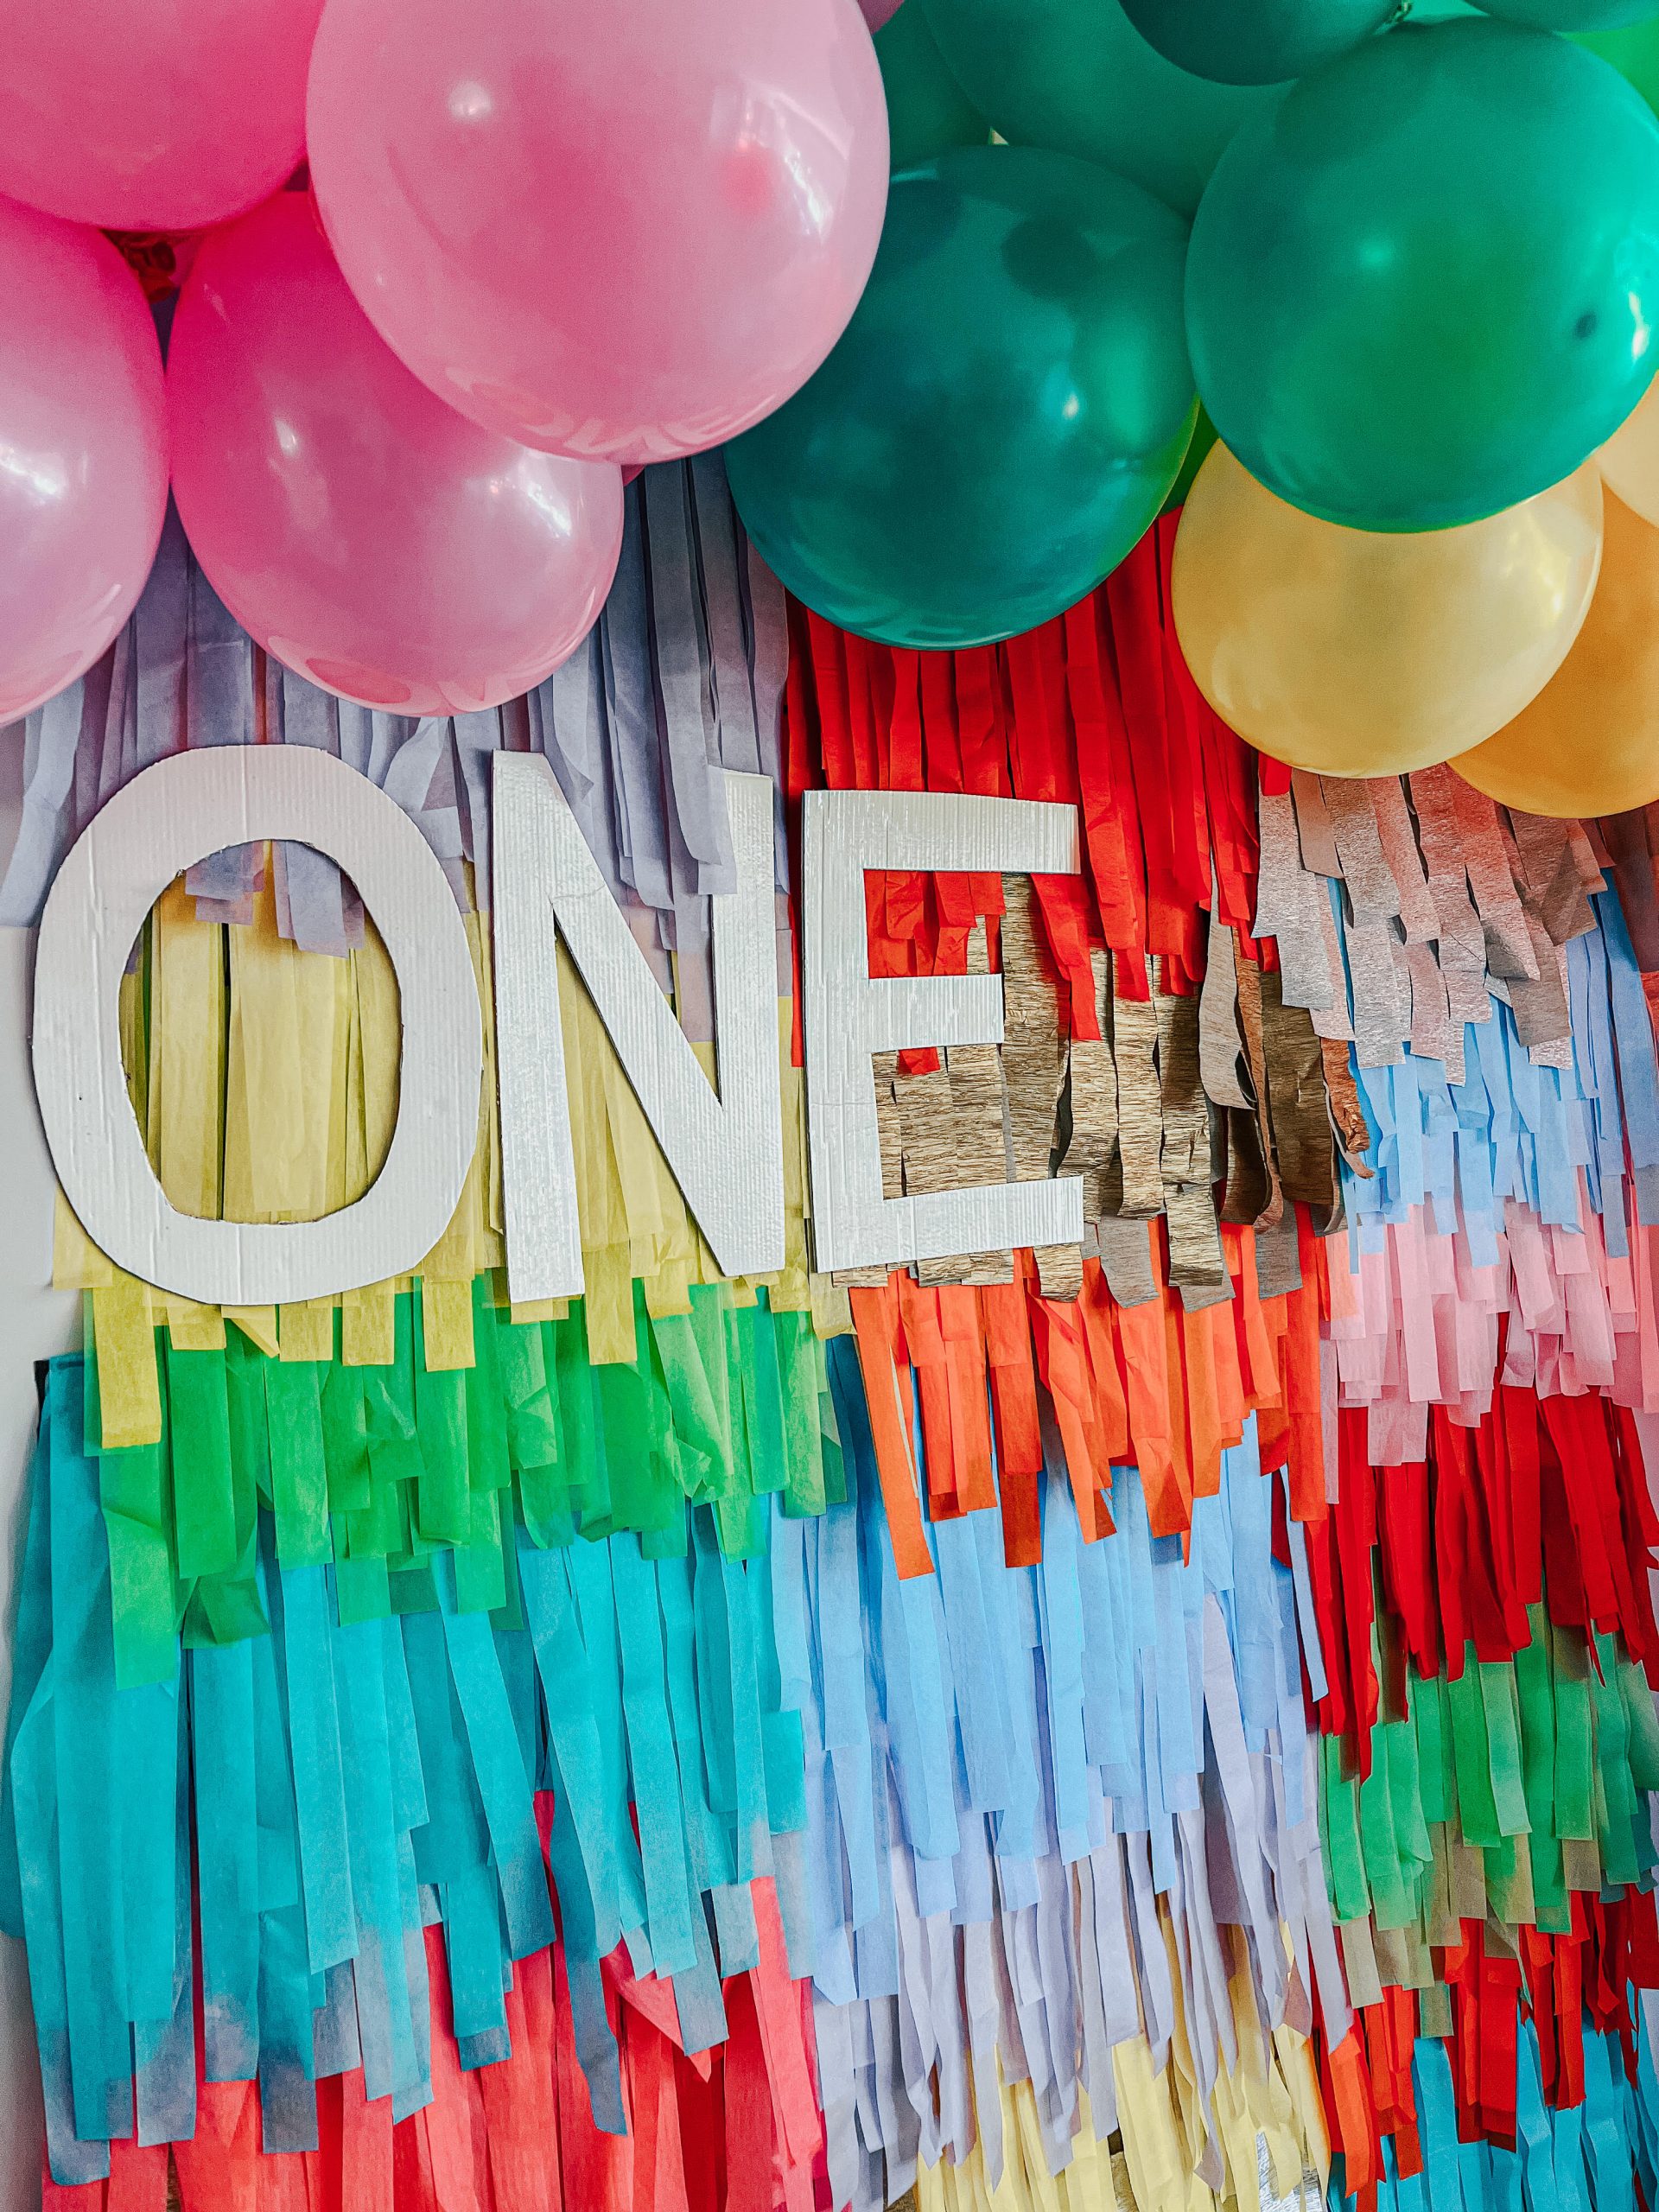
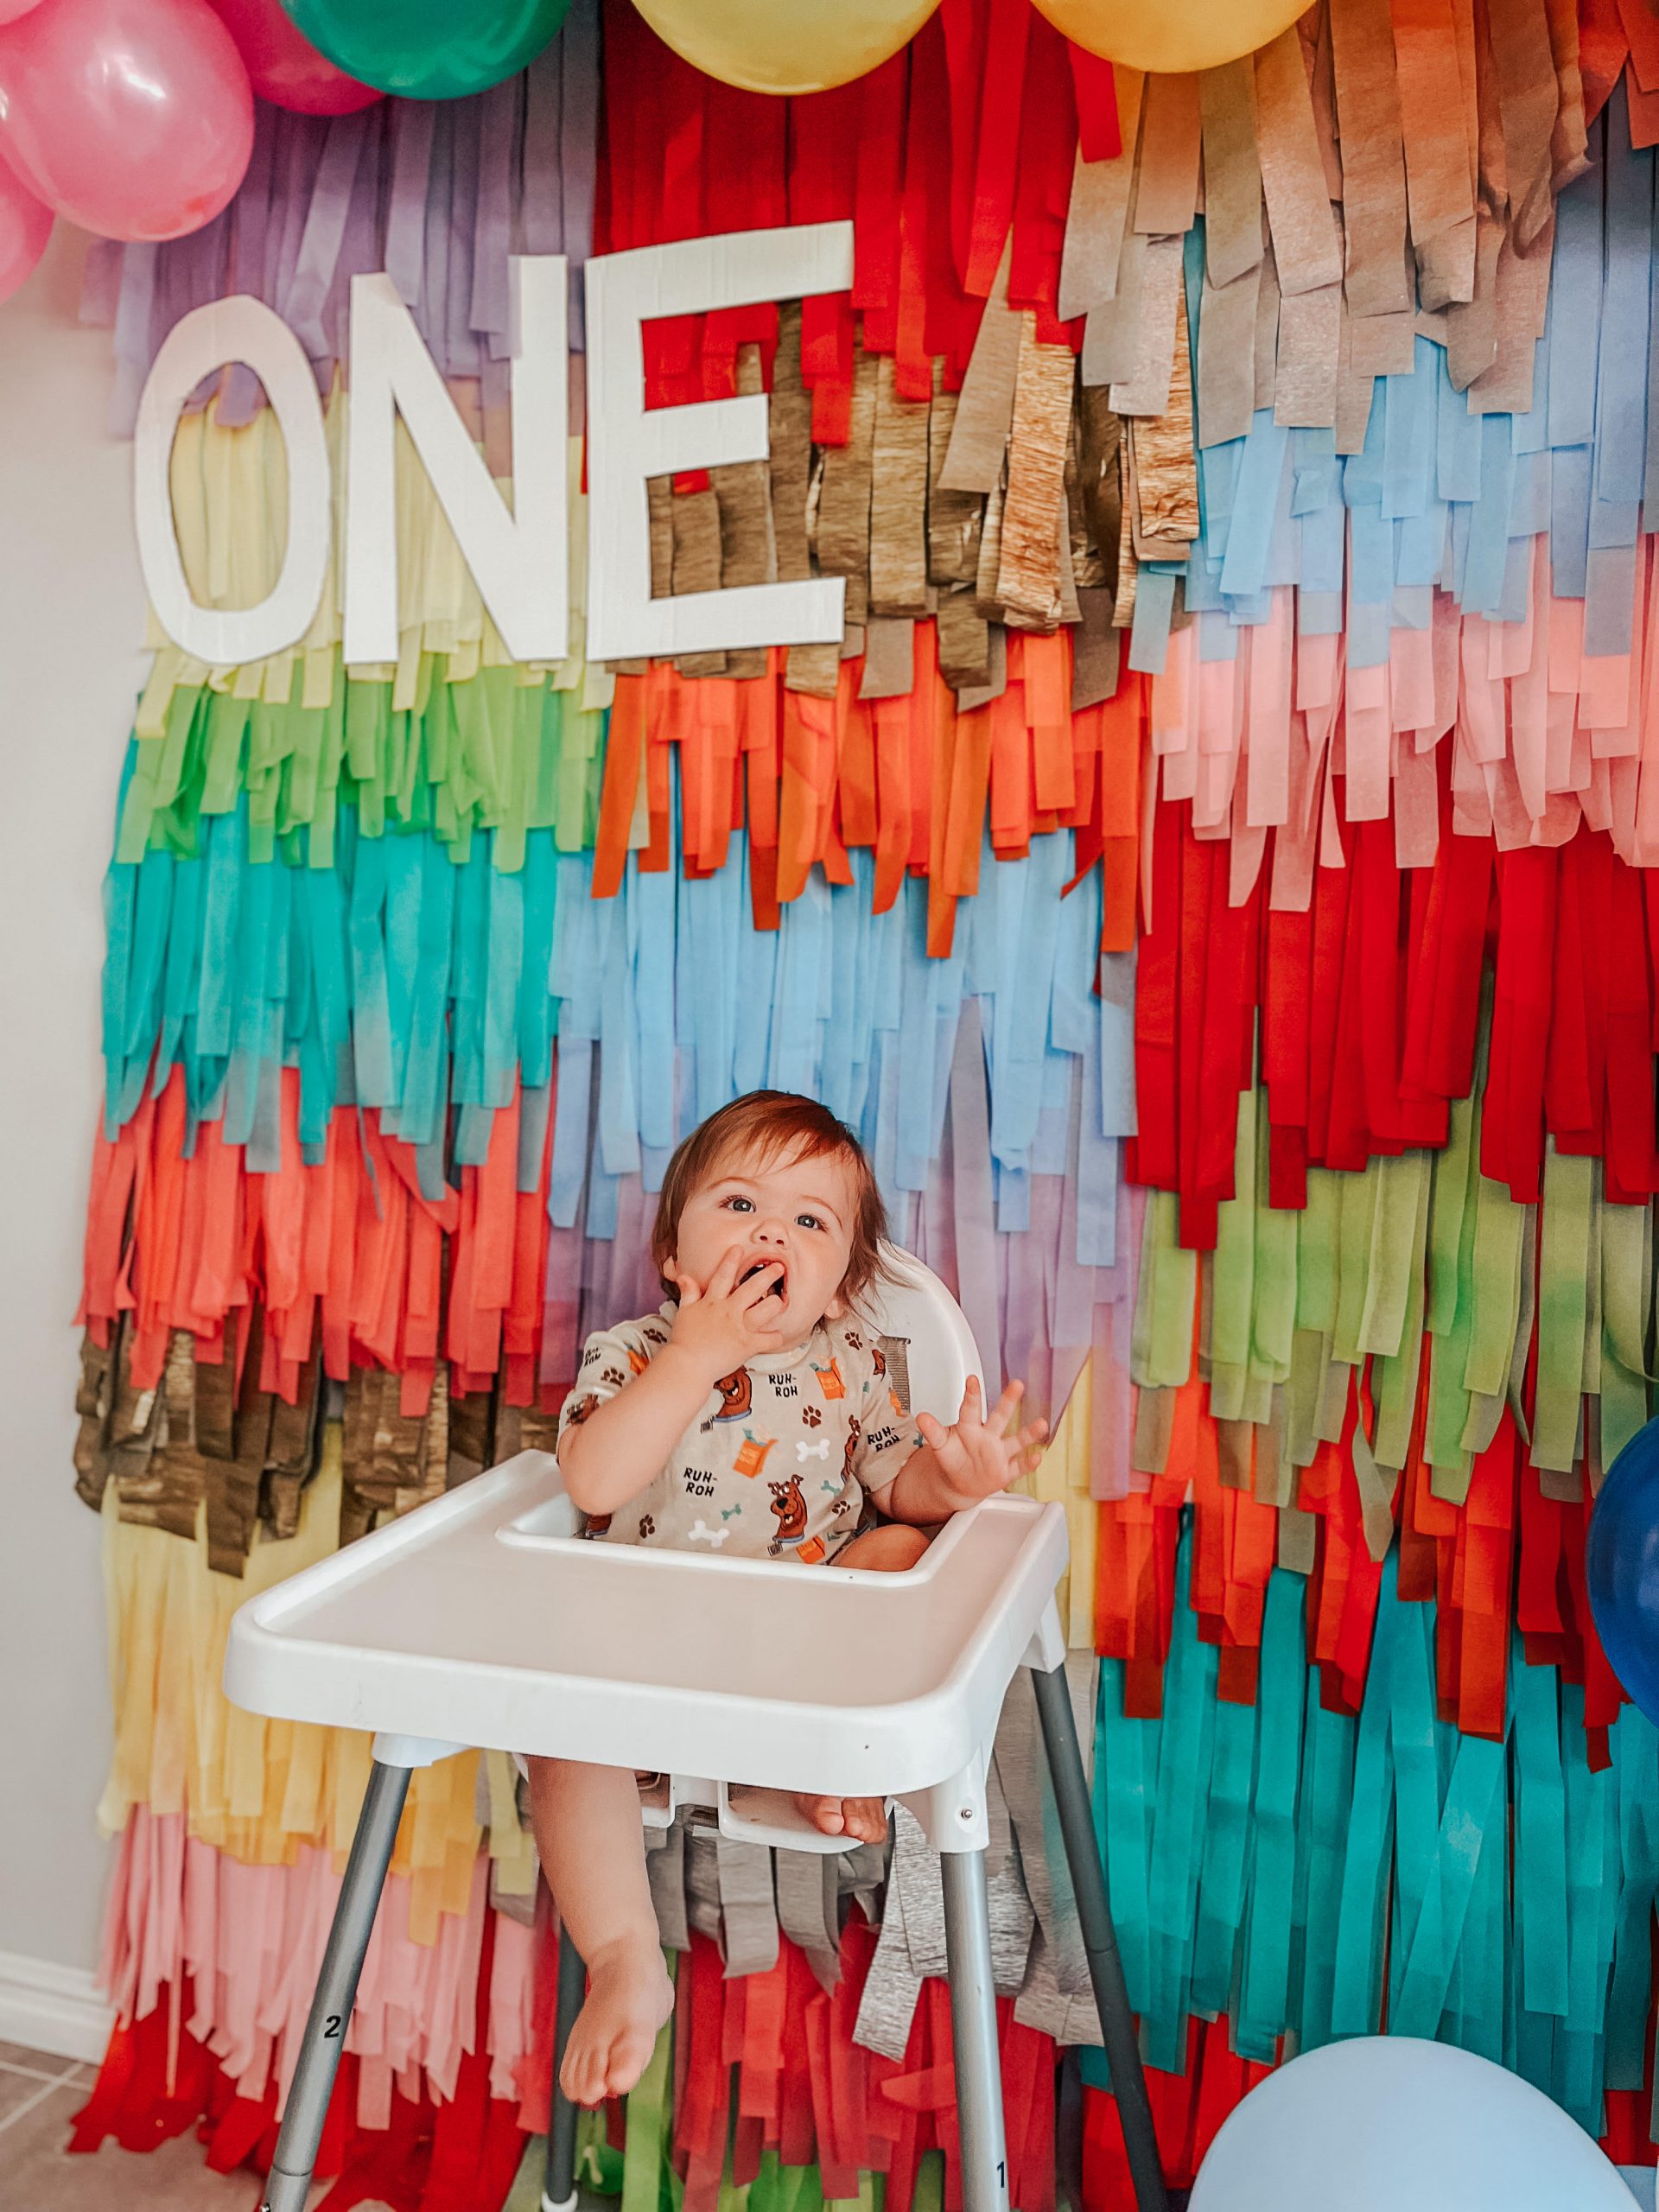
Mesh streamer backdrop + balloon garland
I loved the idea of a tassel backdrop yet after doing a whole heap of research realised that if I wanted one made it was going to cost me upwards of $400+ dollars and I am not about that life! So, after doing a bit of online digging I discovered that Kmart sell a kit where you can make one yourself and it was only $4. Yep $4! The kit comes with one section of mesh and the streamers so if you are after a longer backdrop like how I have made you’ll need to purchase a few kits. I made 3 in total. The kit also comes with instructions on where to place your streamers.
*I also purchased some silver and gold streamers from Red Dot and replaced some of the original colours in the backdrop
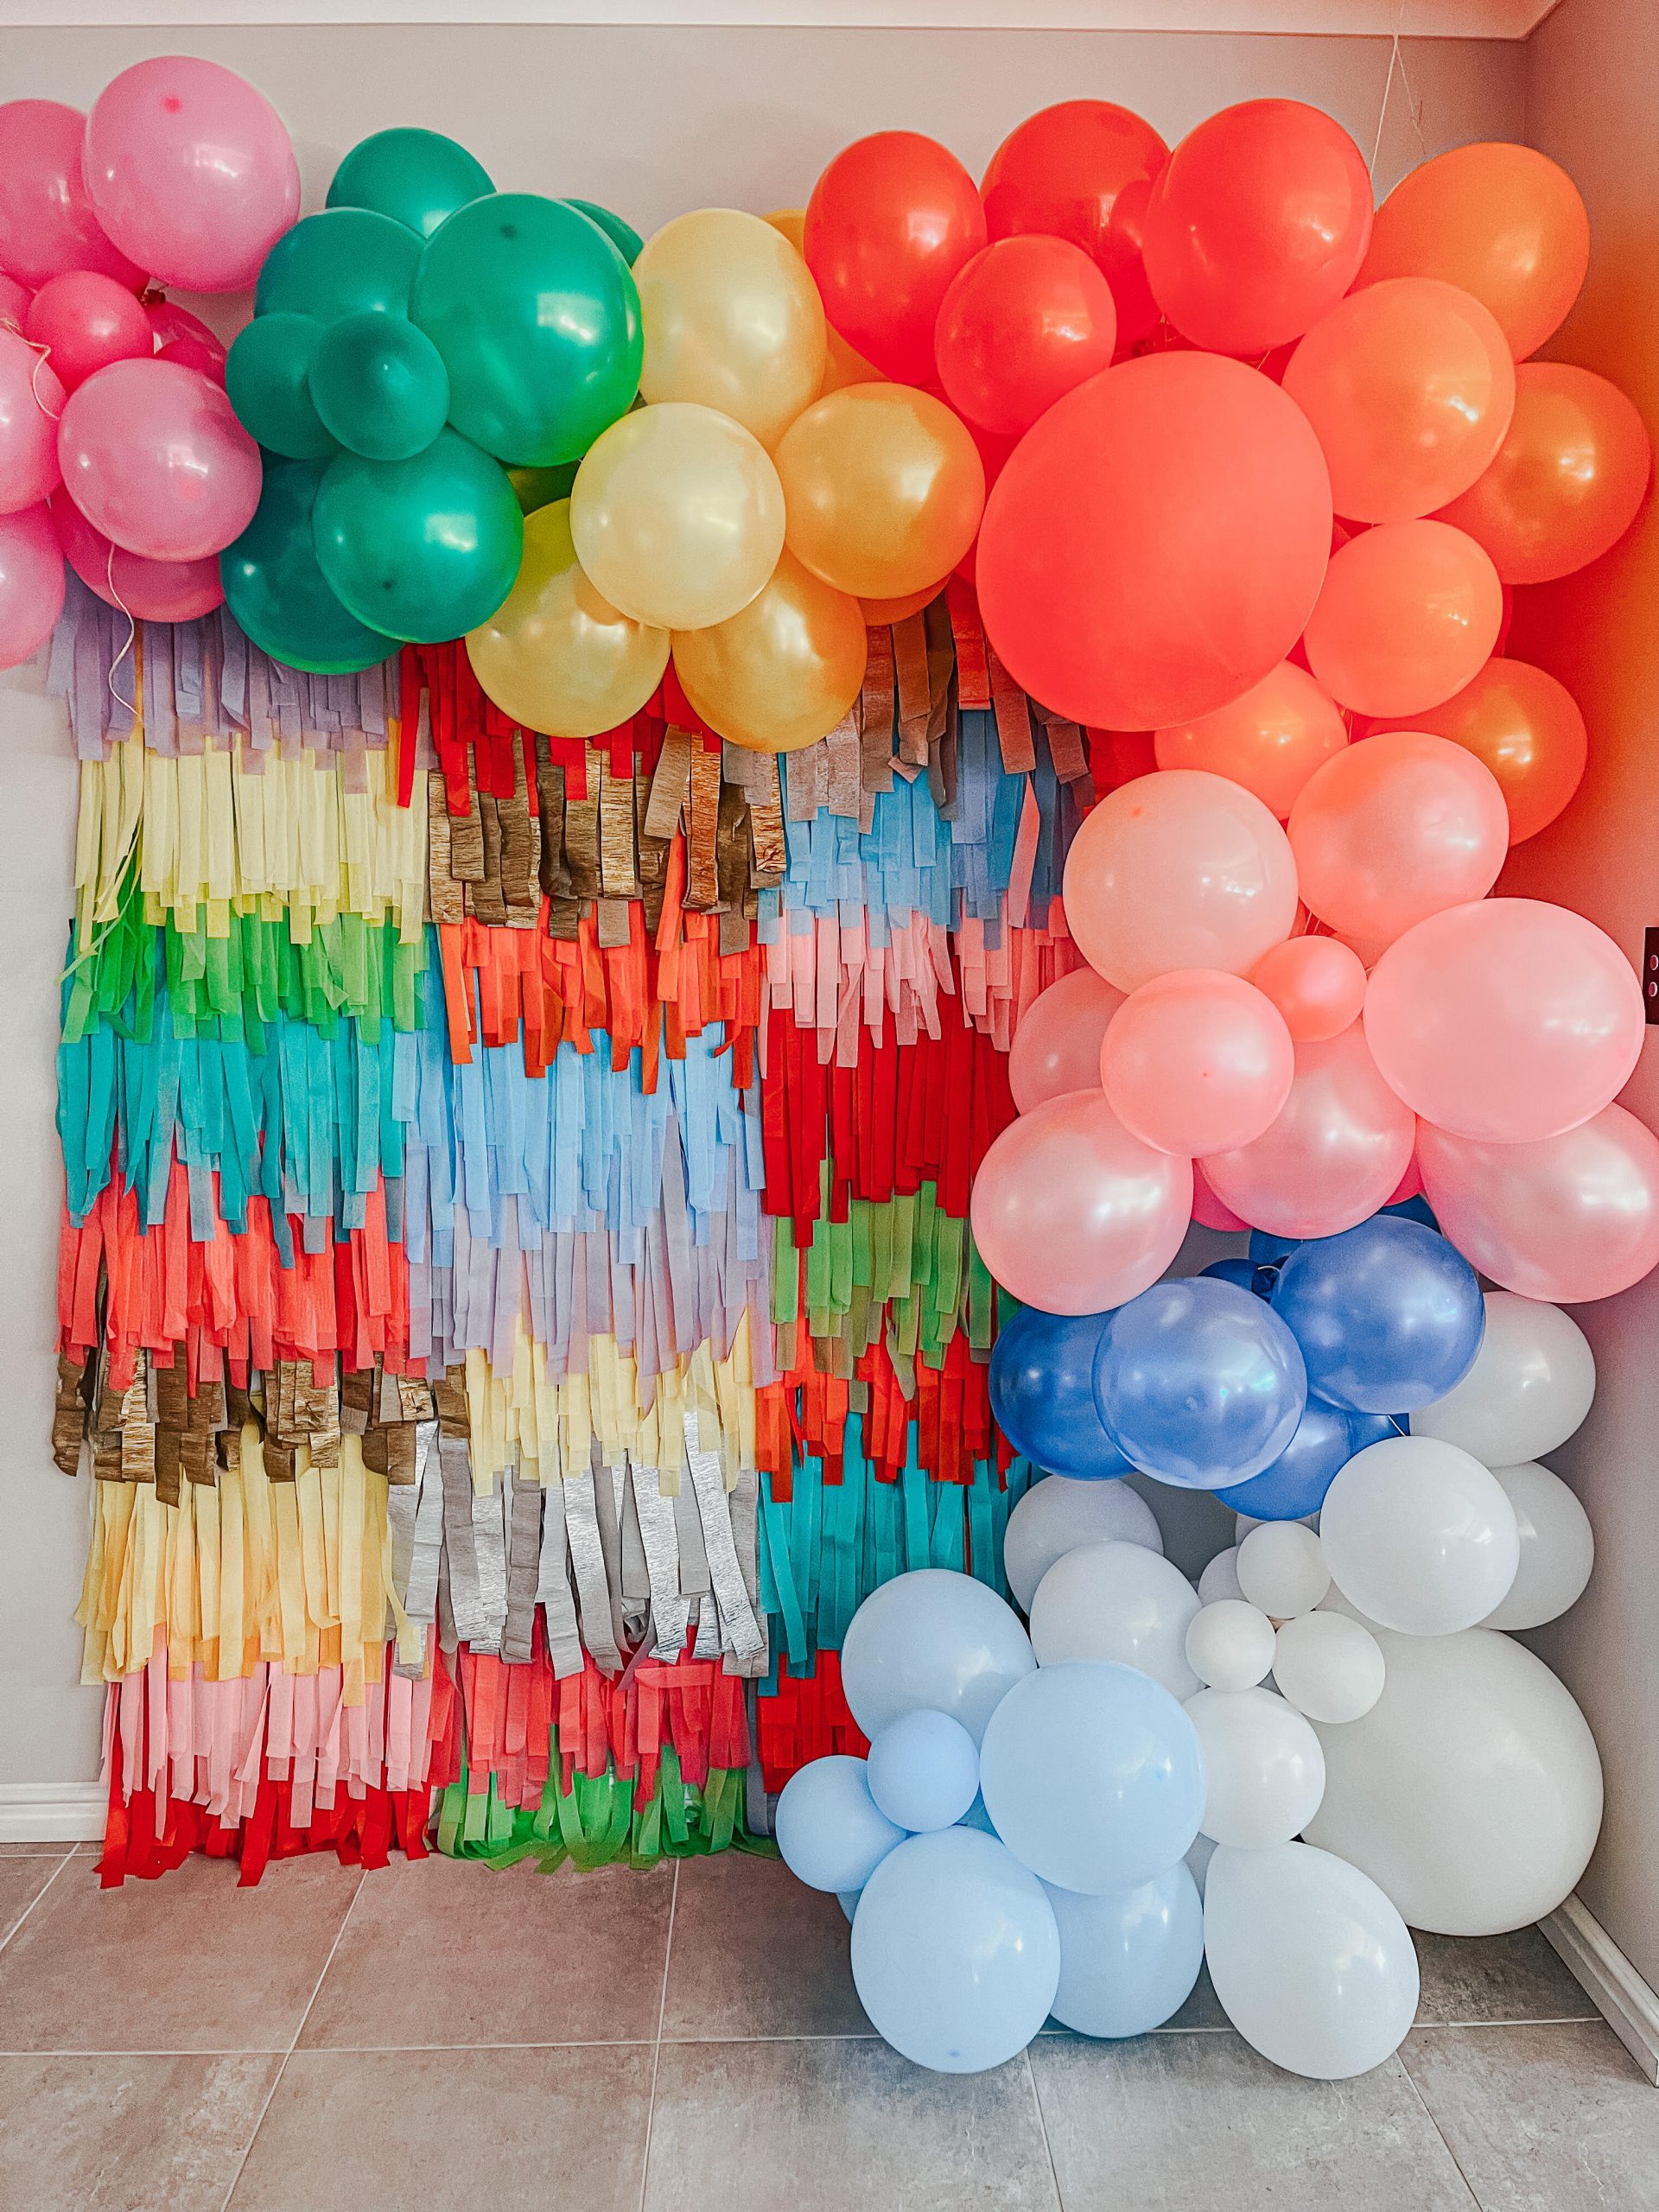

I blew the balloons up for the balloon garland late Thursday night (the party was on Saturday morning) and constructed the garland Friday and everything was still perfect for Saturday. I did however blow up the larger round feature balloons for the garland on Friday. I just used standard balloons for the garland and the smaller ones that you can see are just the same balloons that I only blew up slightly
To make the garland I use jute string and construct it from scratch, however I know you can buy kits off ebay and special tape that will help you to make them
For the “One” sign I cut out the letters from some spare cardboard and spray painted it with leftover white spray paint we already had at home!
– Mesh streamer backdrop | Kmart | SHOP HERE
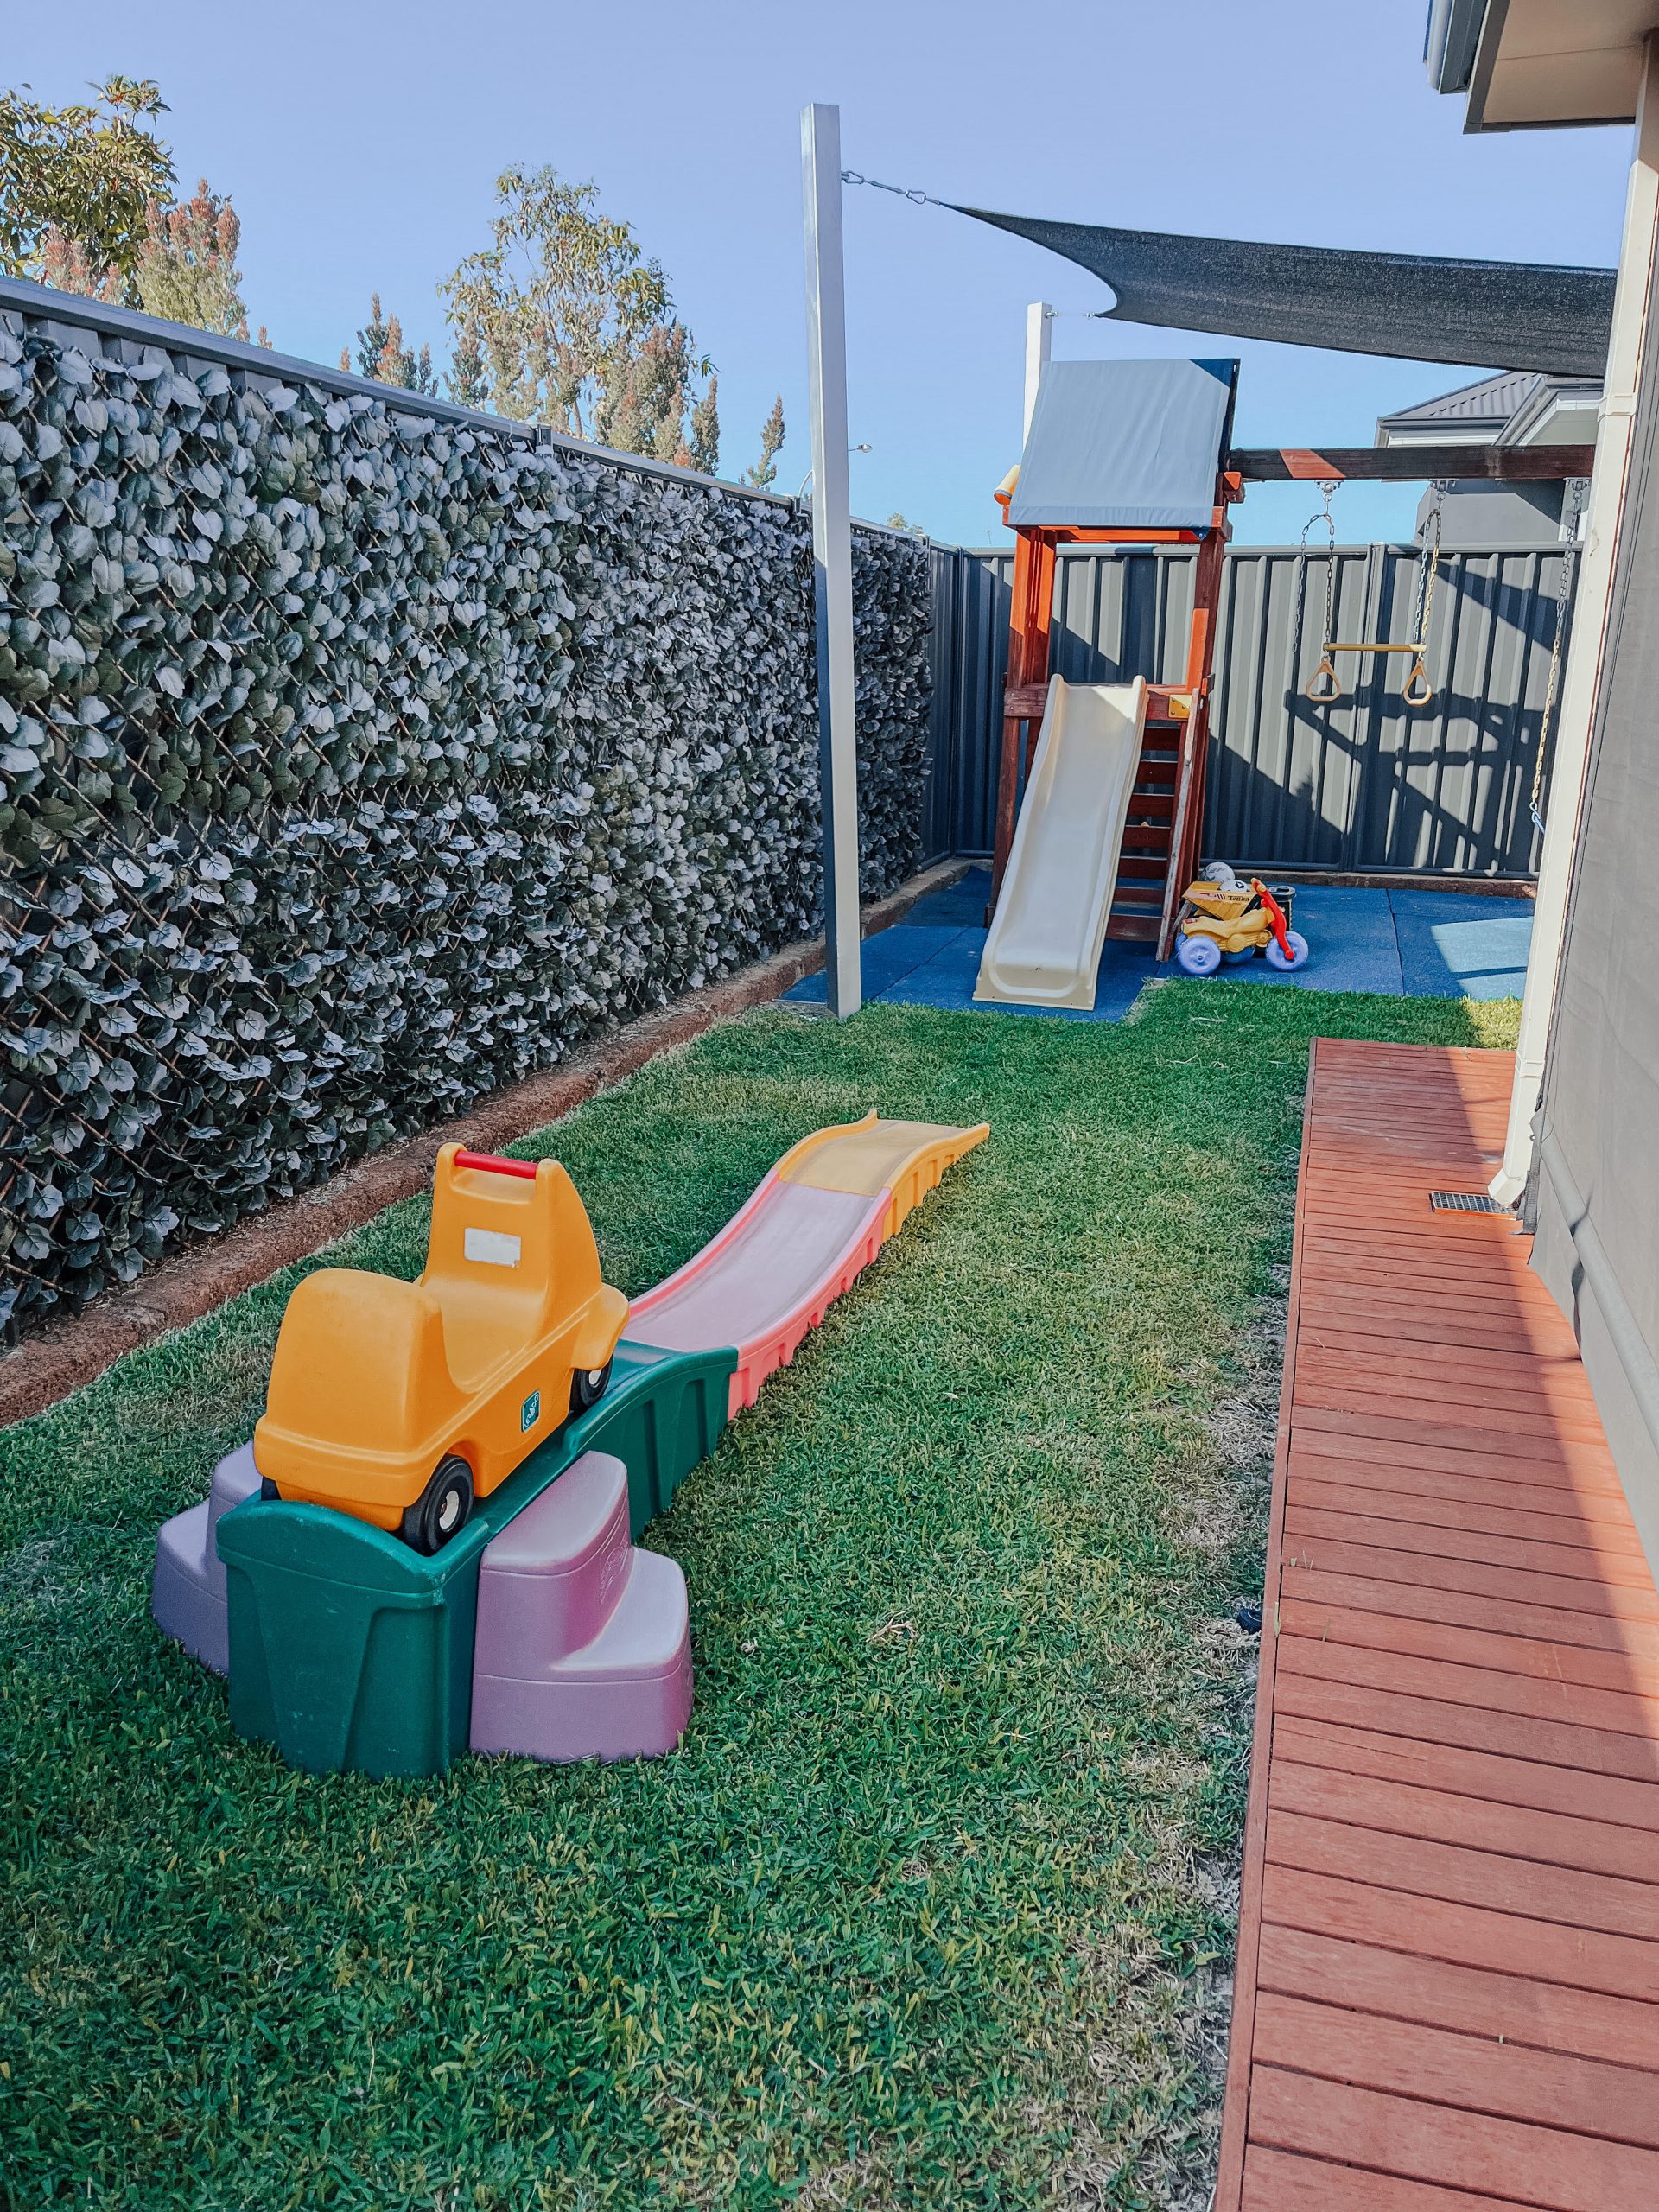
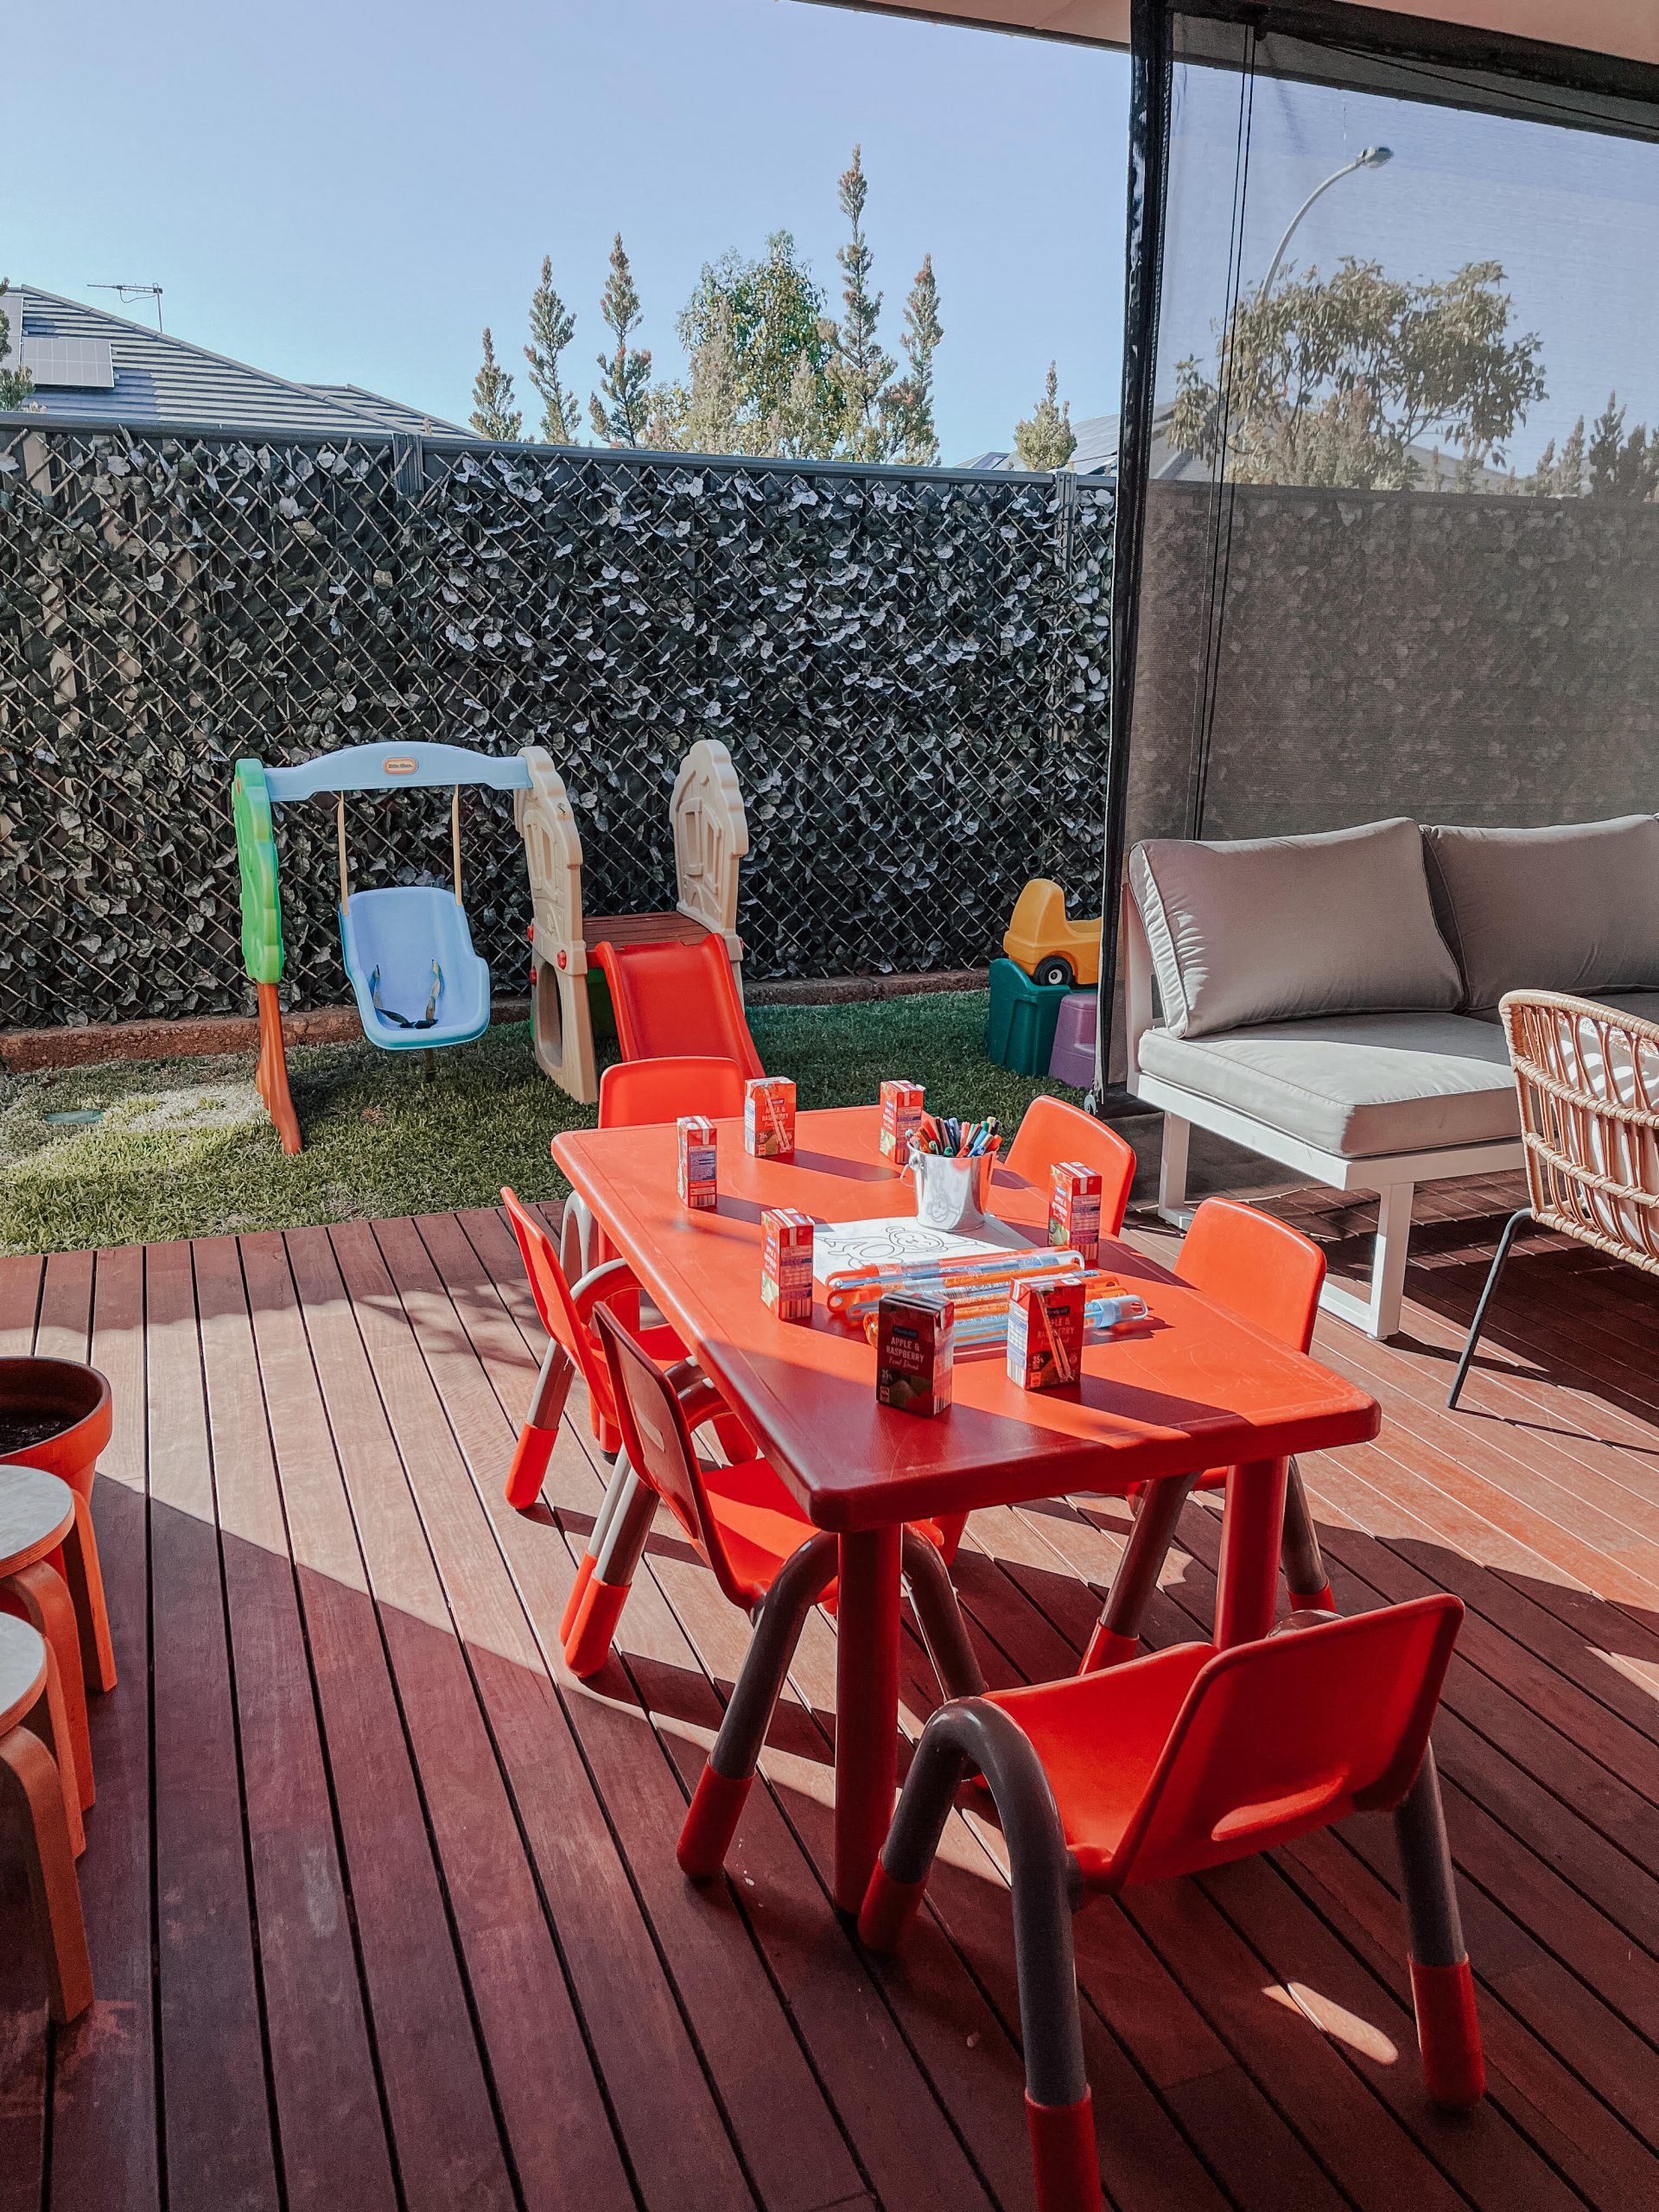
Rollercoaster + kids table hire
I hired a kids table and chairs for Max’s party as well as a fun mini rollercoaster and both items went down a treat! I came across the “Big Toys for Little People” website while doing a google search and I’m so glad I did. The fantastic thing about this company is that even though you are hiring your equipment for the weekend, you are able to keep the items from the Thursday beforehand when you pick them up until the following Monday afternoon when you drop them off. There is a huge selection of kids toys to hire from, from ball pits to see saw’s, the only stipulation is that you must pick these items up as they don’t deliver. I found the pricing quite reasonable as well. I was really happy with the communication from Sarah during the hiring period and cannot recommend this company enough and I will definitely be using them again
Big Toys for Little People | Website
Smaller details
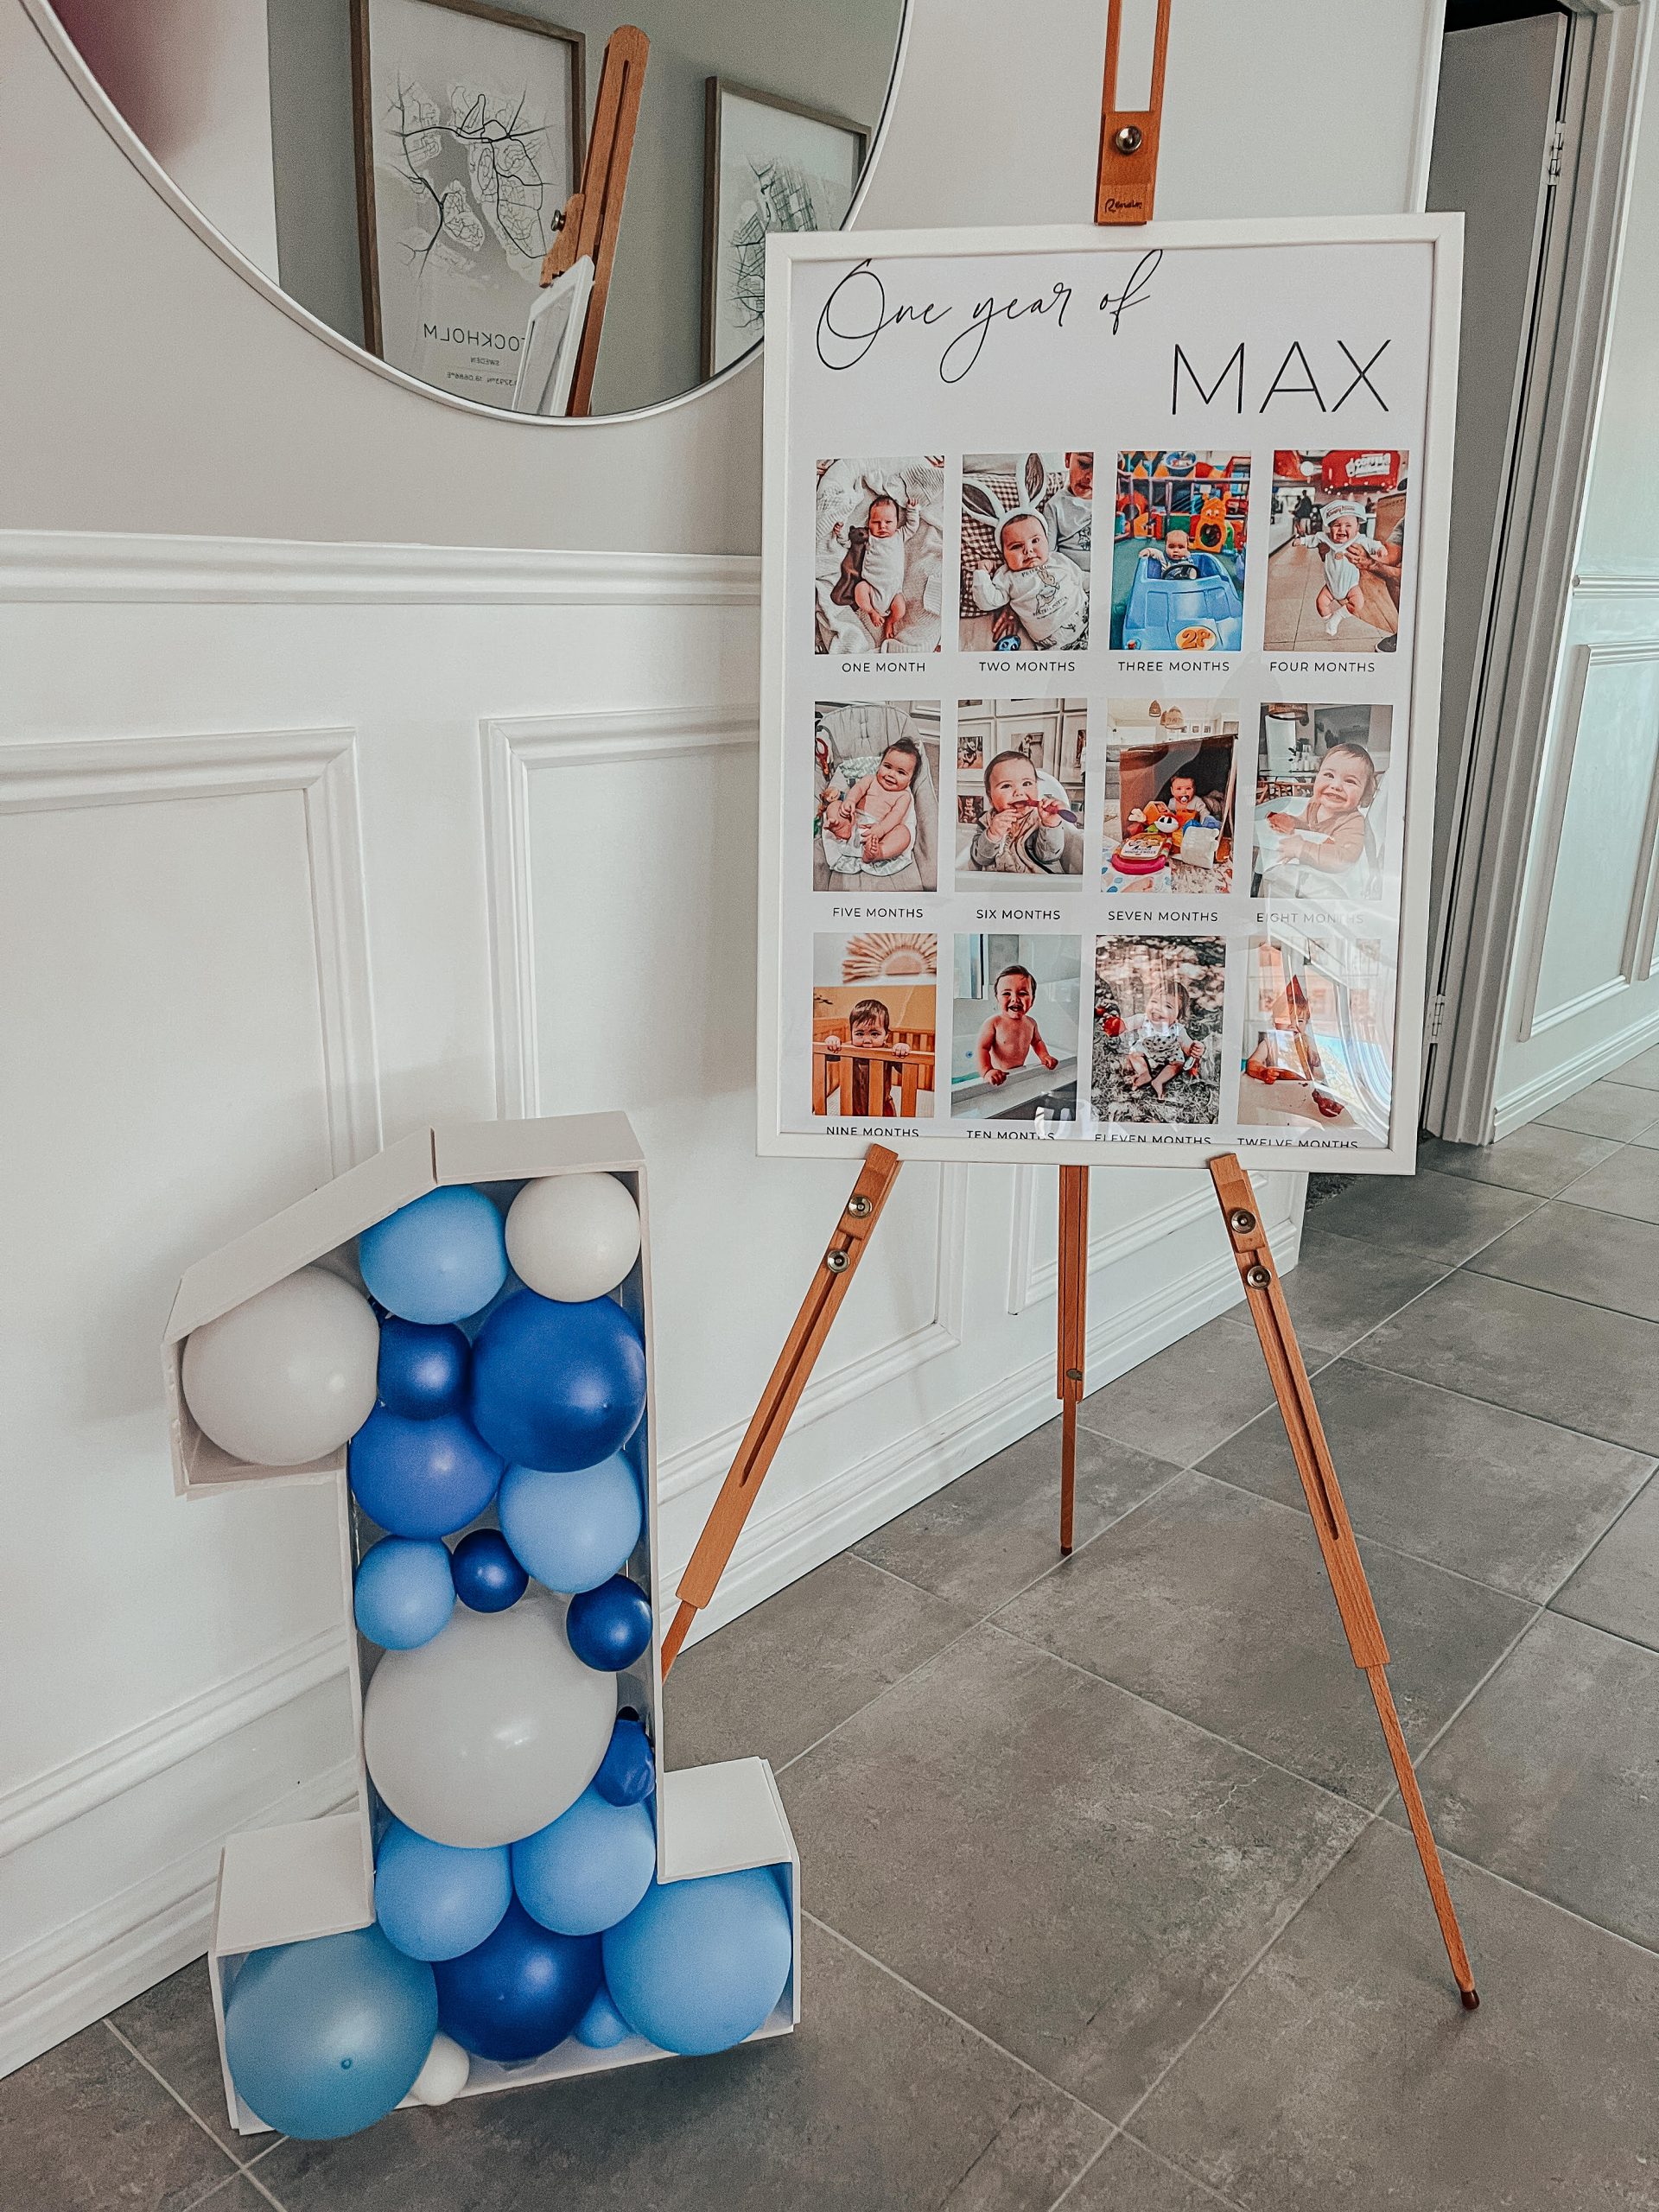
⋆ Number 1 large cut out for balloons | Ebay
⋆ Baby’s first year poster template | Etsy | SHOP HERE
⋆ Spot paper plates | Currently unavailable
⋆ Assorted coloured round fan balls | Ebay
⋆ Cassie’s outfit | St Frock | SHOP HERE


*No stores were asked to collaborate for this blog/event. All thoughts and words are my own
